
The Prairie Club: Dunes Course
“As pure as golf gets.”
Location: Valentine, Nebraska
Architect: Tom Lehman and Chris Brands
Year Built: 2010
In north central Nebraska, there lives a golf resort called The Prairie Club. It’s home to two 18-hole golf courses, the Pines Course and the Dunes Course. It also has a “Horse Course,” which is a par 3 course designed to play a game of “horse” (think basketball).
Last week, I posted about the Pines Course, so this week I wanted to give the hole-by-hole descriptions of the Dunes Course. This was my favorite of the two, but both were phenomenal; it’s almost too hard to choose.
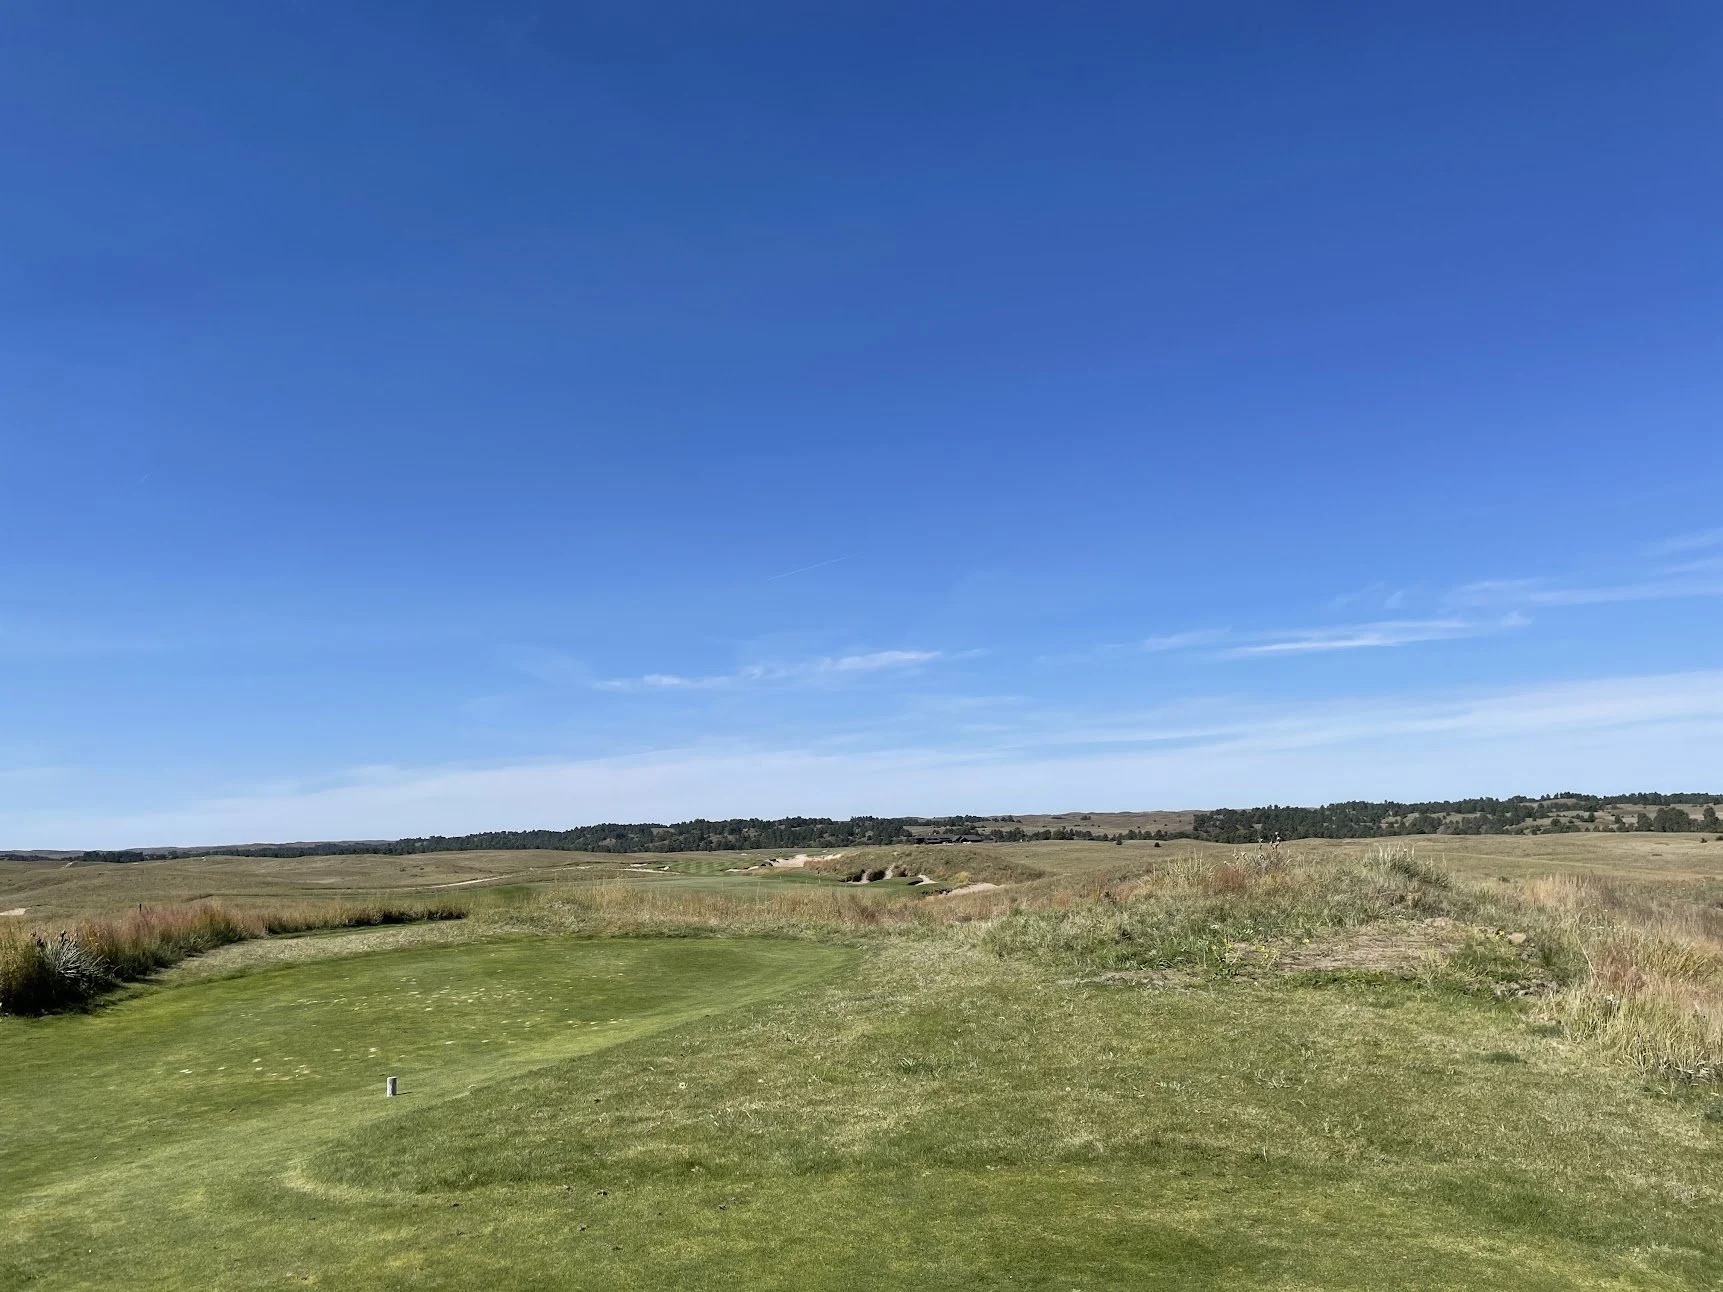
Hole 1: ⛳️
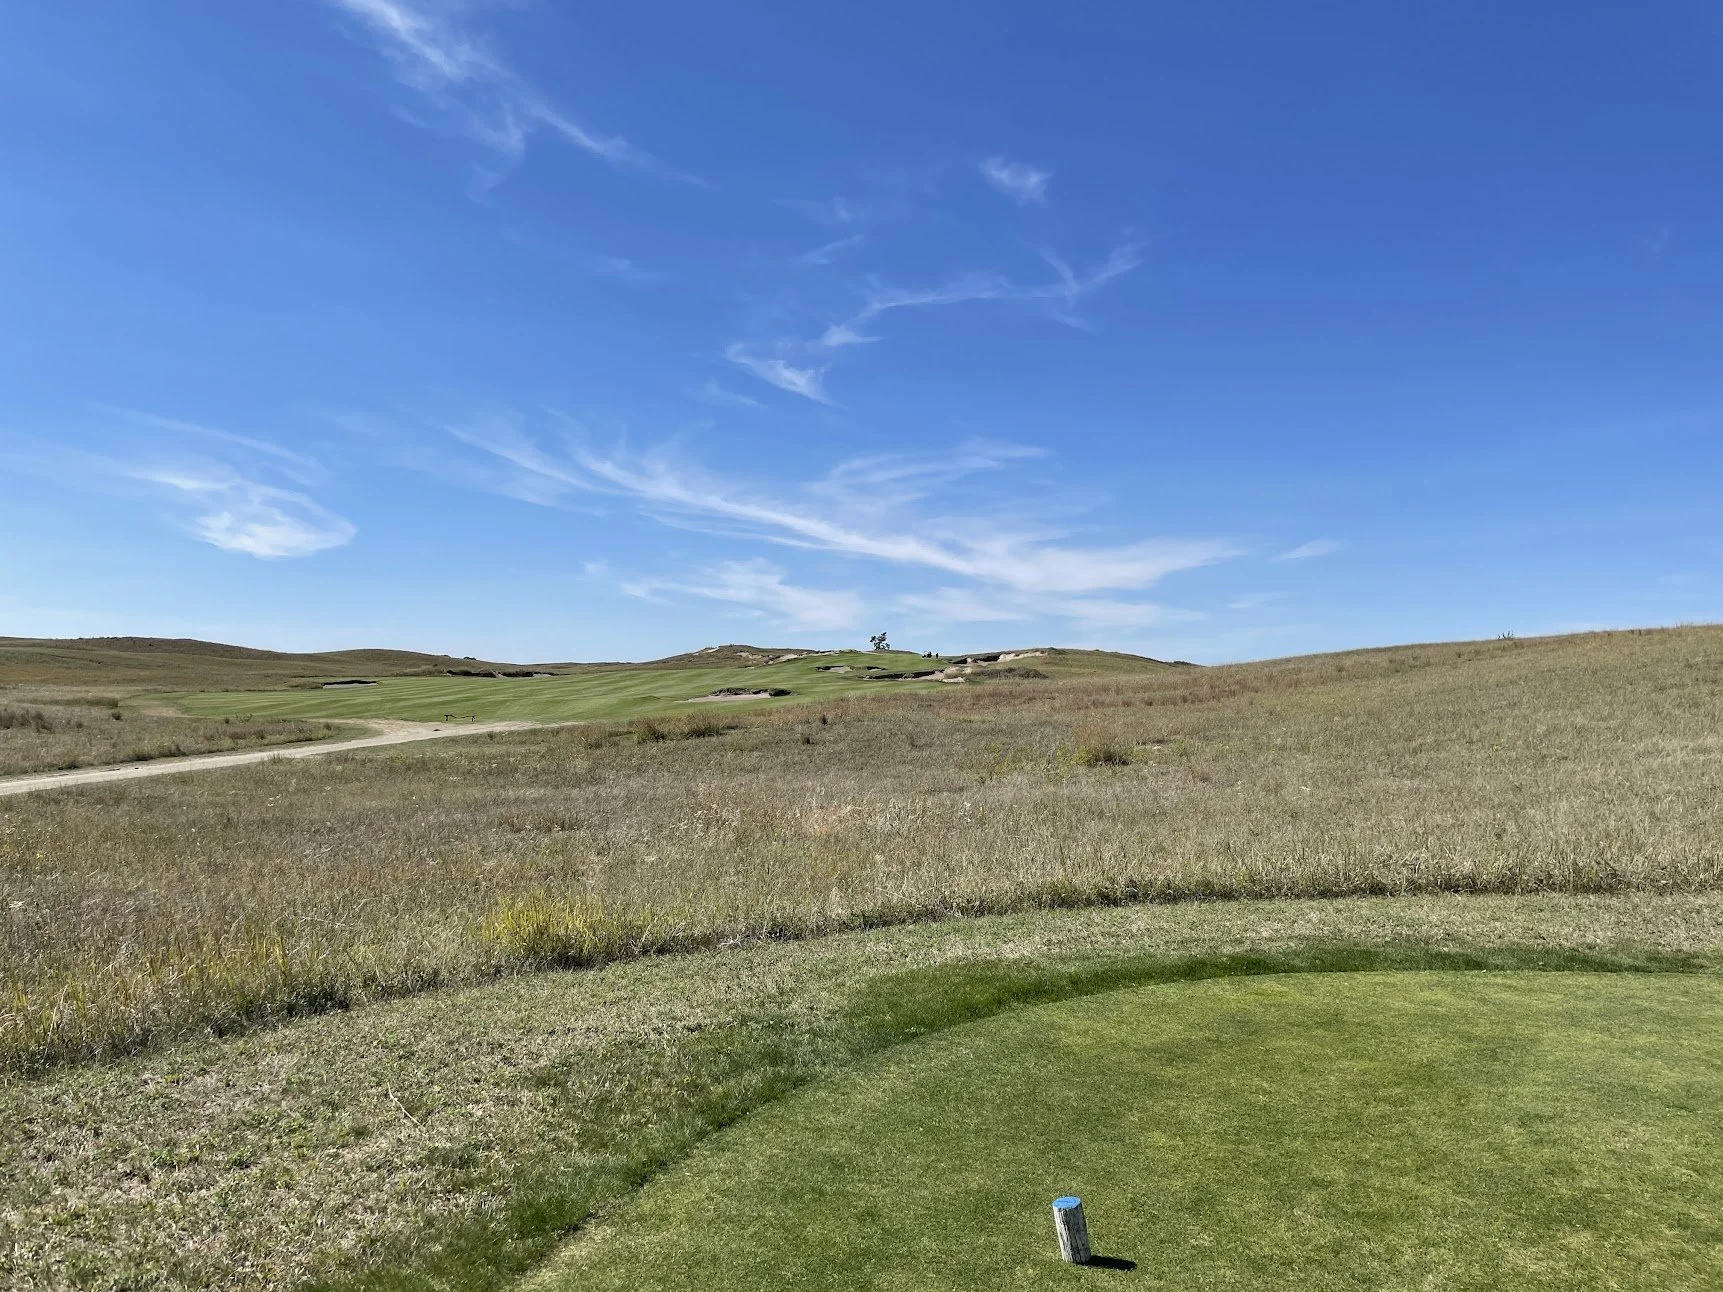
The first hole opens with a par 4 with a pretty generous landing area. The best line off the tee is just left of the right bunker. That’ll set up a second shot from the middle of the fairway with a view of the green. Anything right of the right bunker will be blocked out by a dune.
tee on 1.
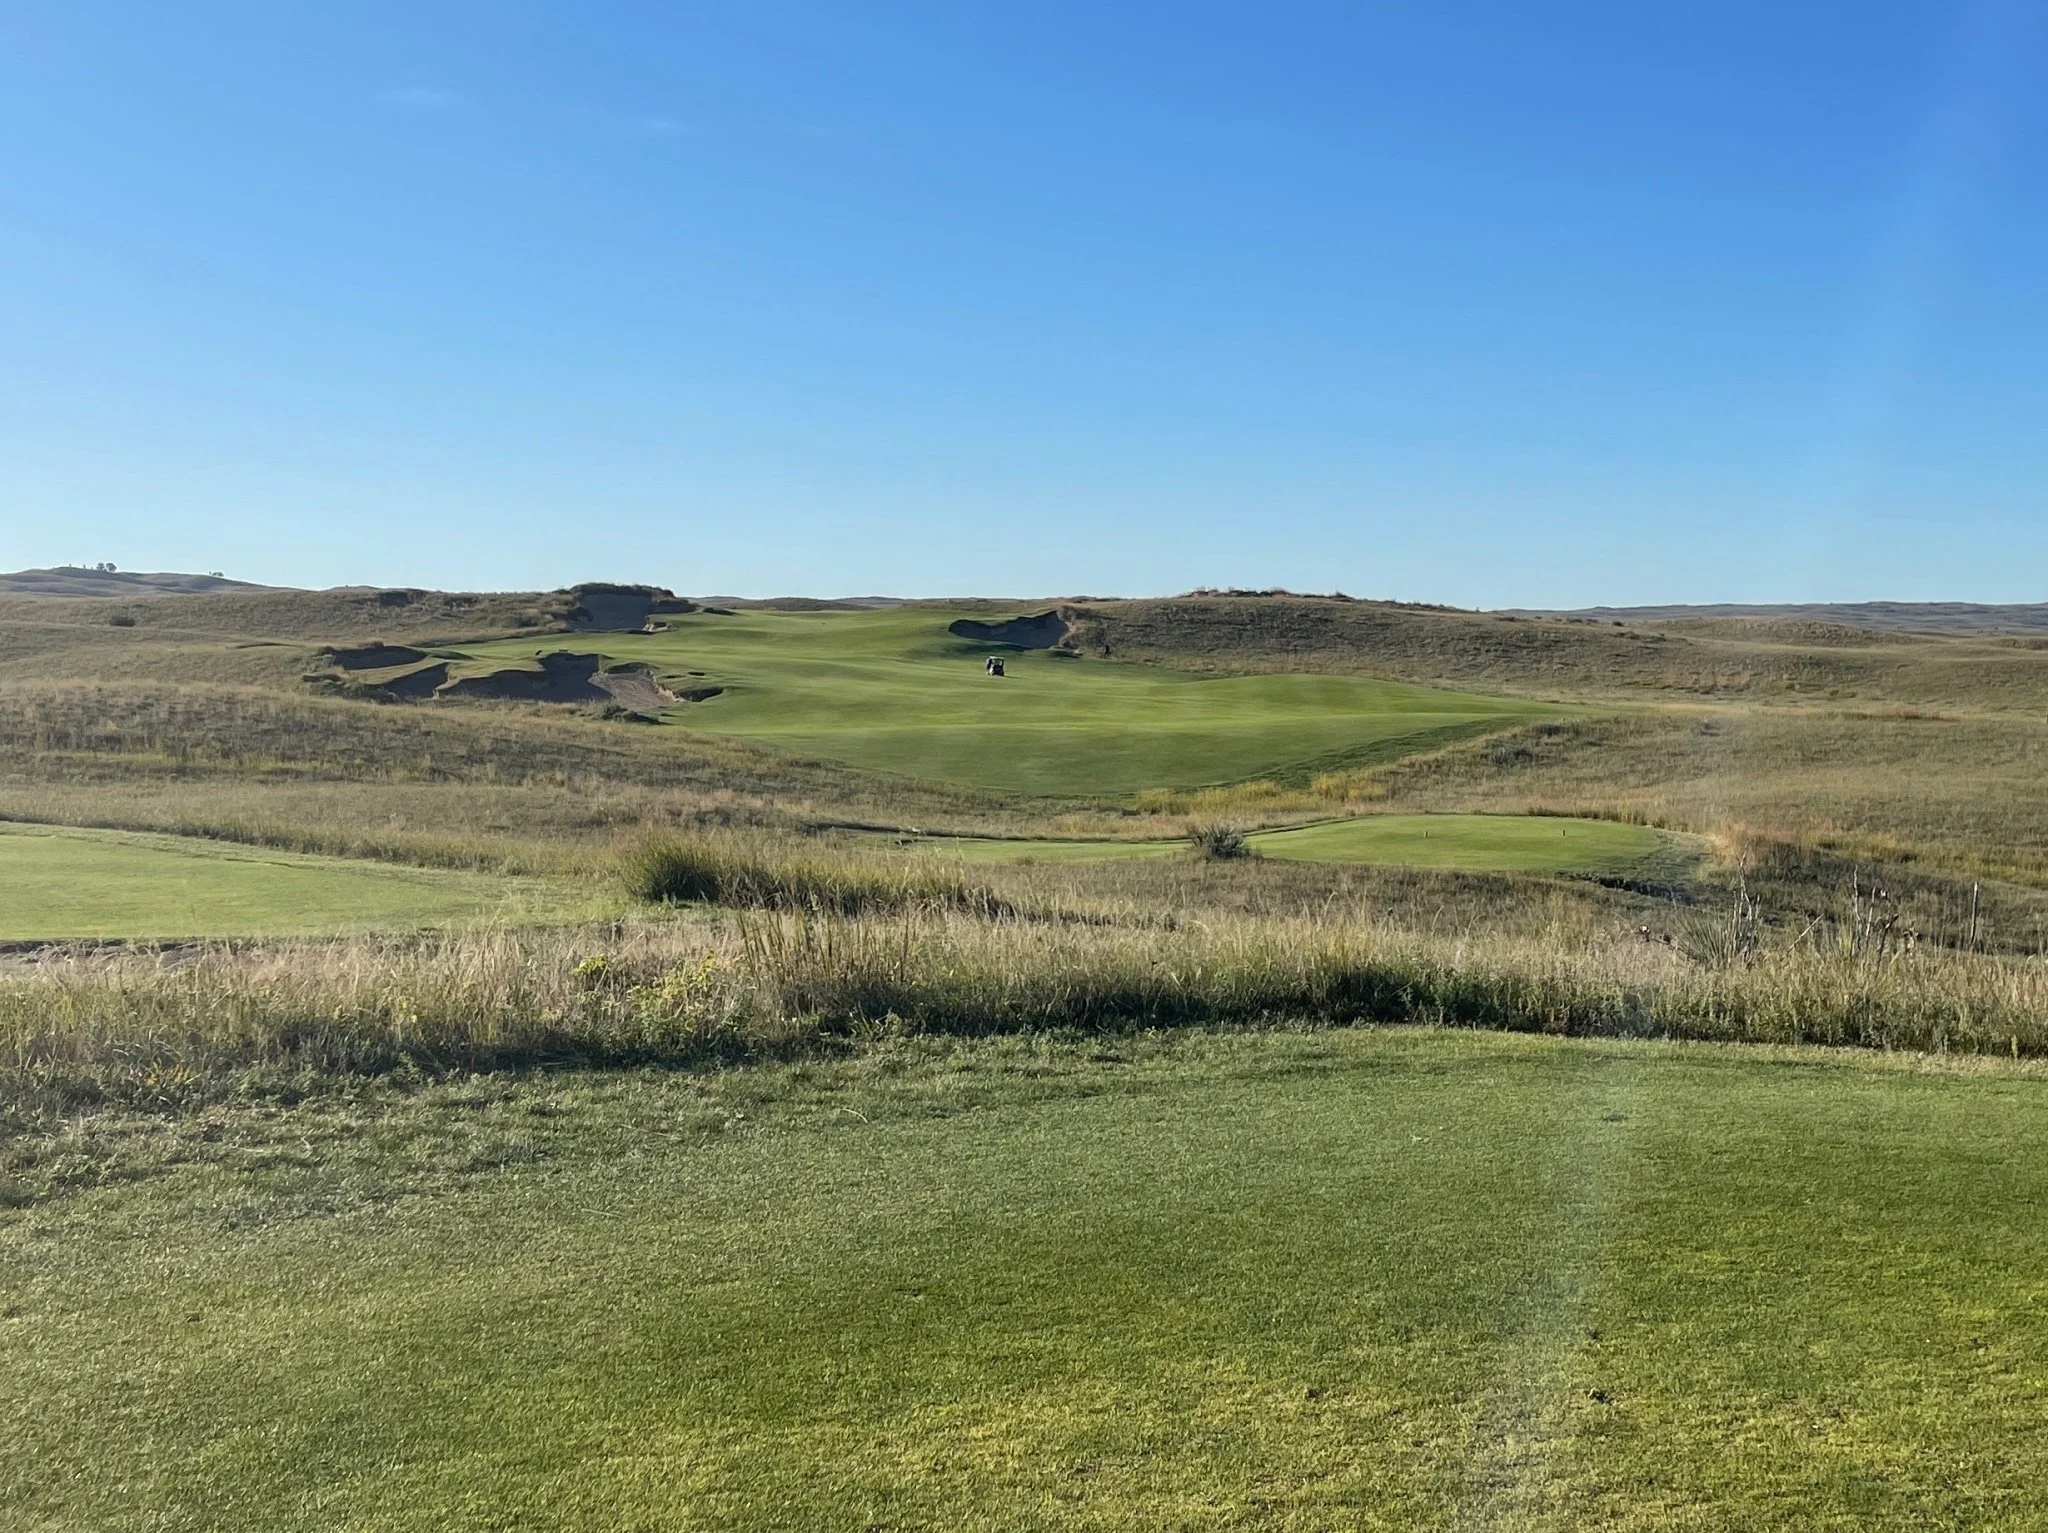
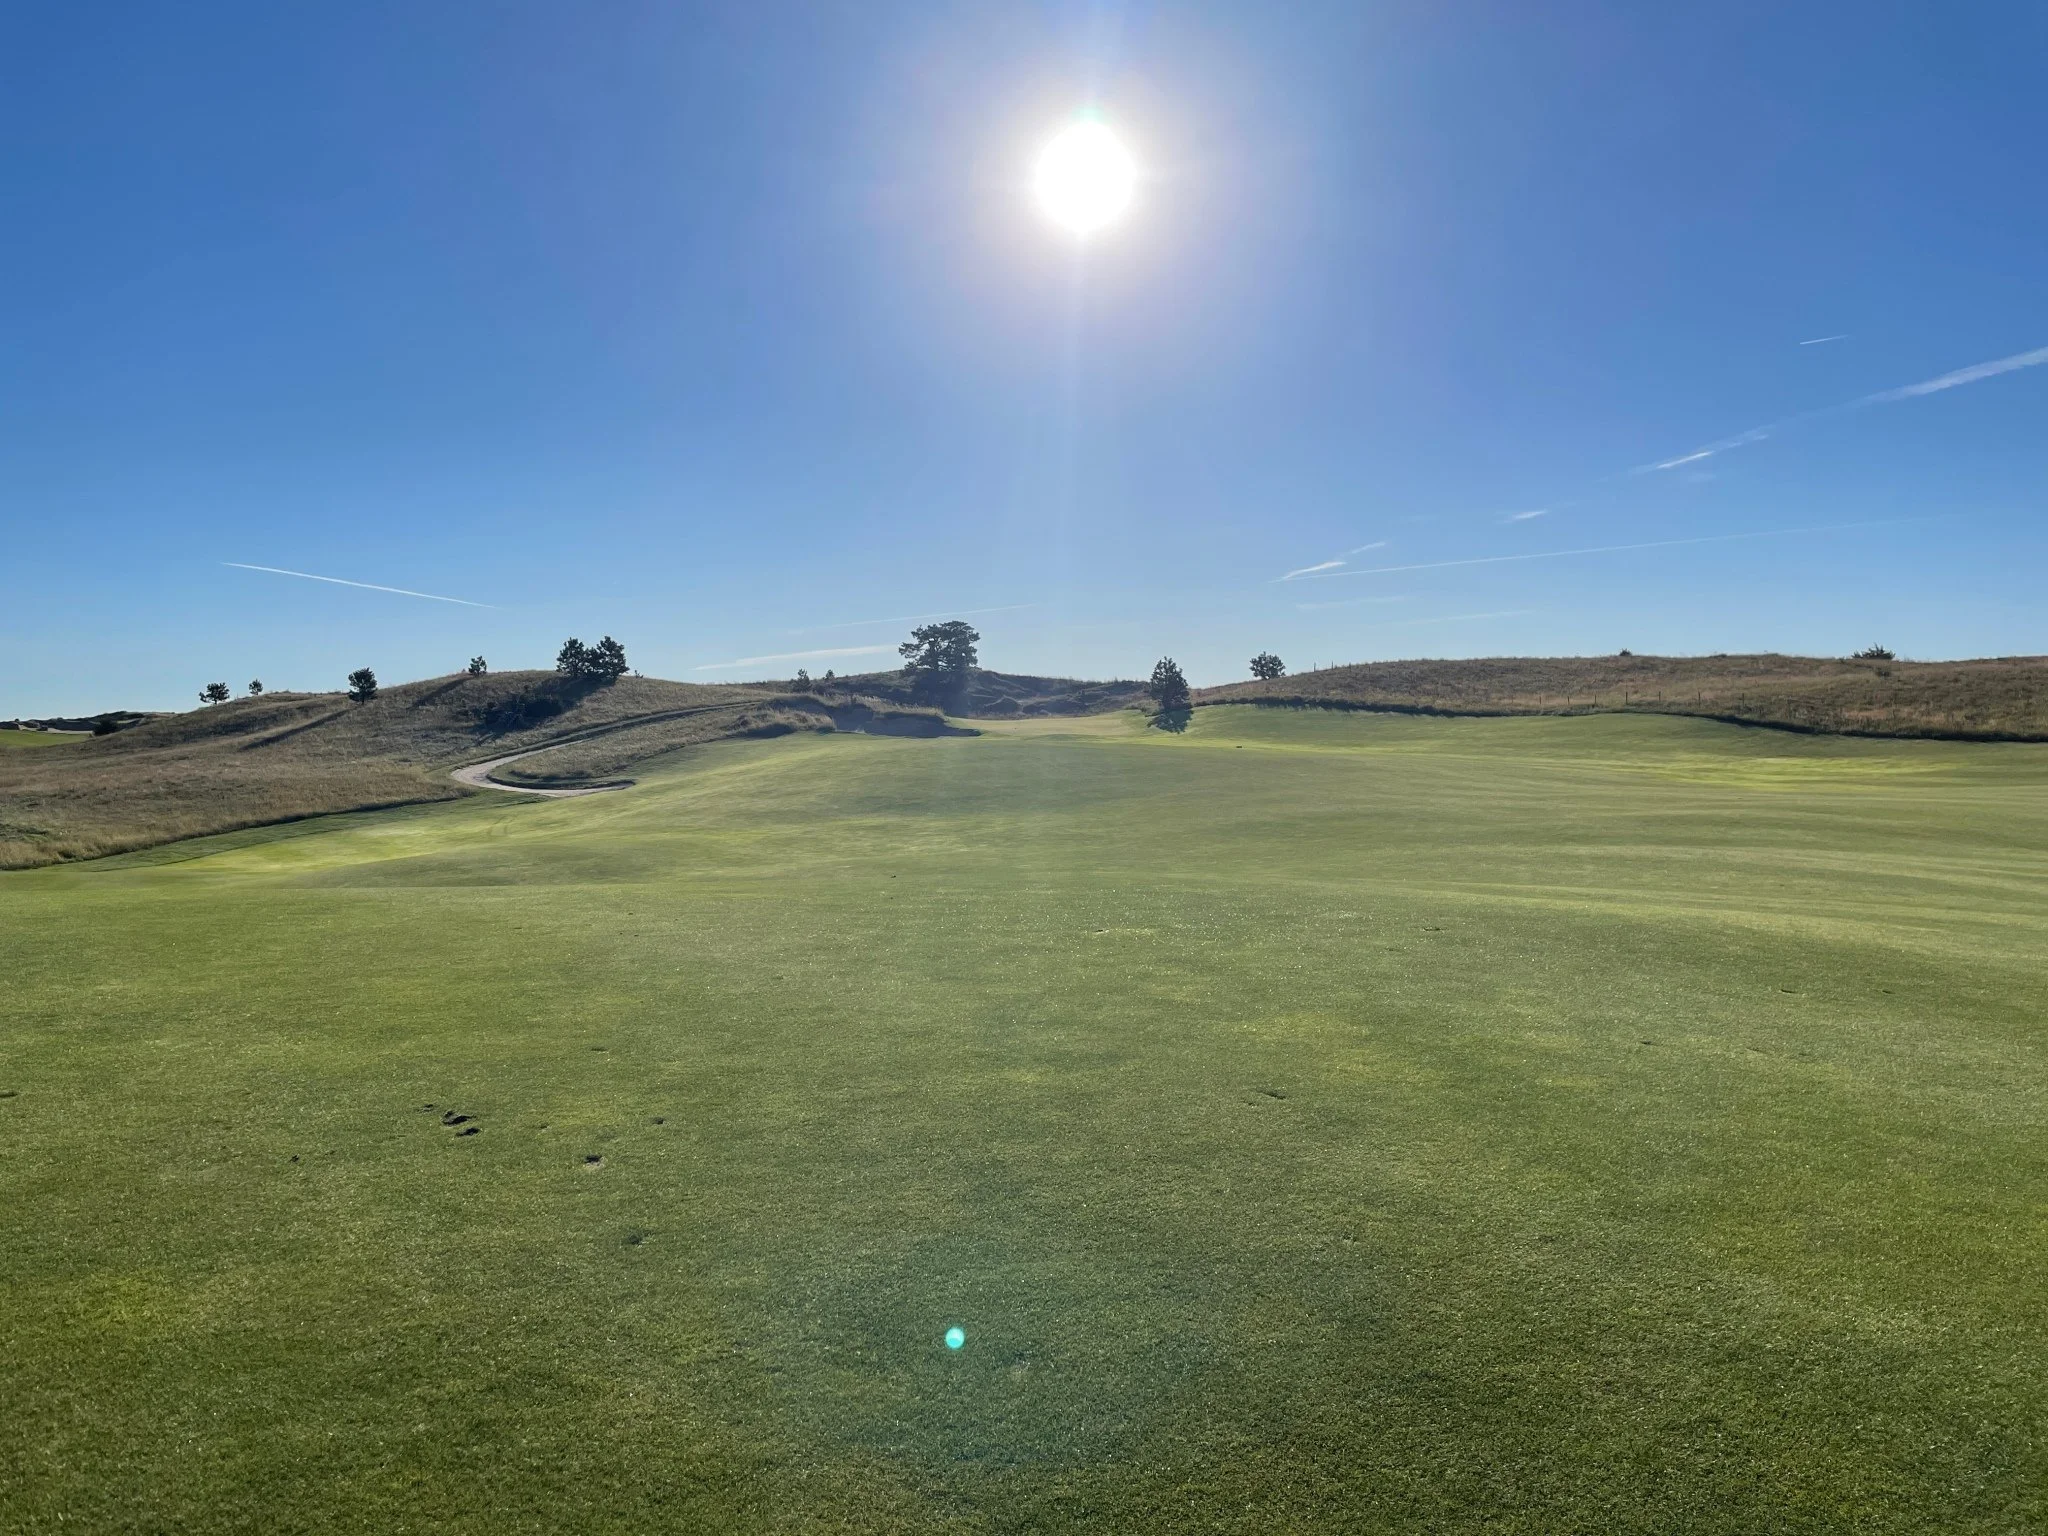
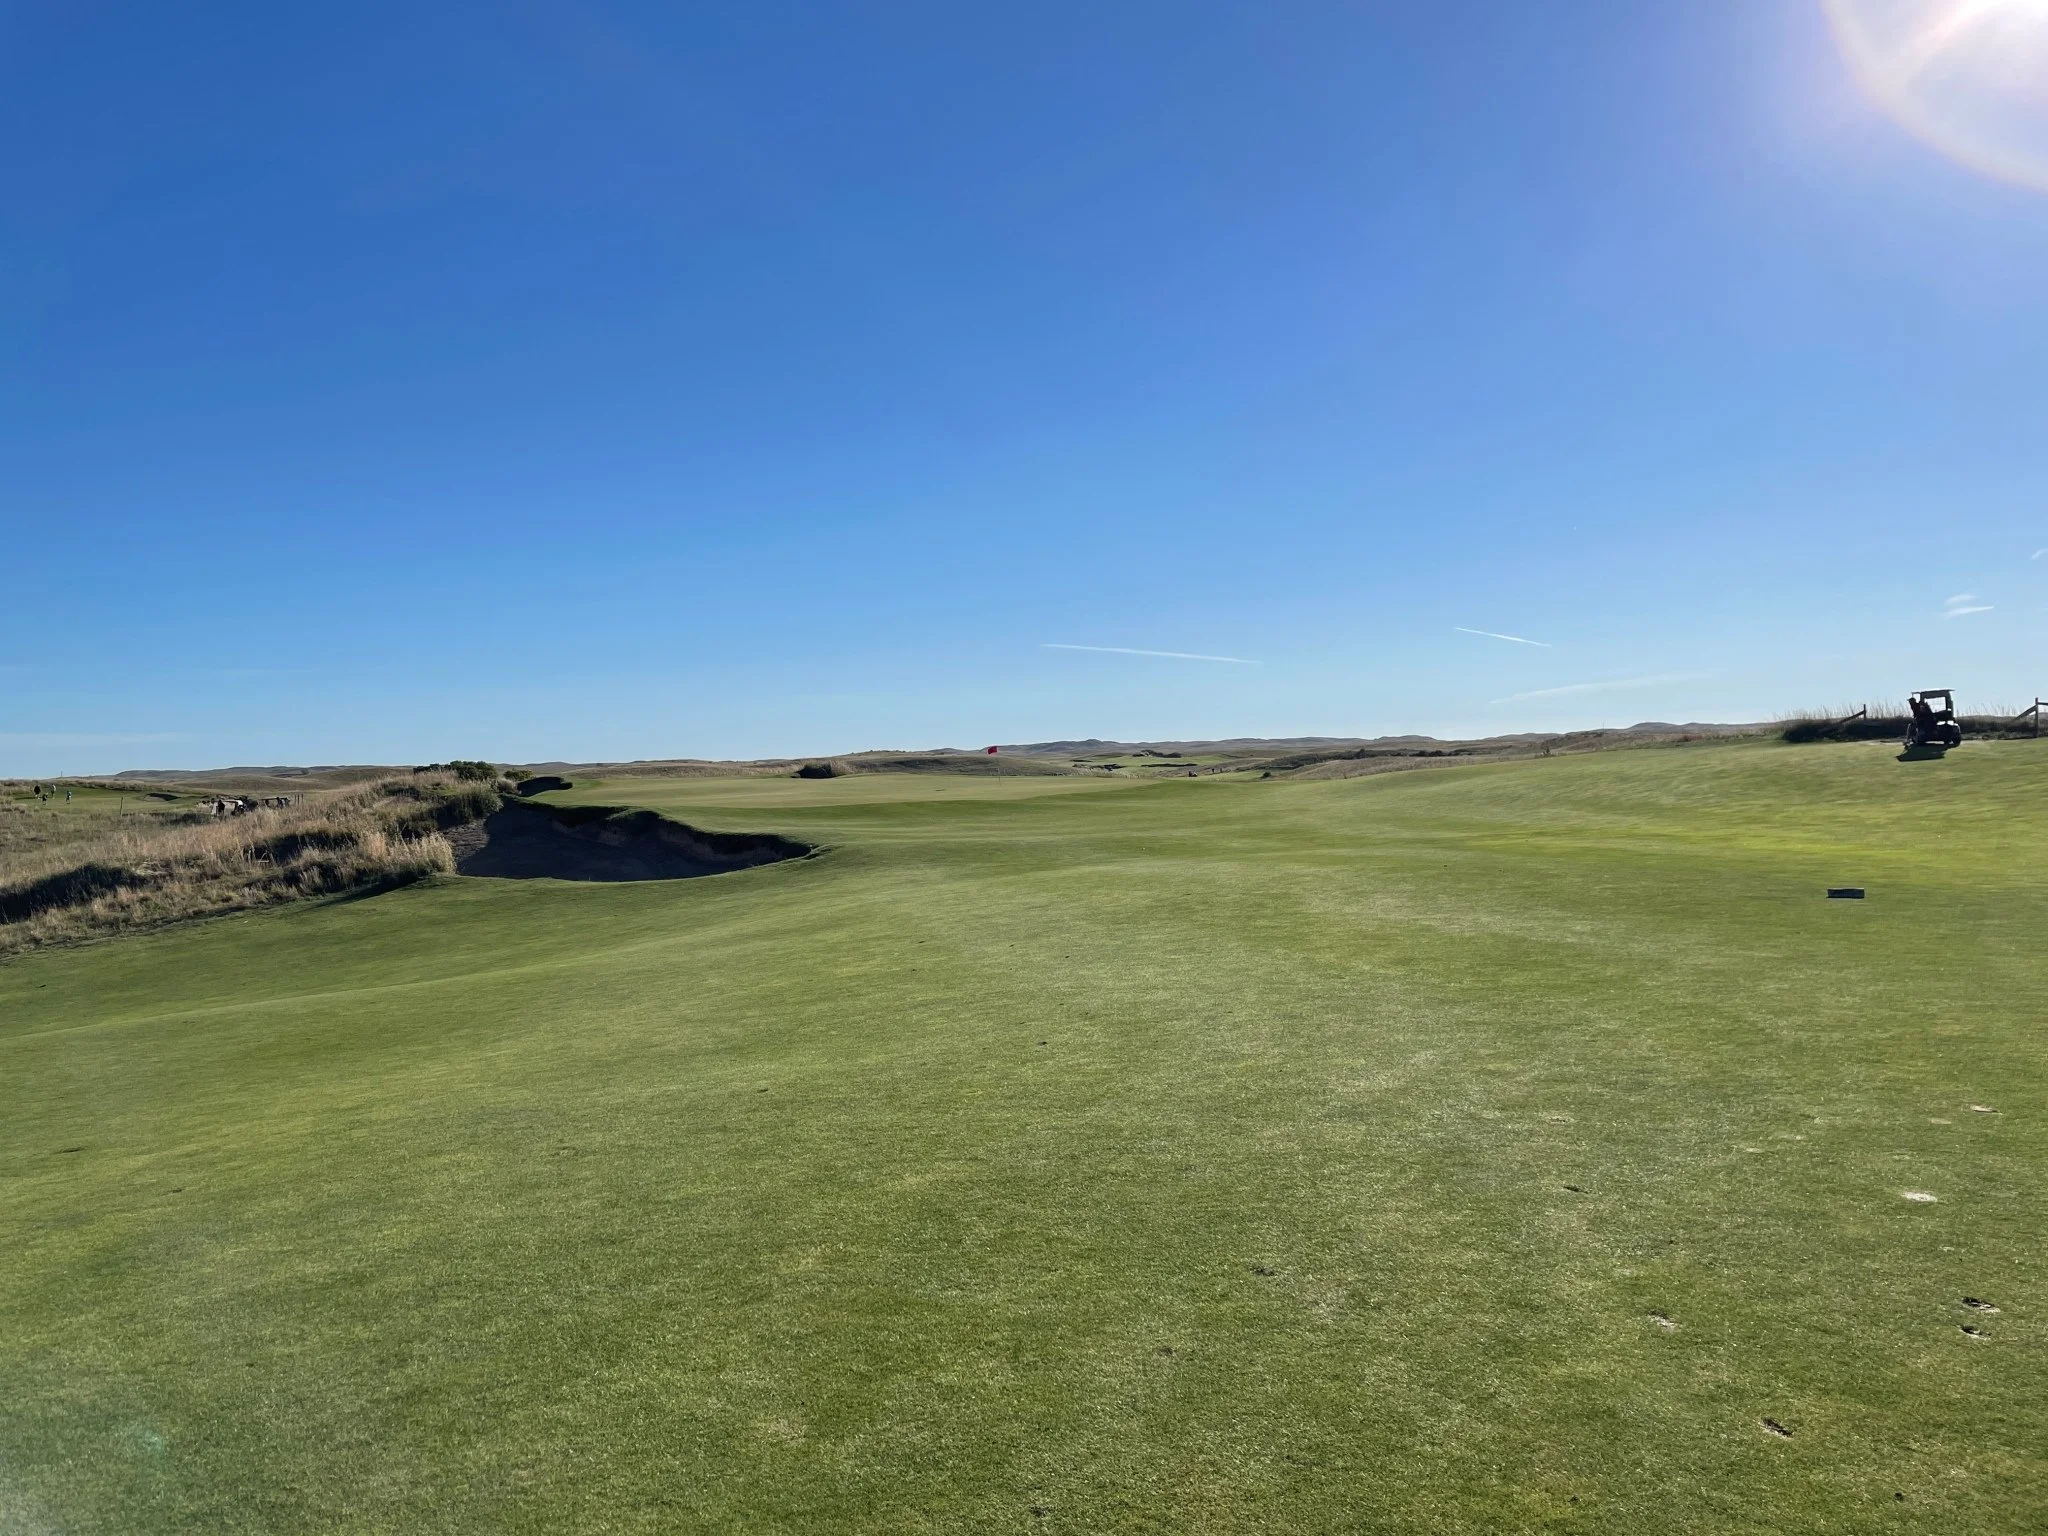
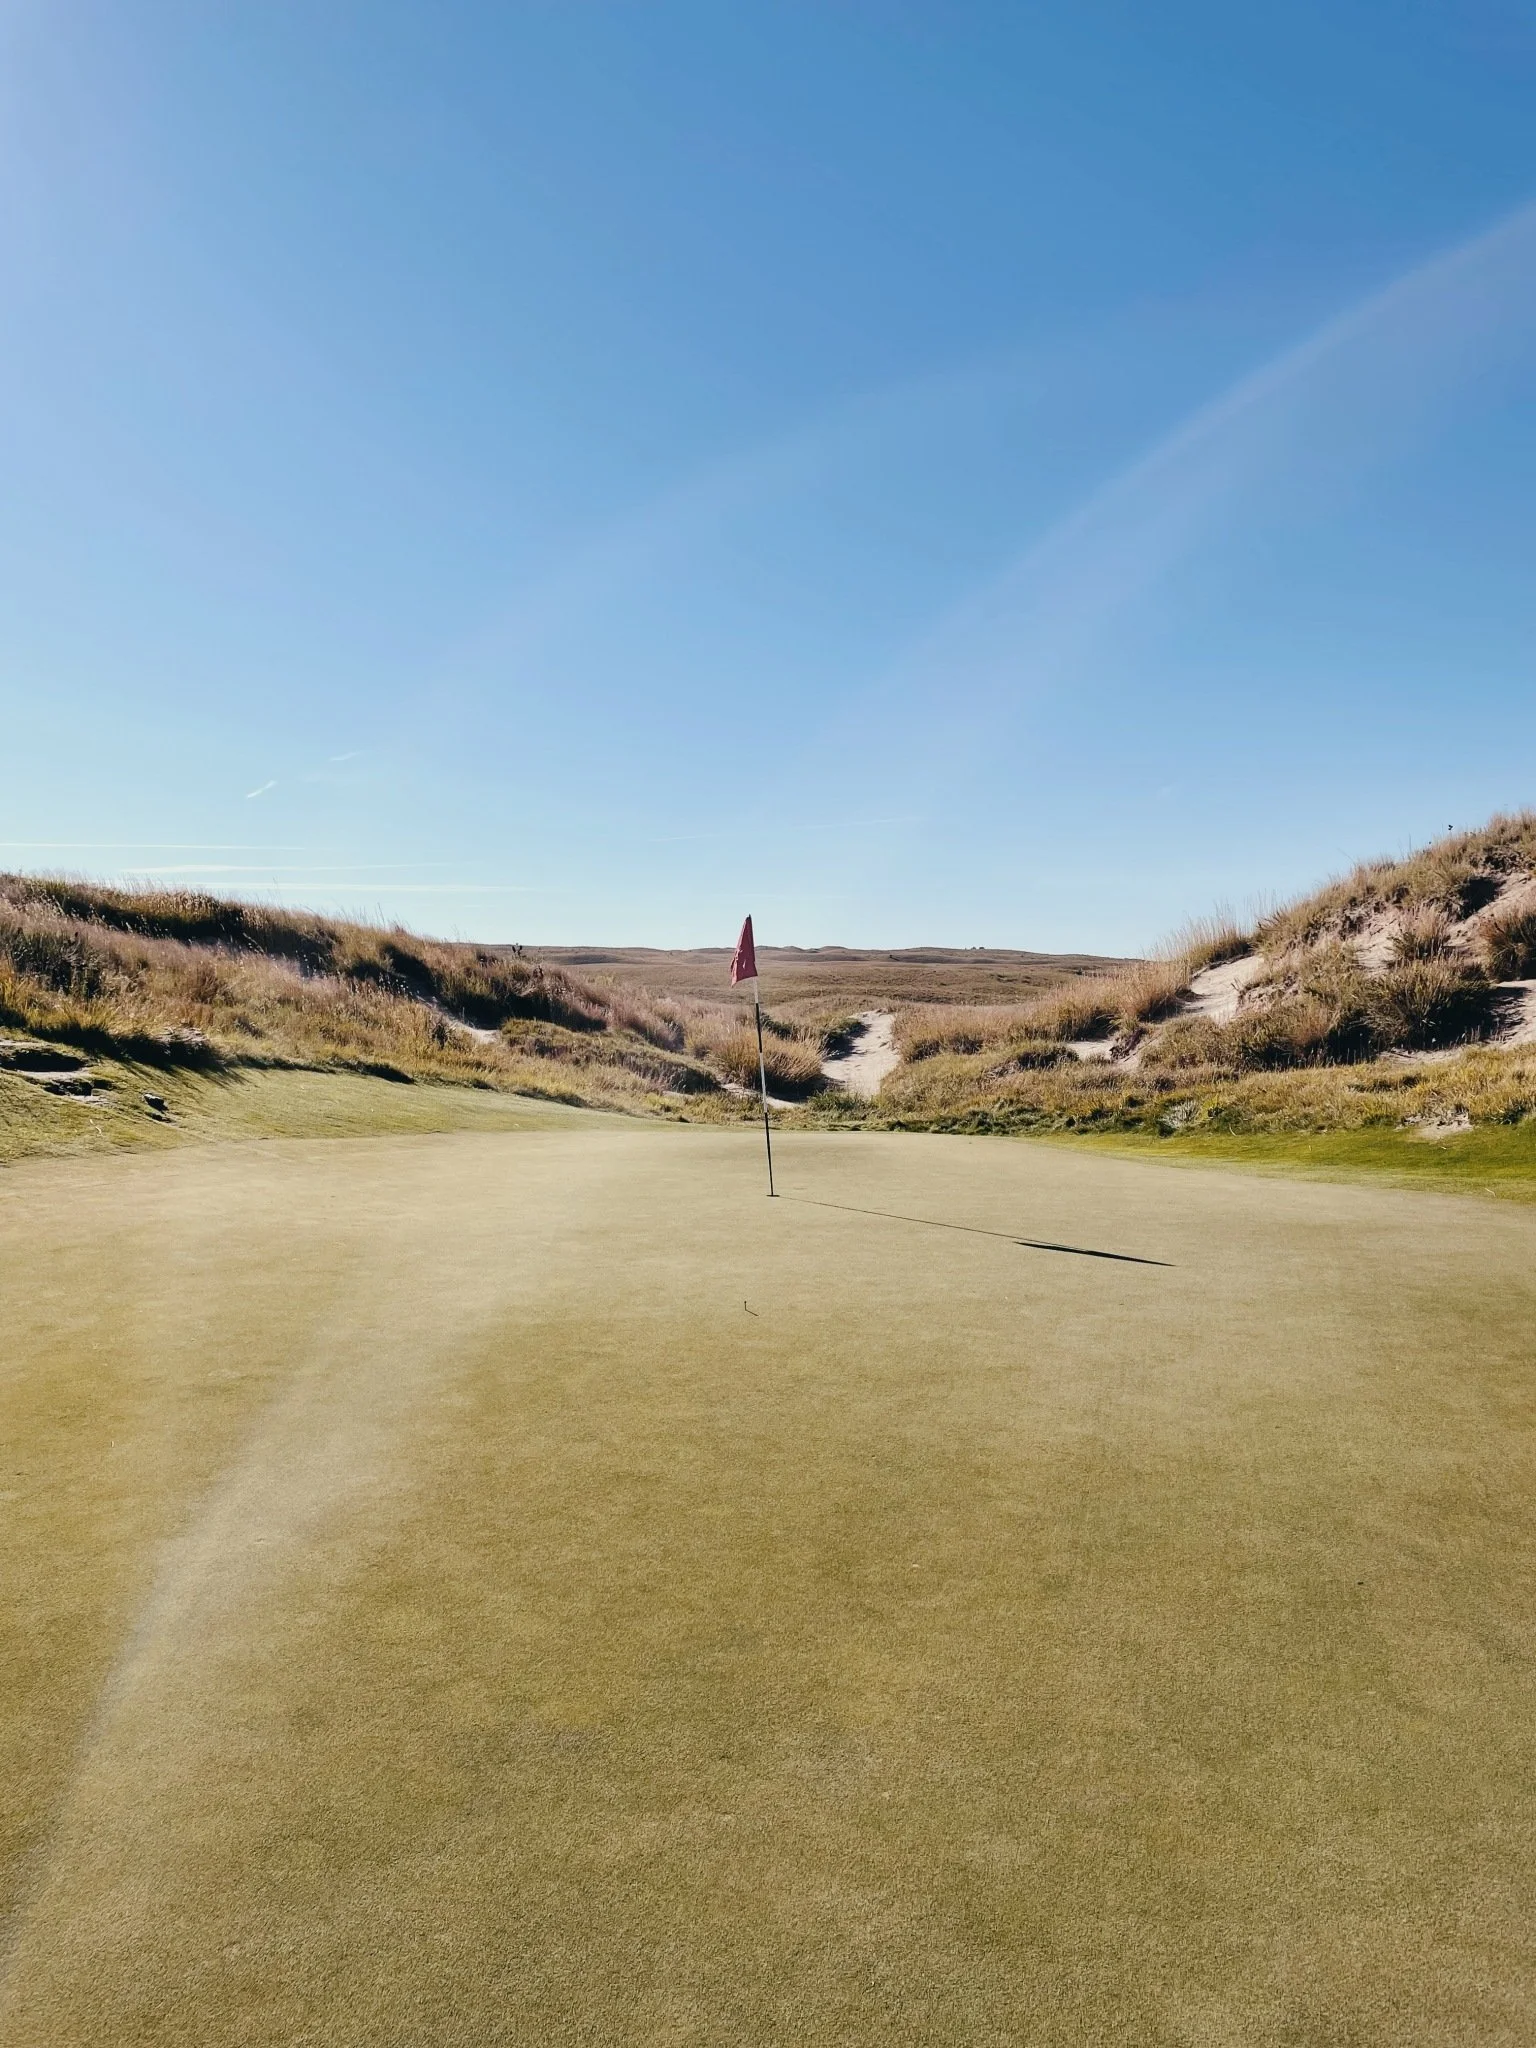
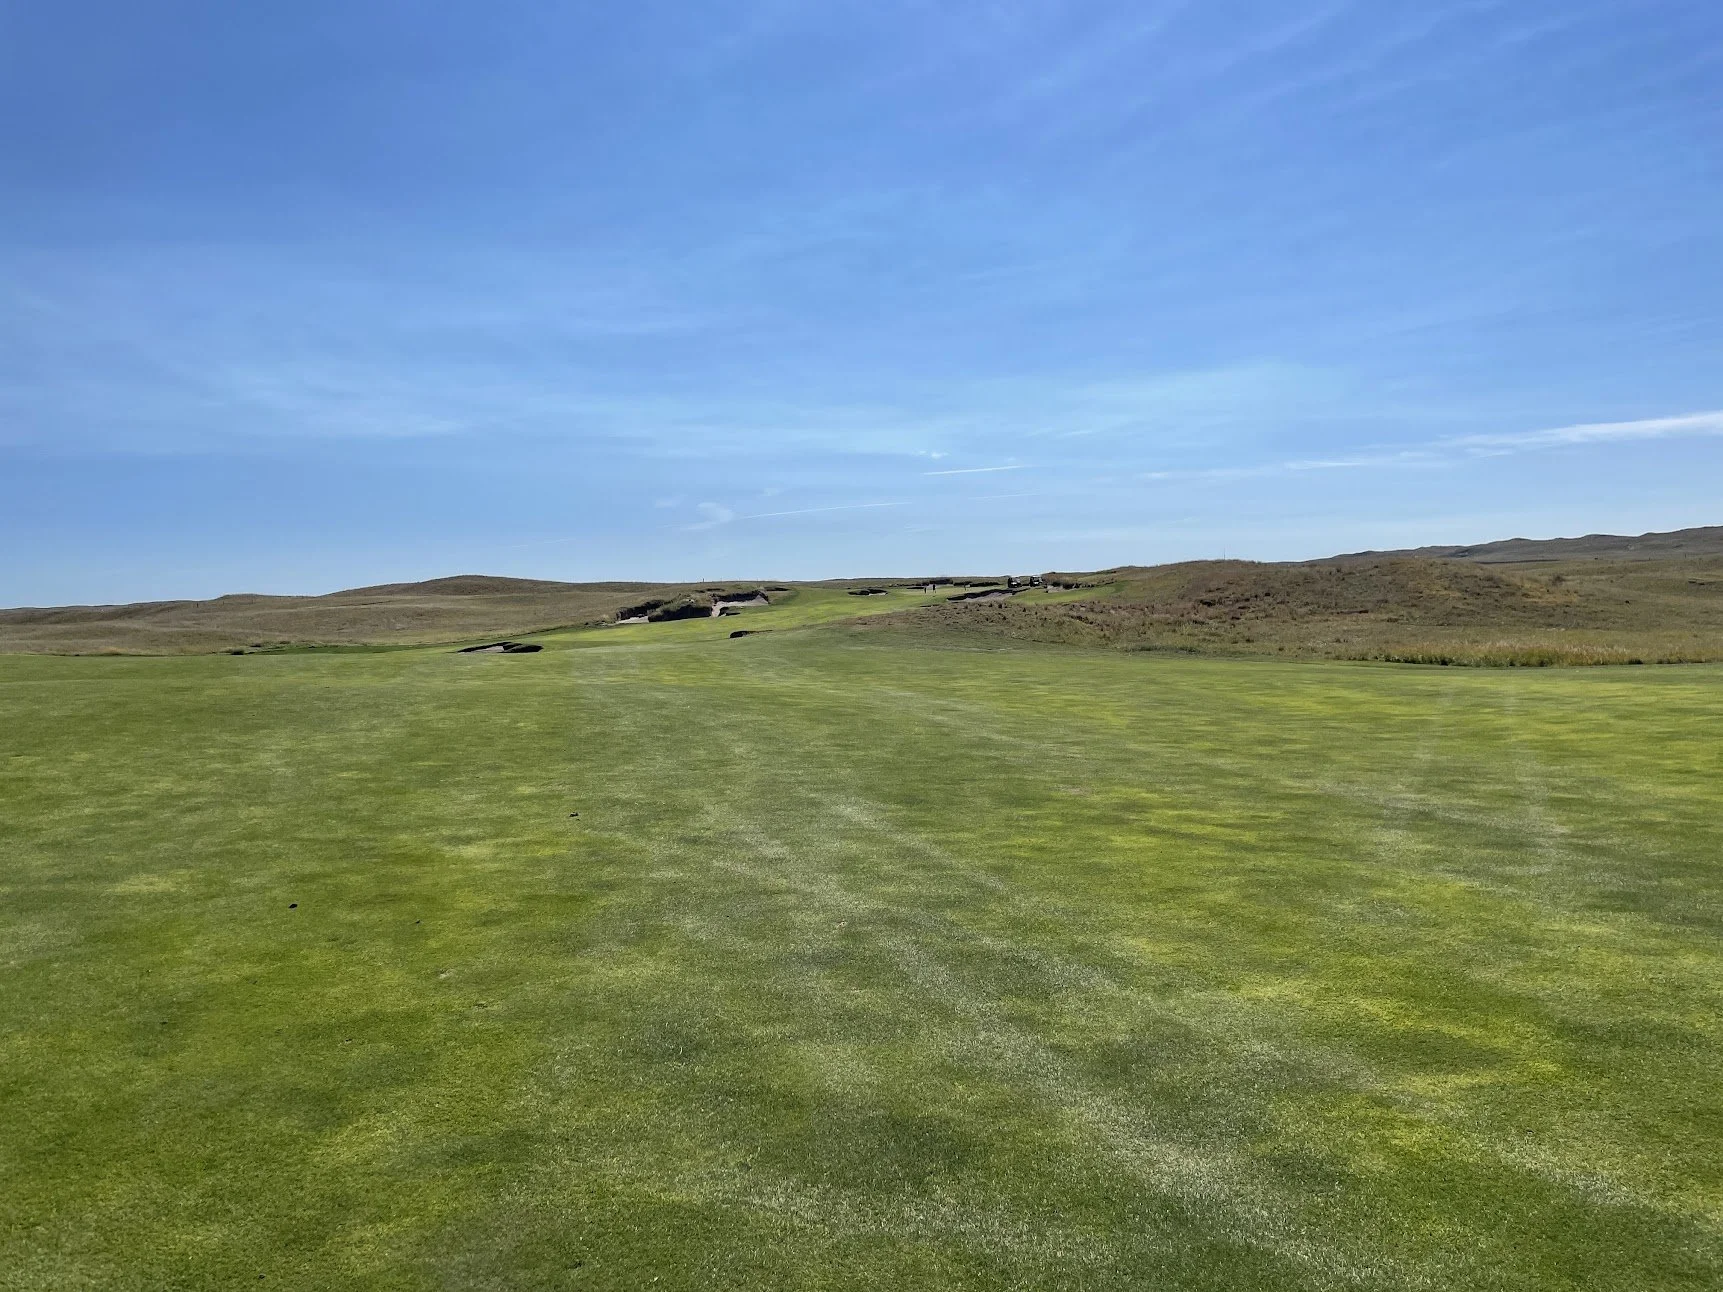
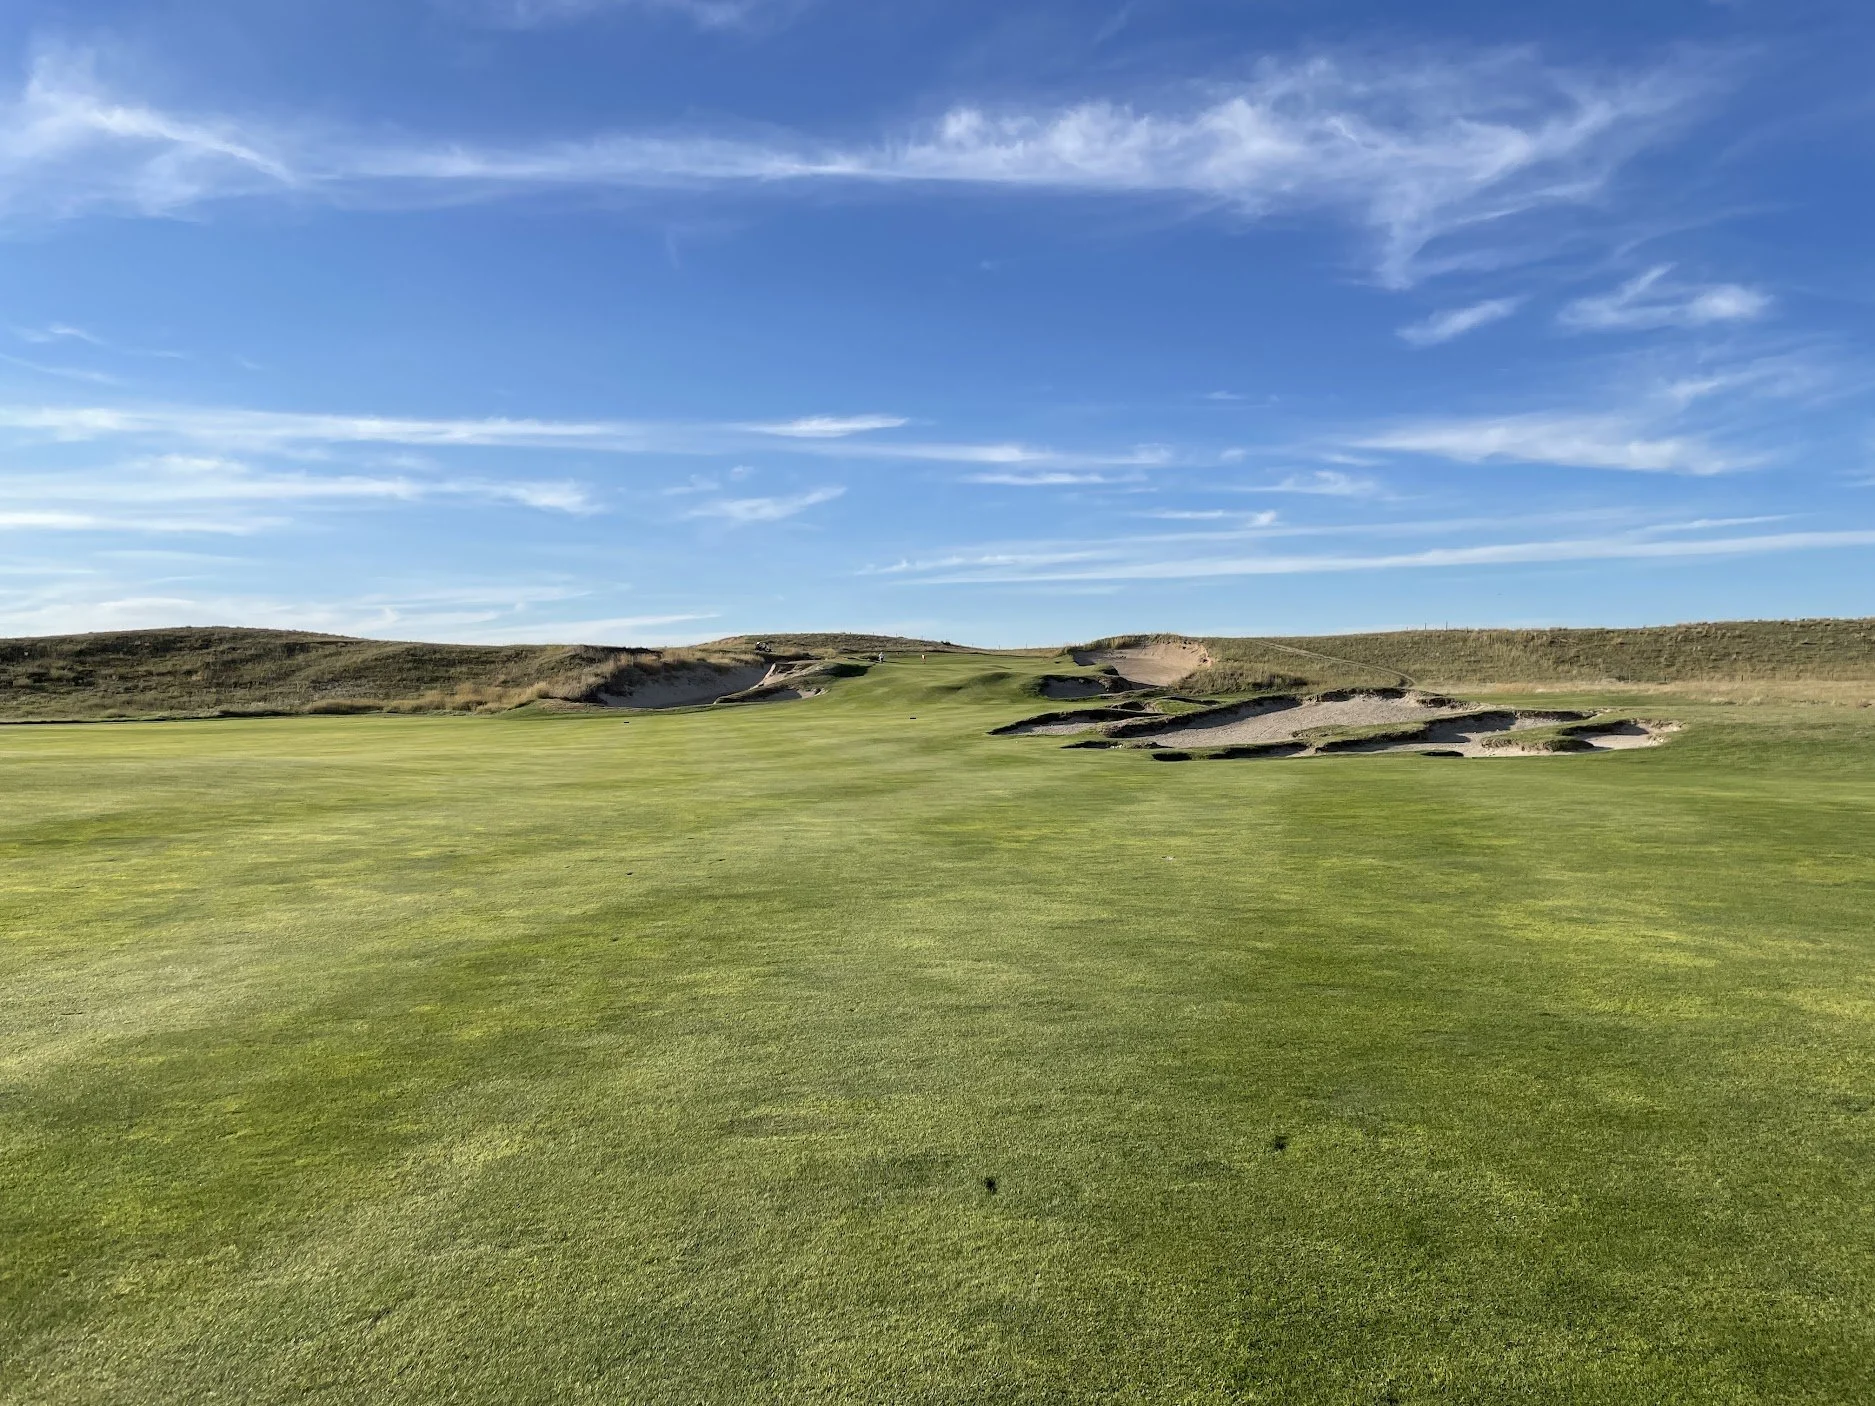
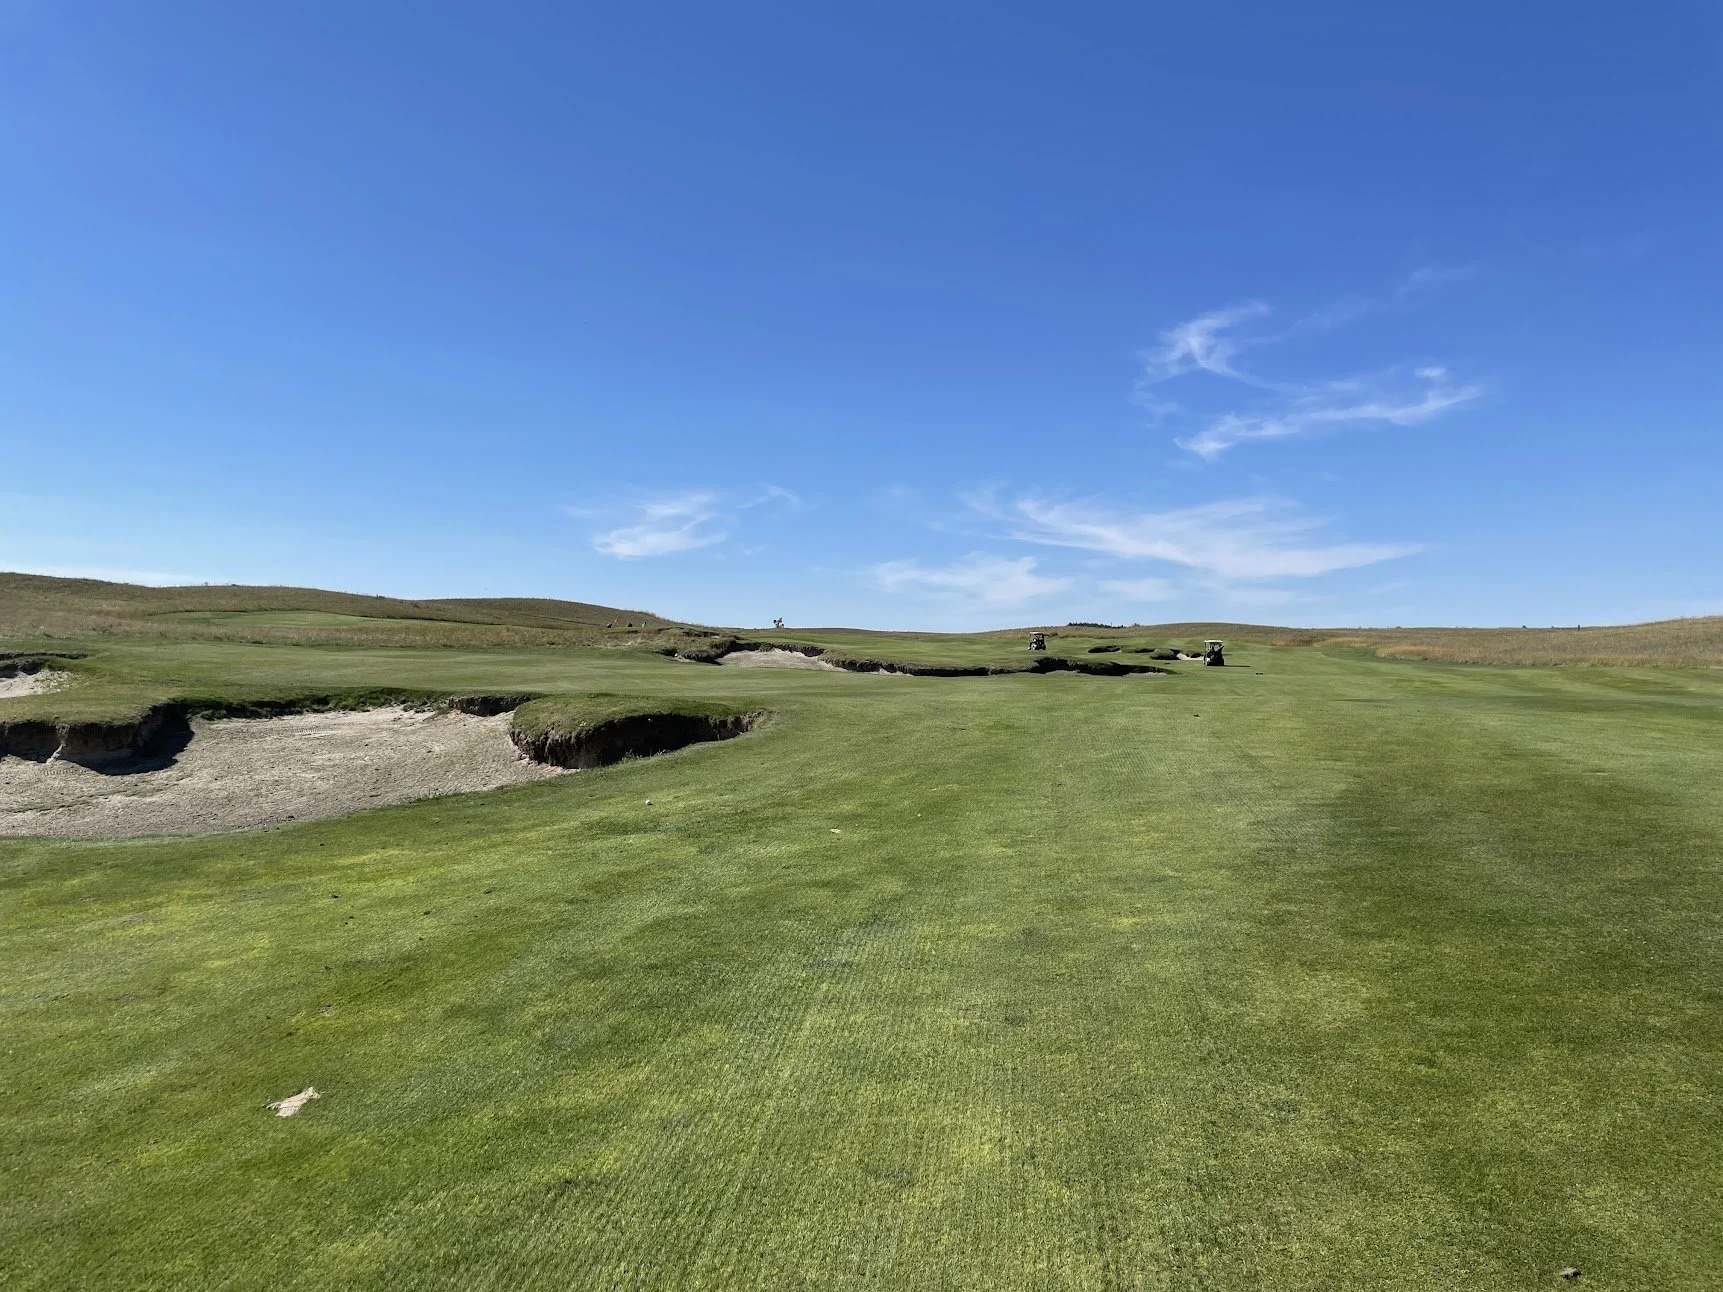
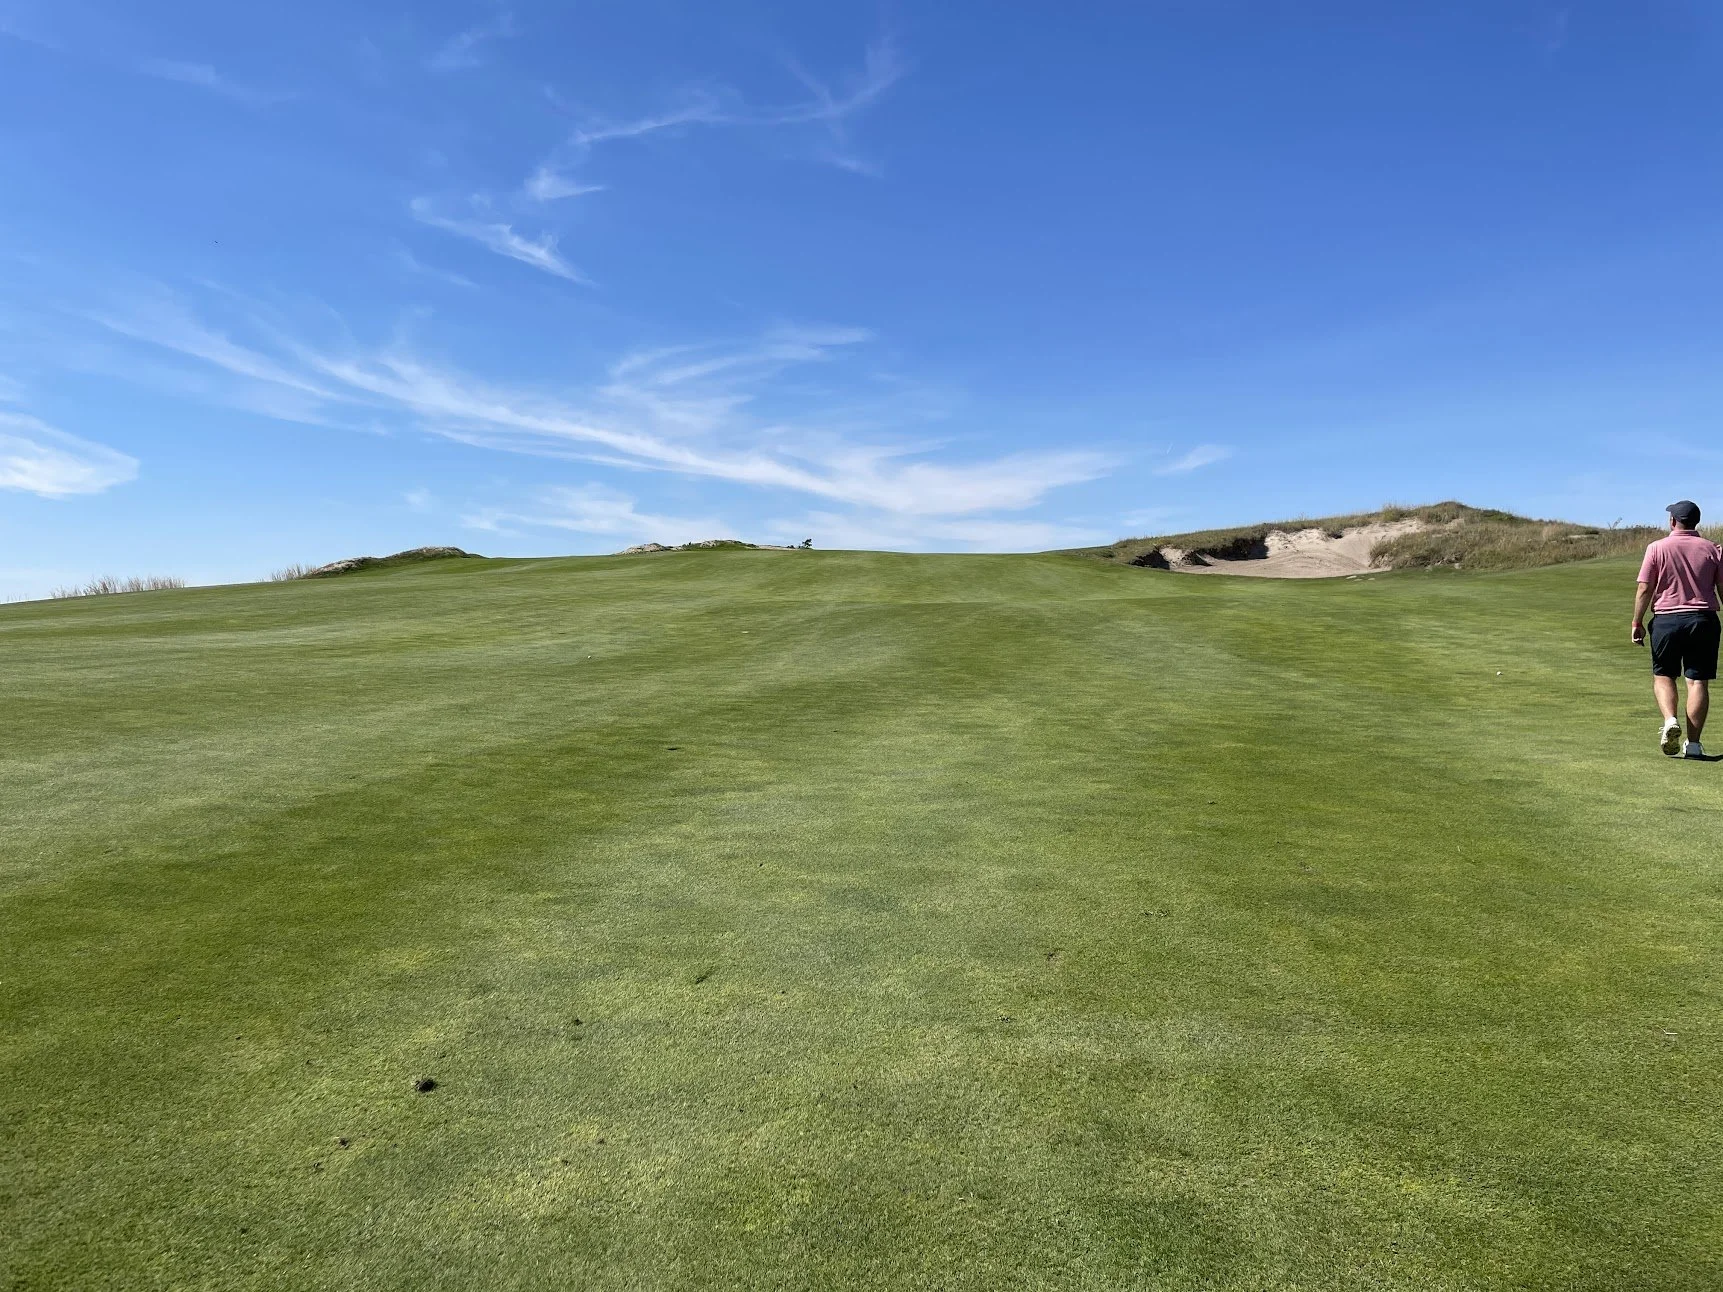
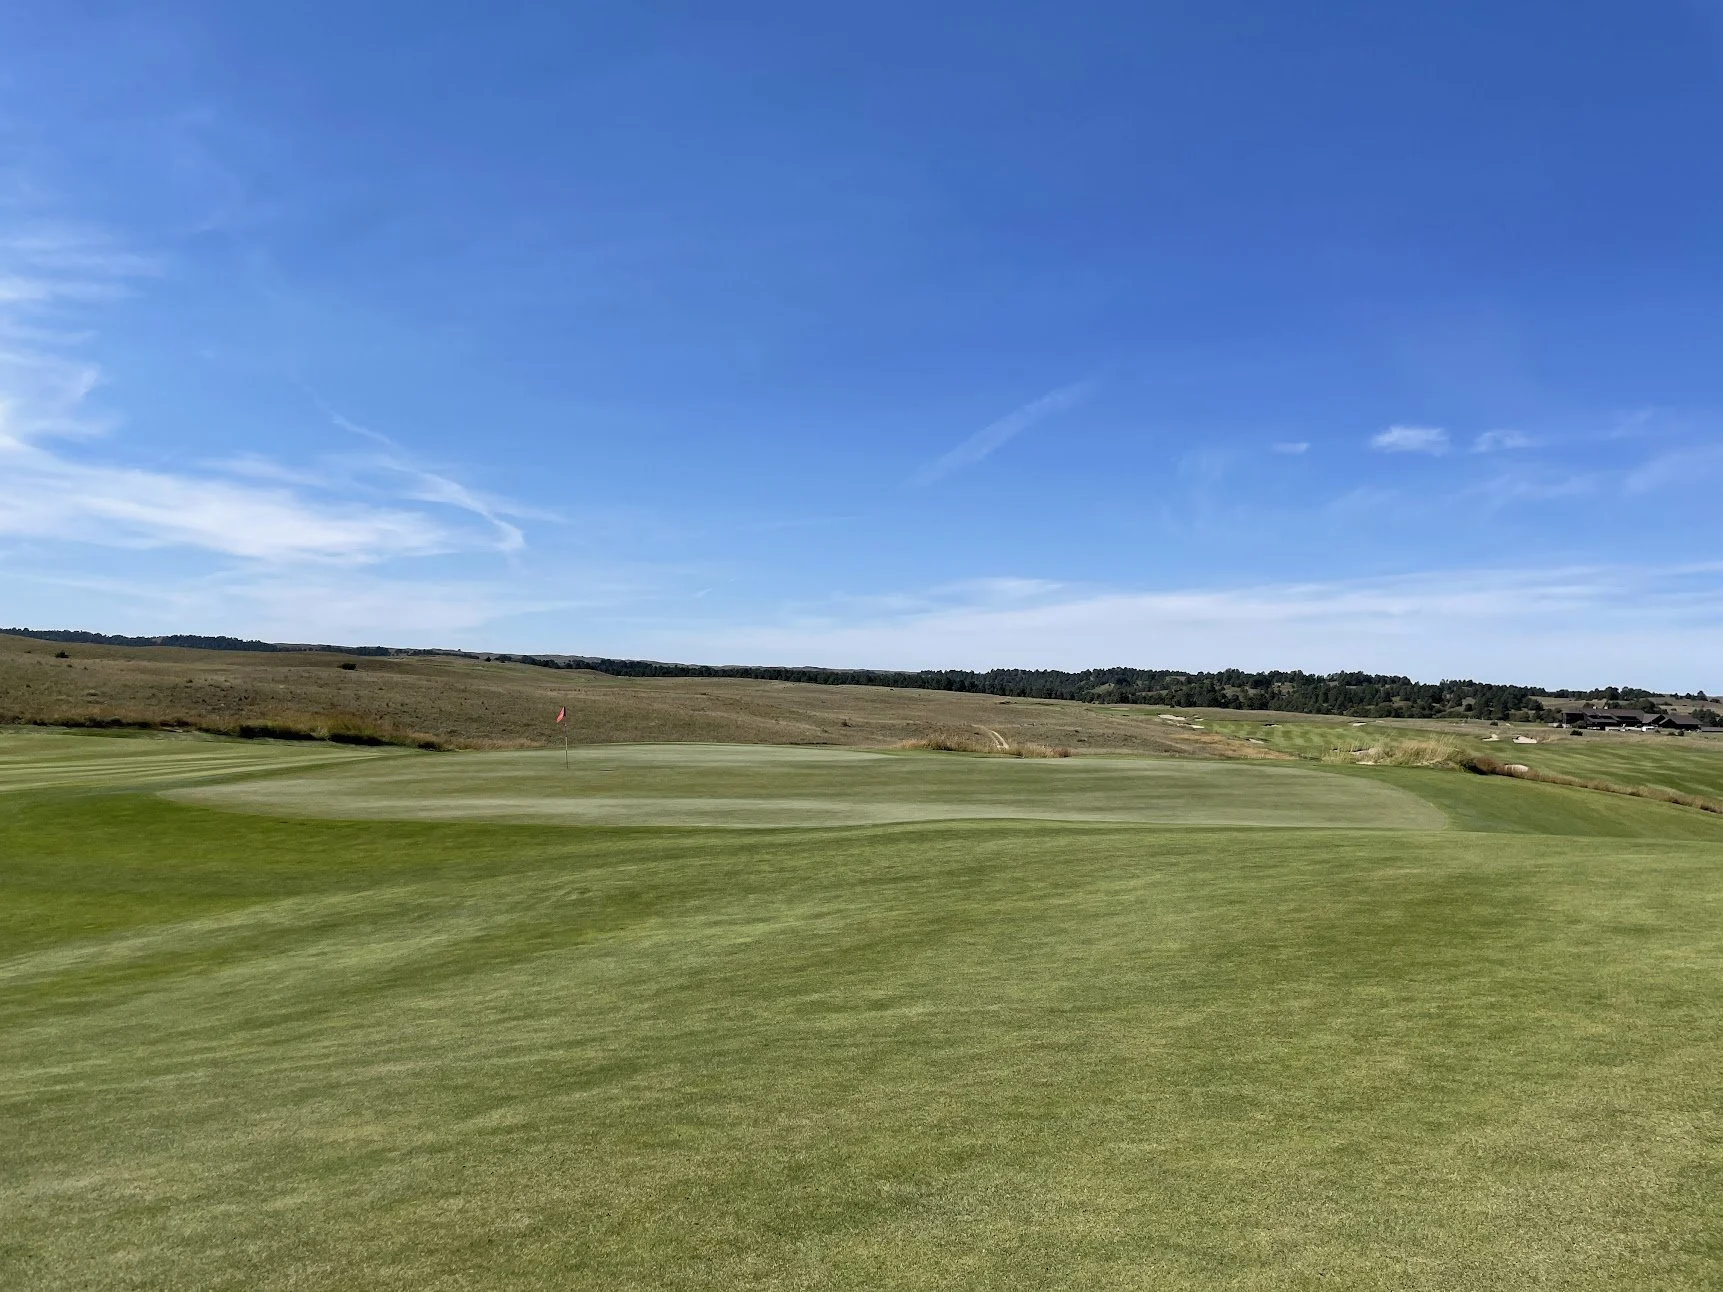
The view below is from the center of the fairway. As you can see, it’s an uphill shot that only allows for a view of the flag, not the actual putting surface.
approach on 1.
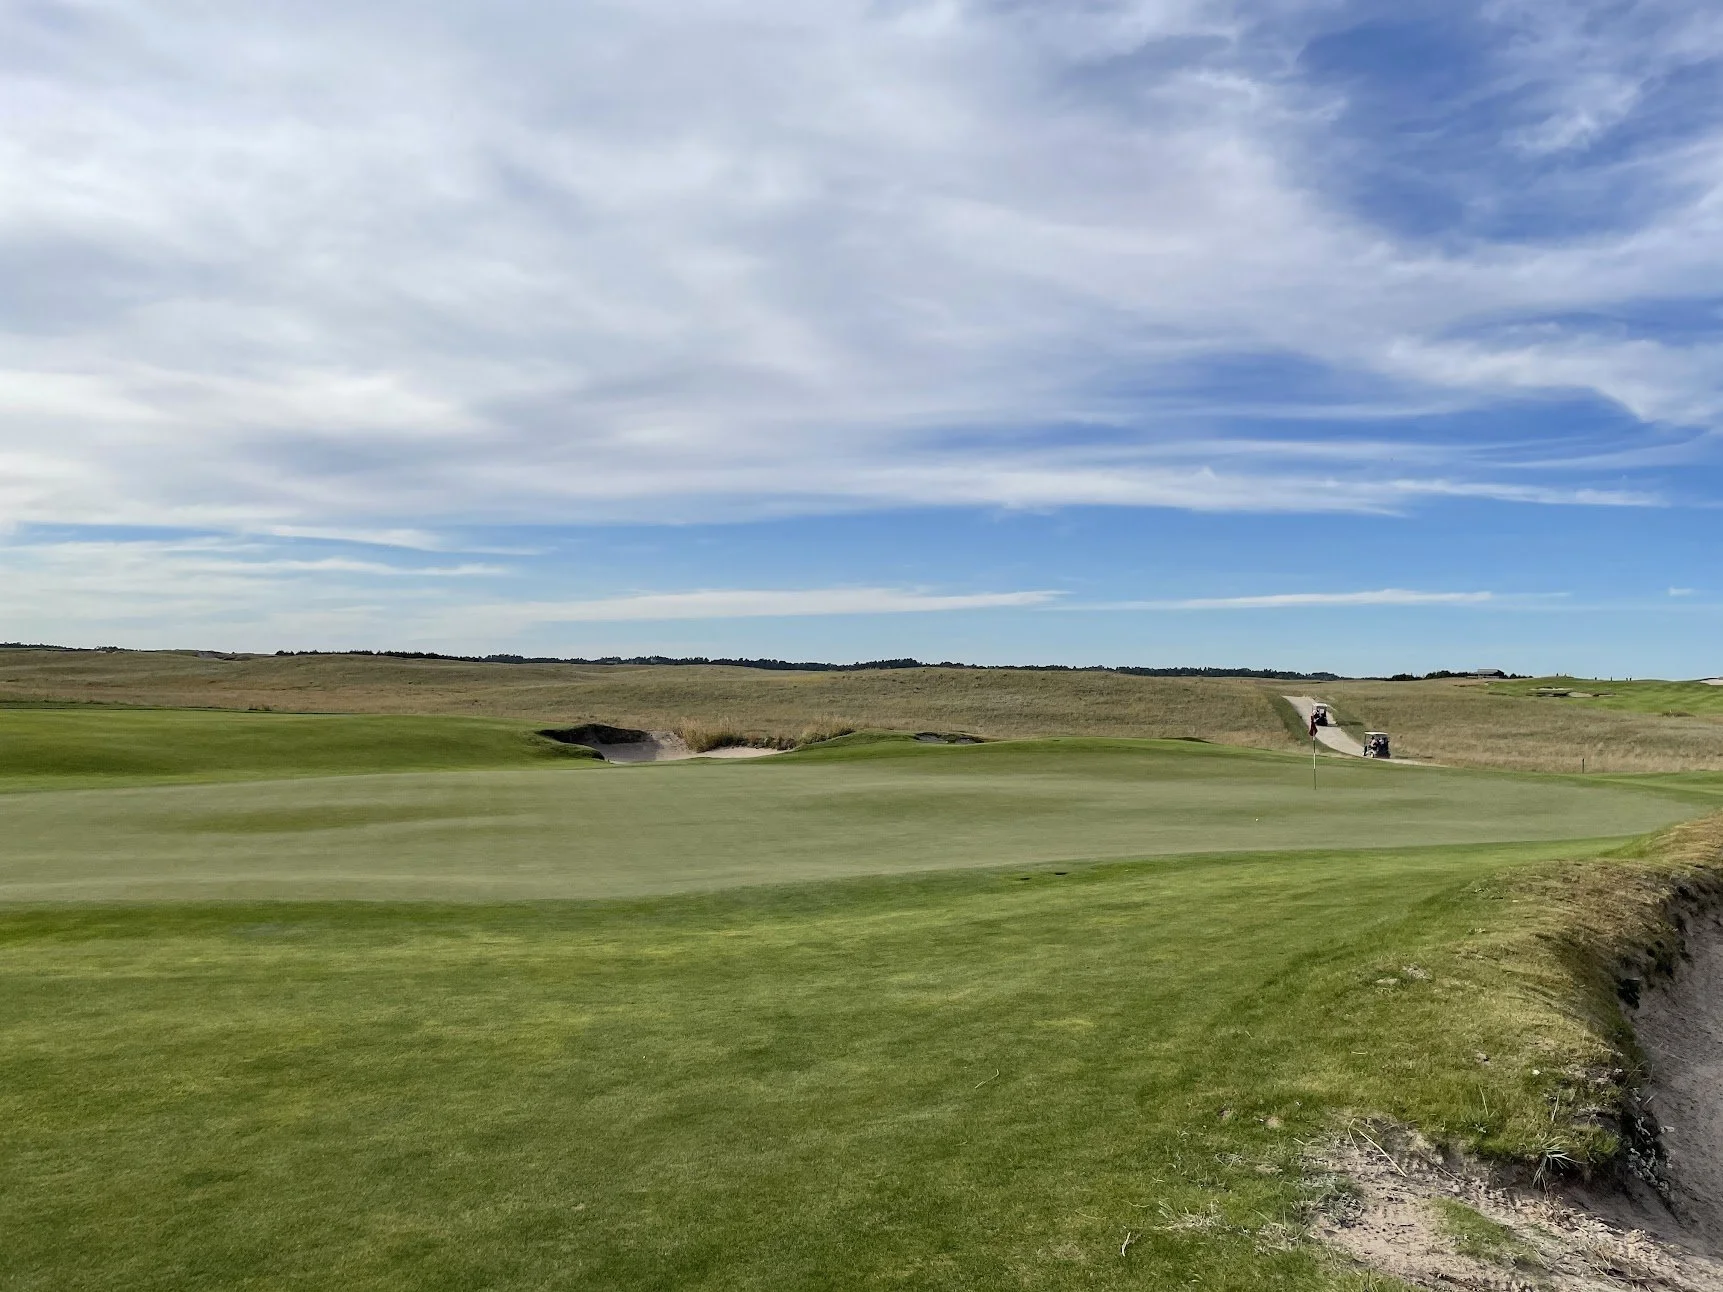
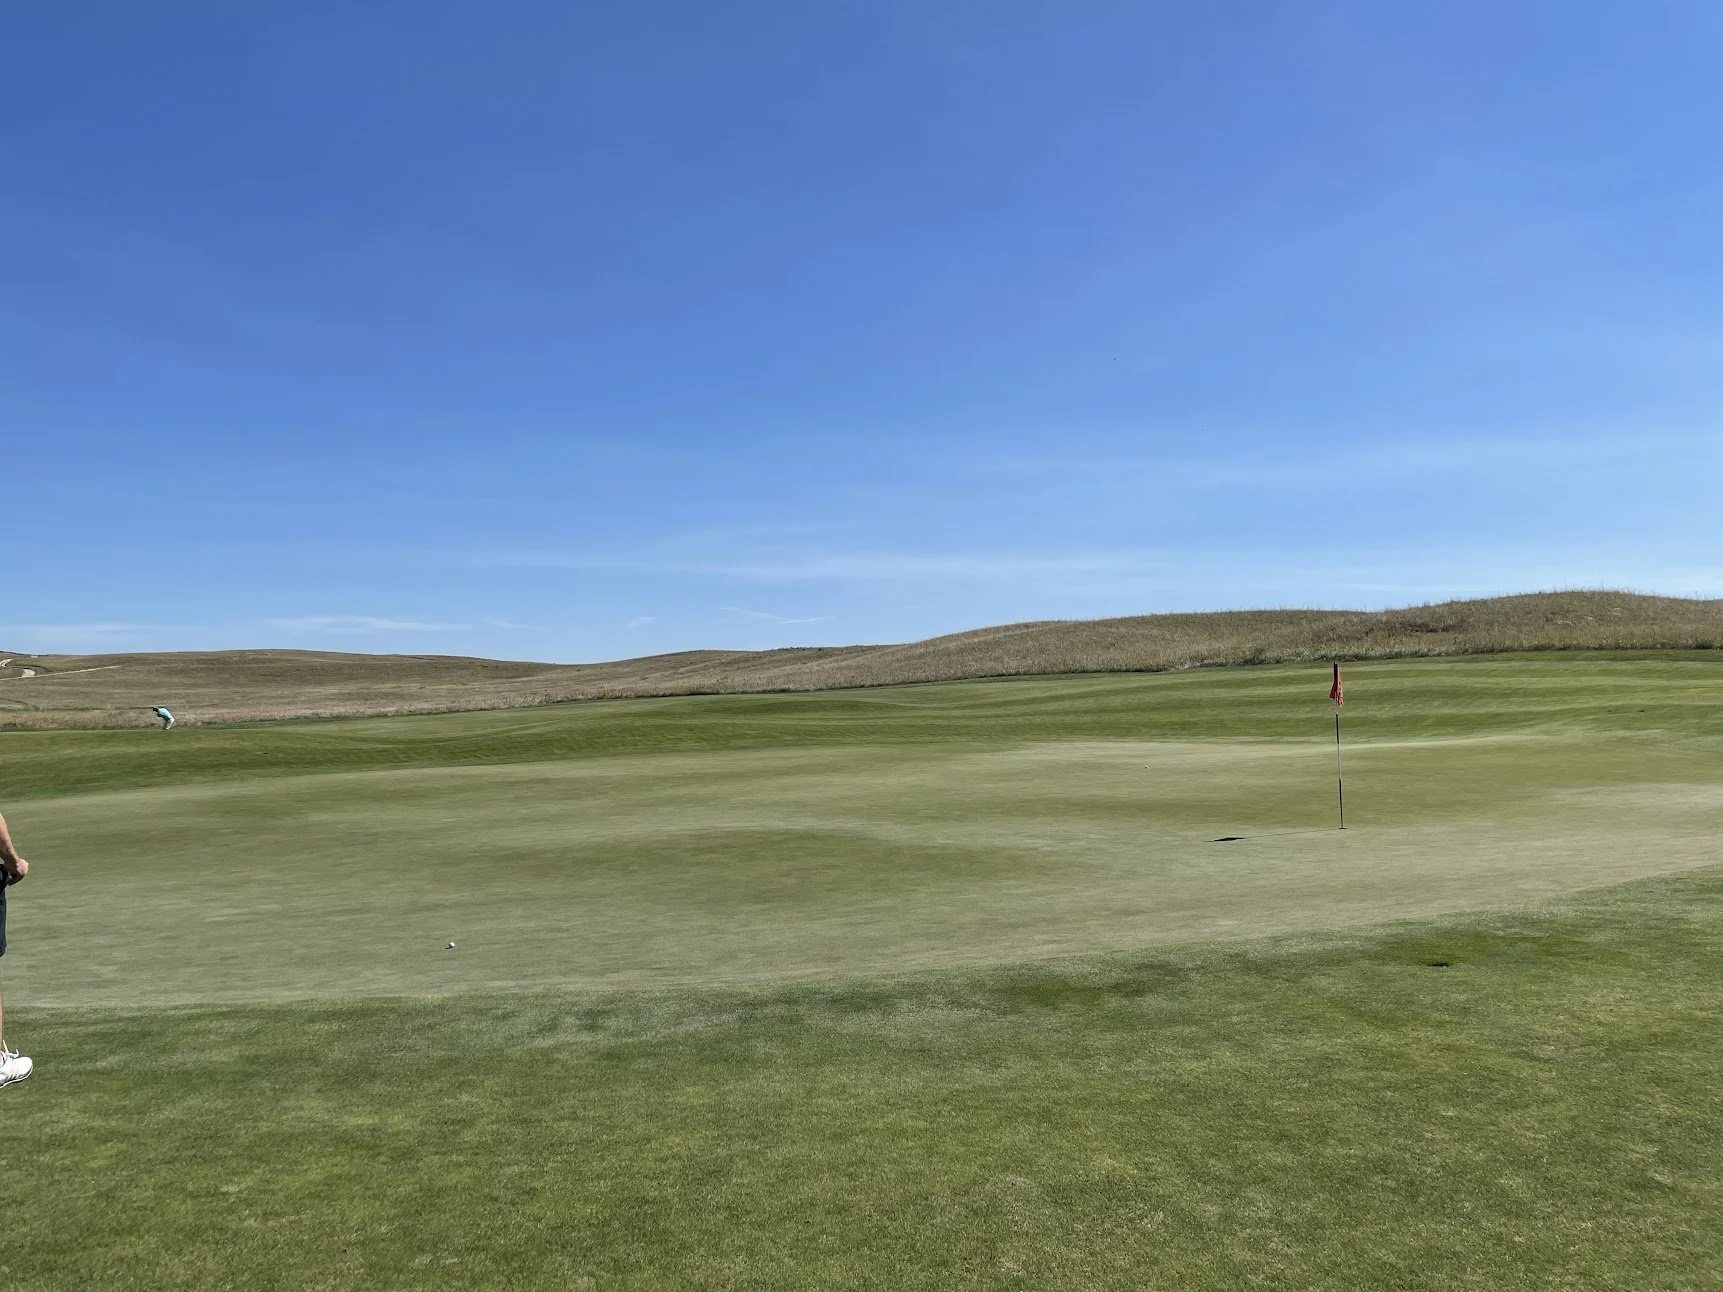
green on 1.
Hole 2: ⛳️
The first thing I noticed on the second tee box is the out-of-bounds down the right. Players who miss the fairway by even the smallest amount right will be re-teeing. There’s plenty of room left, so that’s the best line to keep it in play.
tee on 2.
Hitting the fairway will still leave in a fairly long approach into a narrow green. A bunker left and a tree right that fronts the out-of-bounds makes this an intimidating shot.
approach on 2.
green on 2.
Hole 3: ⛳️
The first par 5 on the golf course is a fairly long one. A large bunker off the right should be avoided at all cost as it’s deep and punishing. The line off this tee box is just right of the center bunker.
tee on 3.
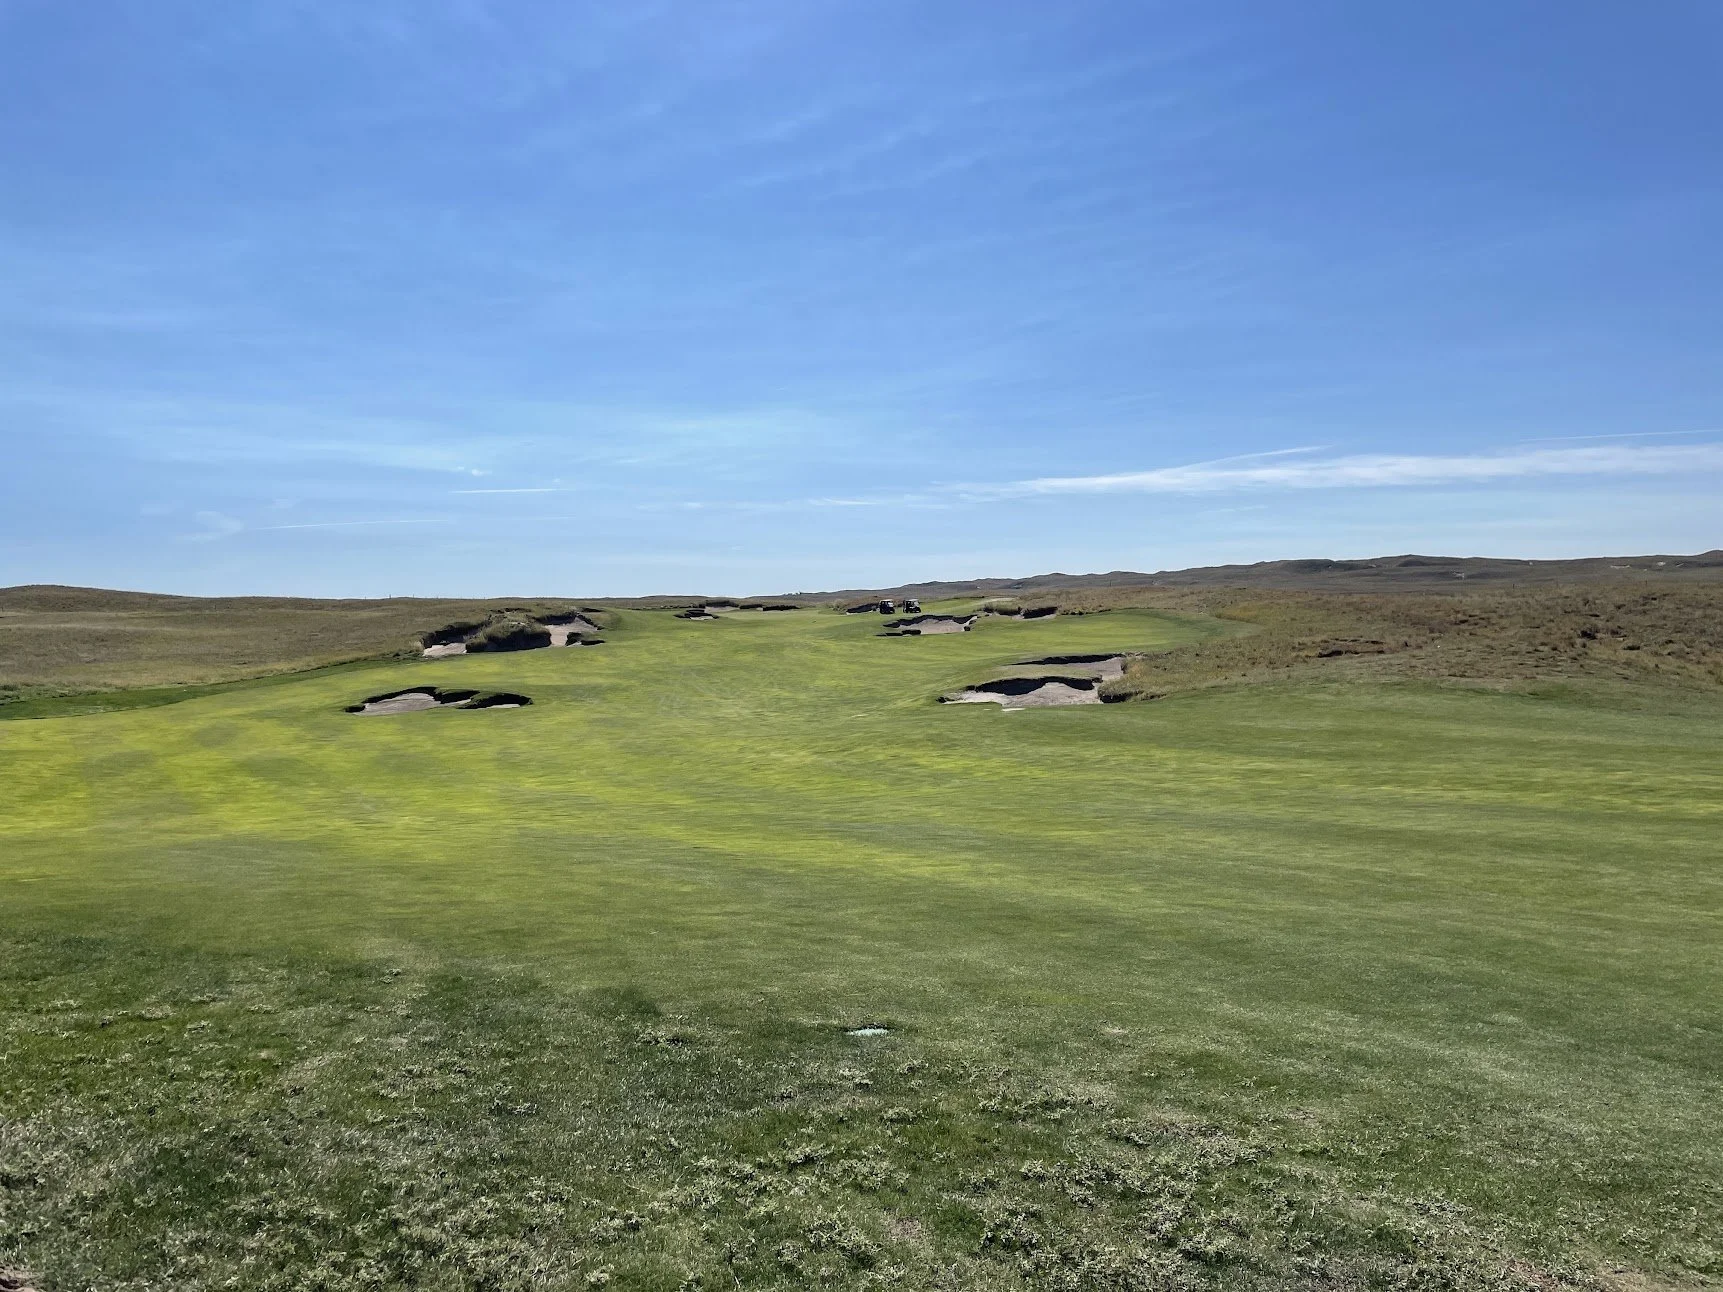
approach on 3.
A bunker protects the green short and right. It’ll only come into play on the third shot as the second is most likely a lay-up.
approach on 3.

green on 3.
Hole 4: ⛳️
The fourth is a par 3 that can play a variety of distances due to the long narrow green that tails off to the right. Missing in the front when the pin is back, or vice versa, will be a near impossible two putt.
tee on 4.

green on 4.
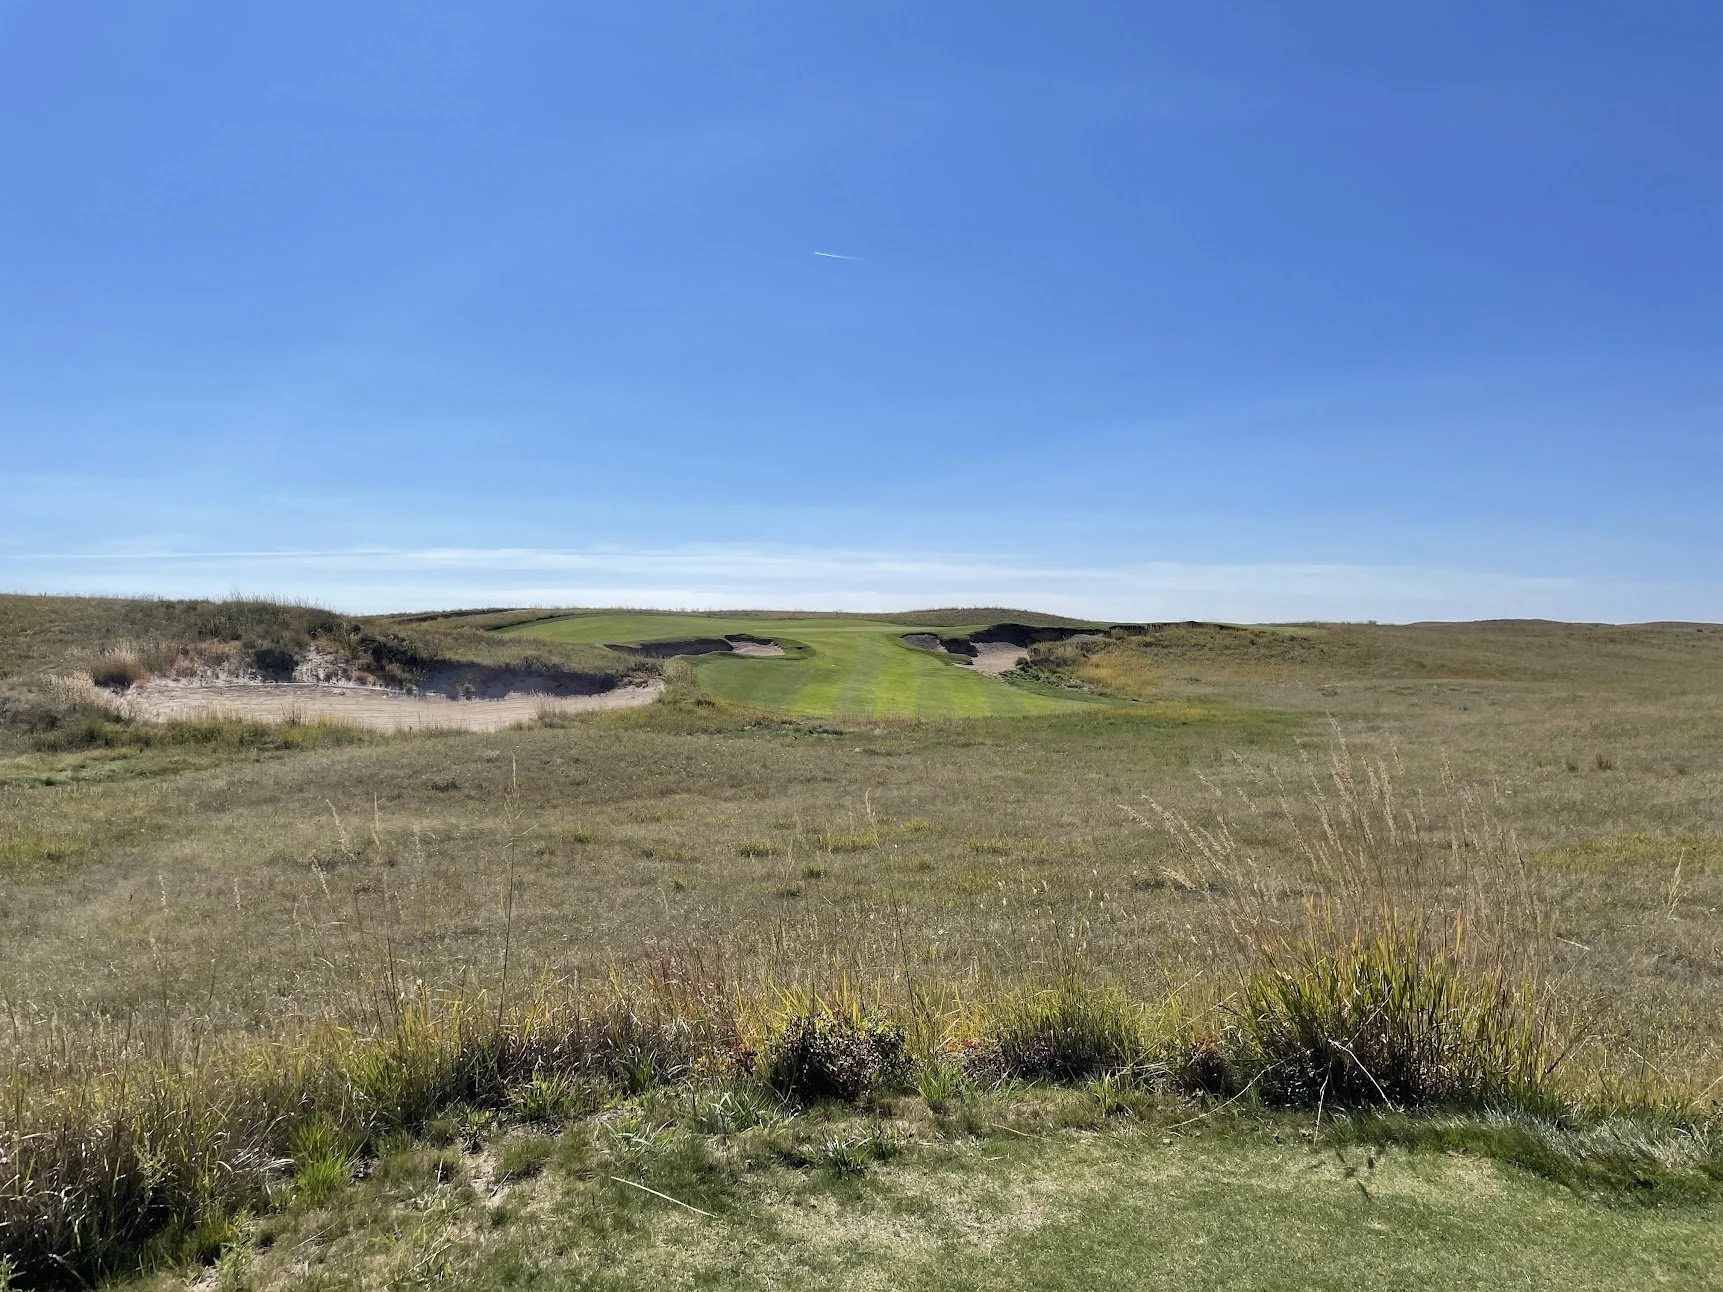
Hole 5: ⛳️
The fifth was one of my favorite holes on the entire property, even though I never played it well. It’s tempting to hit driver since it’s a shorter hole, but players can really get into trouble if they don’t hit it perfect. The line with a driver is between the bunker on the right and the far center bunker. Anything left or right of that will probably end up in the long grass or sand. Hitting a hybrid off the tee and laying back will leave a short iron in.
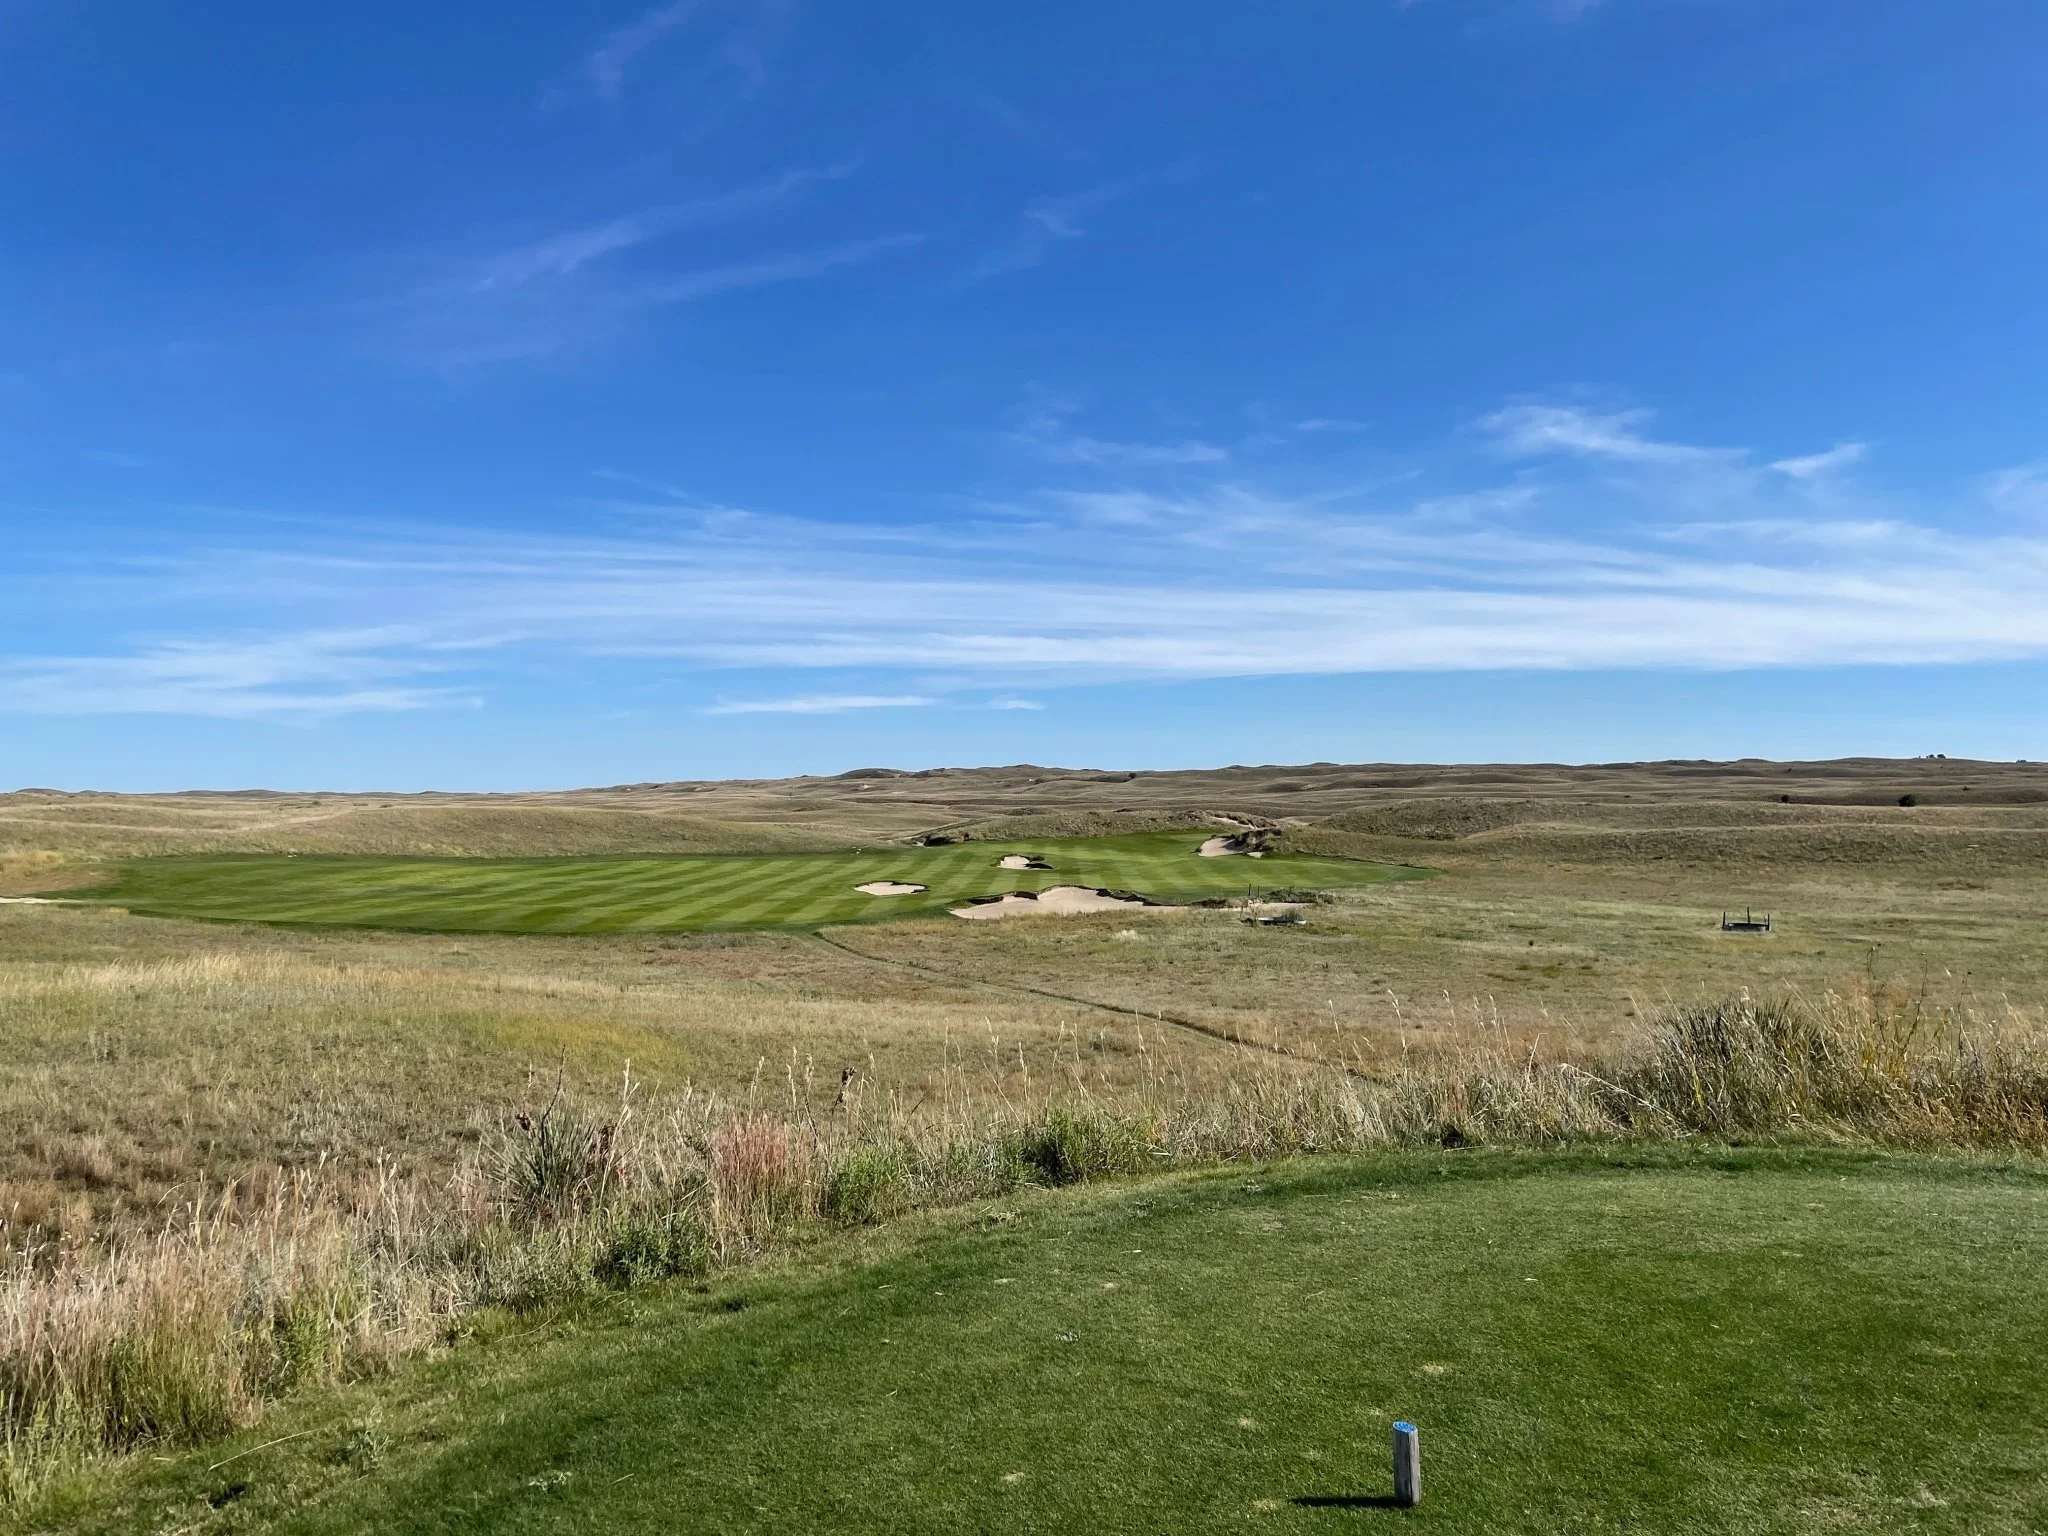
tee on 5.
The view below is just short of the far center bunker. As you can see, the green is tucked, but manageable with a wedge.
approach on 5.
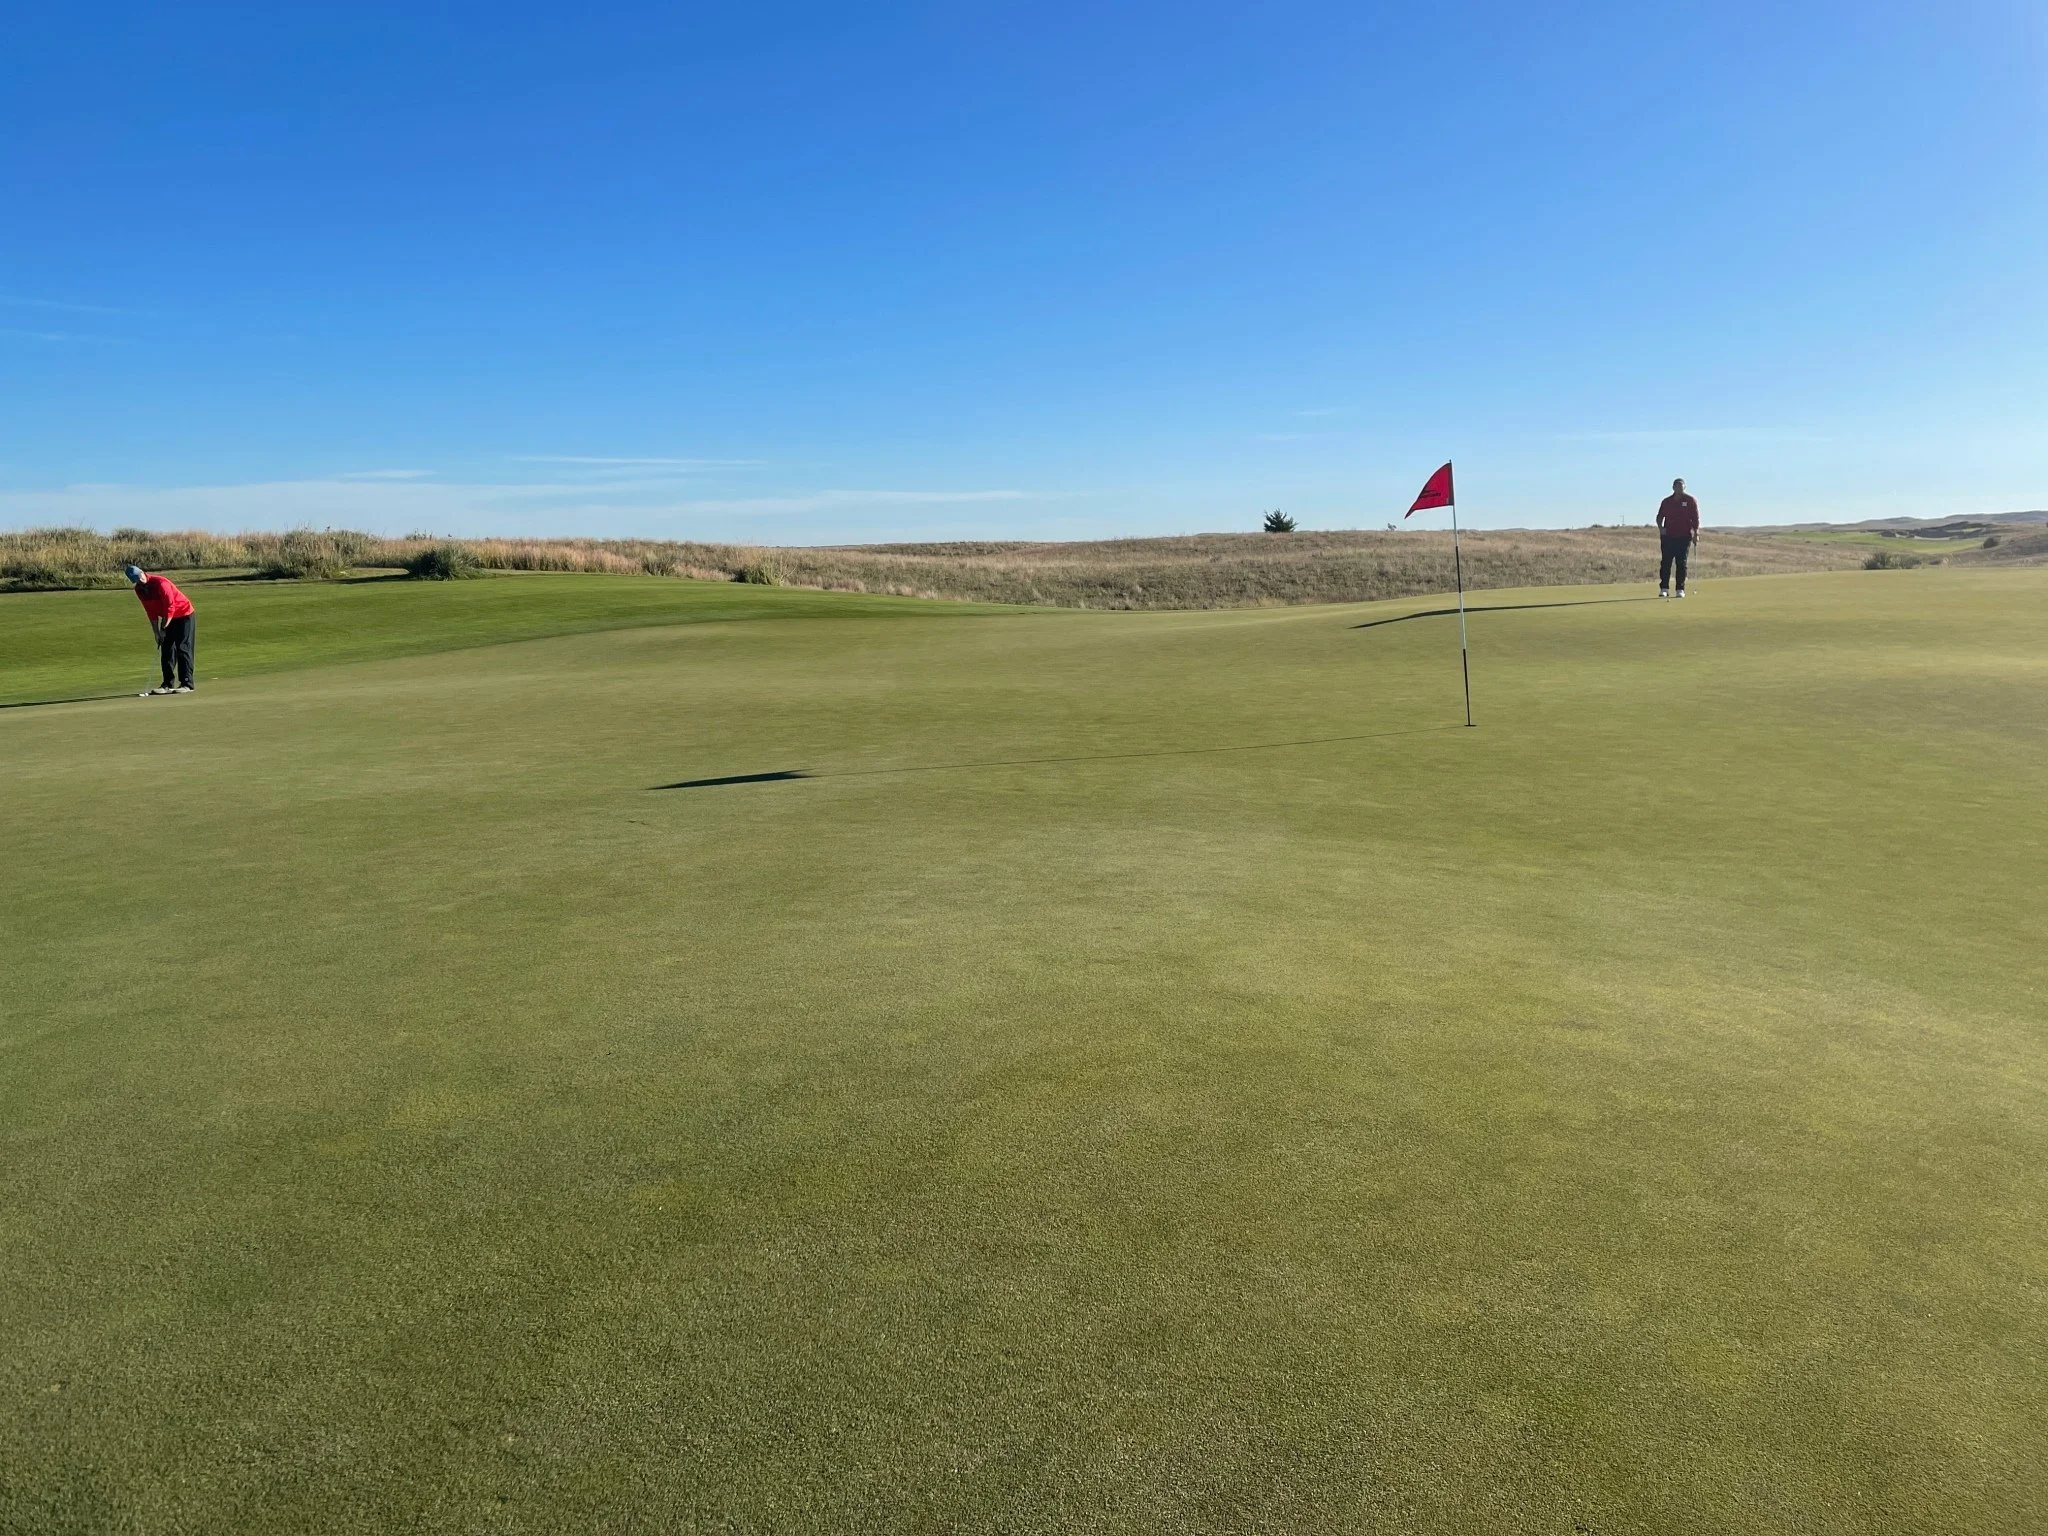
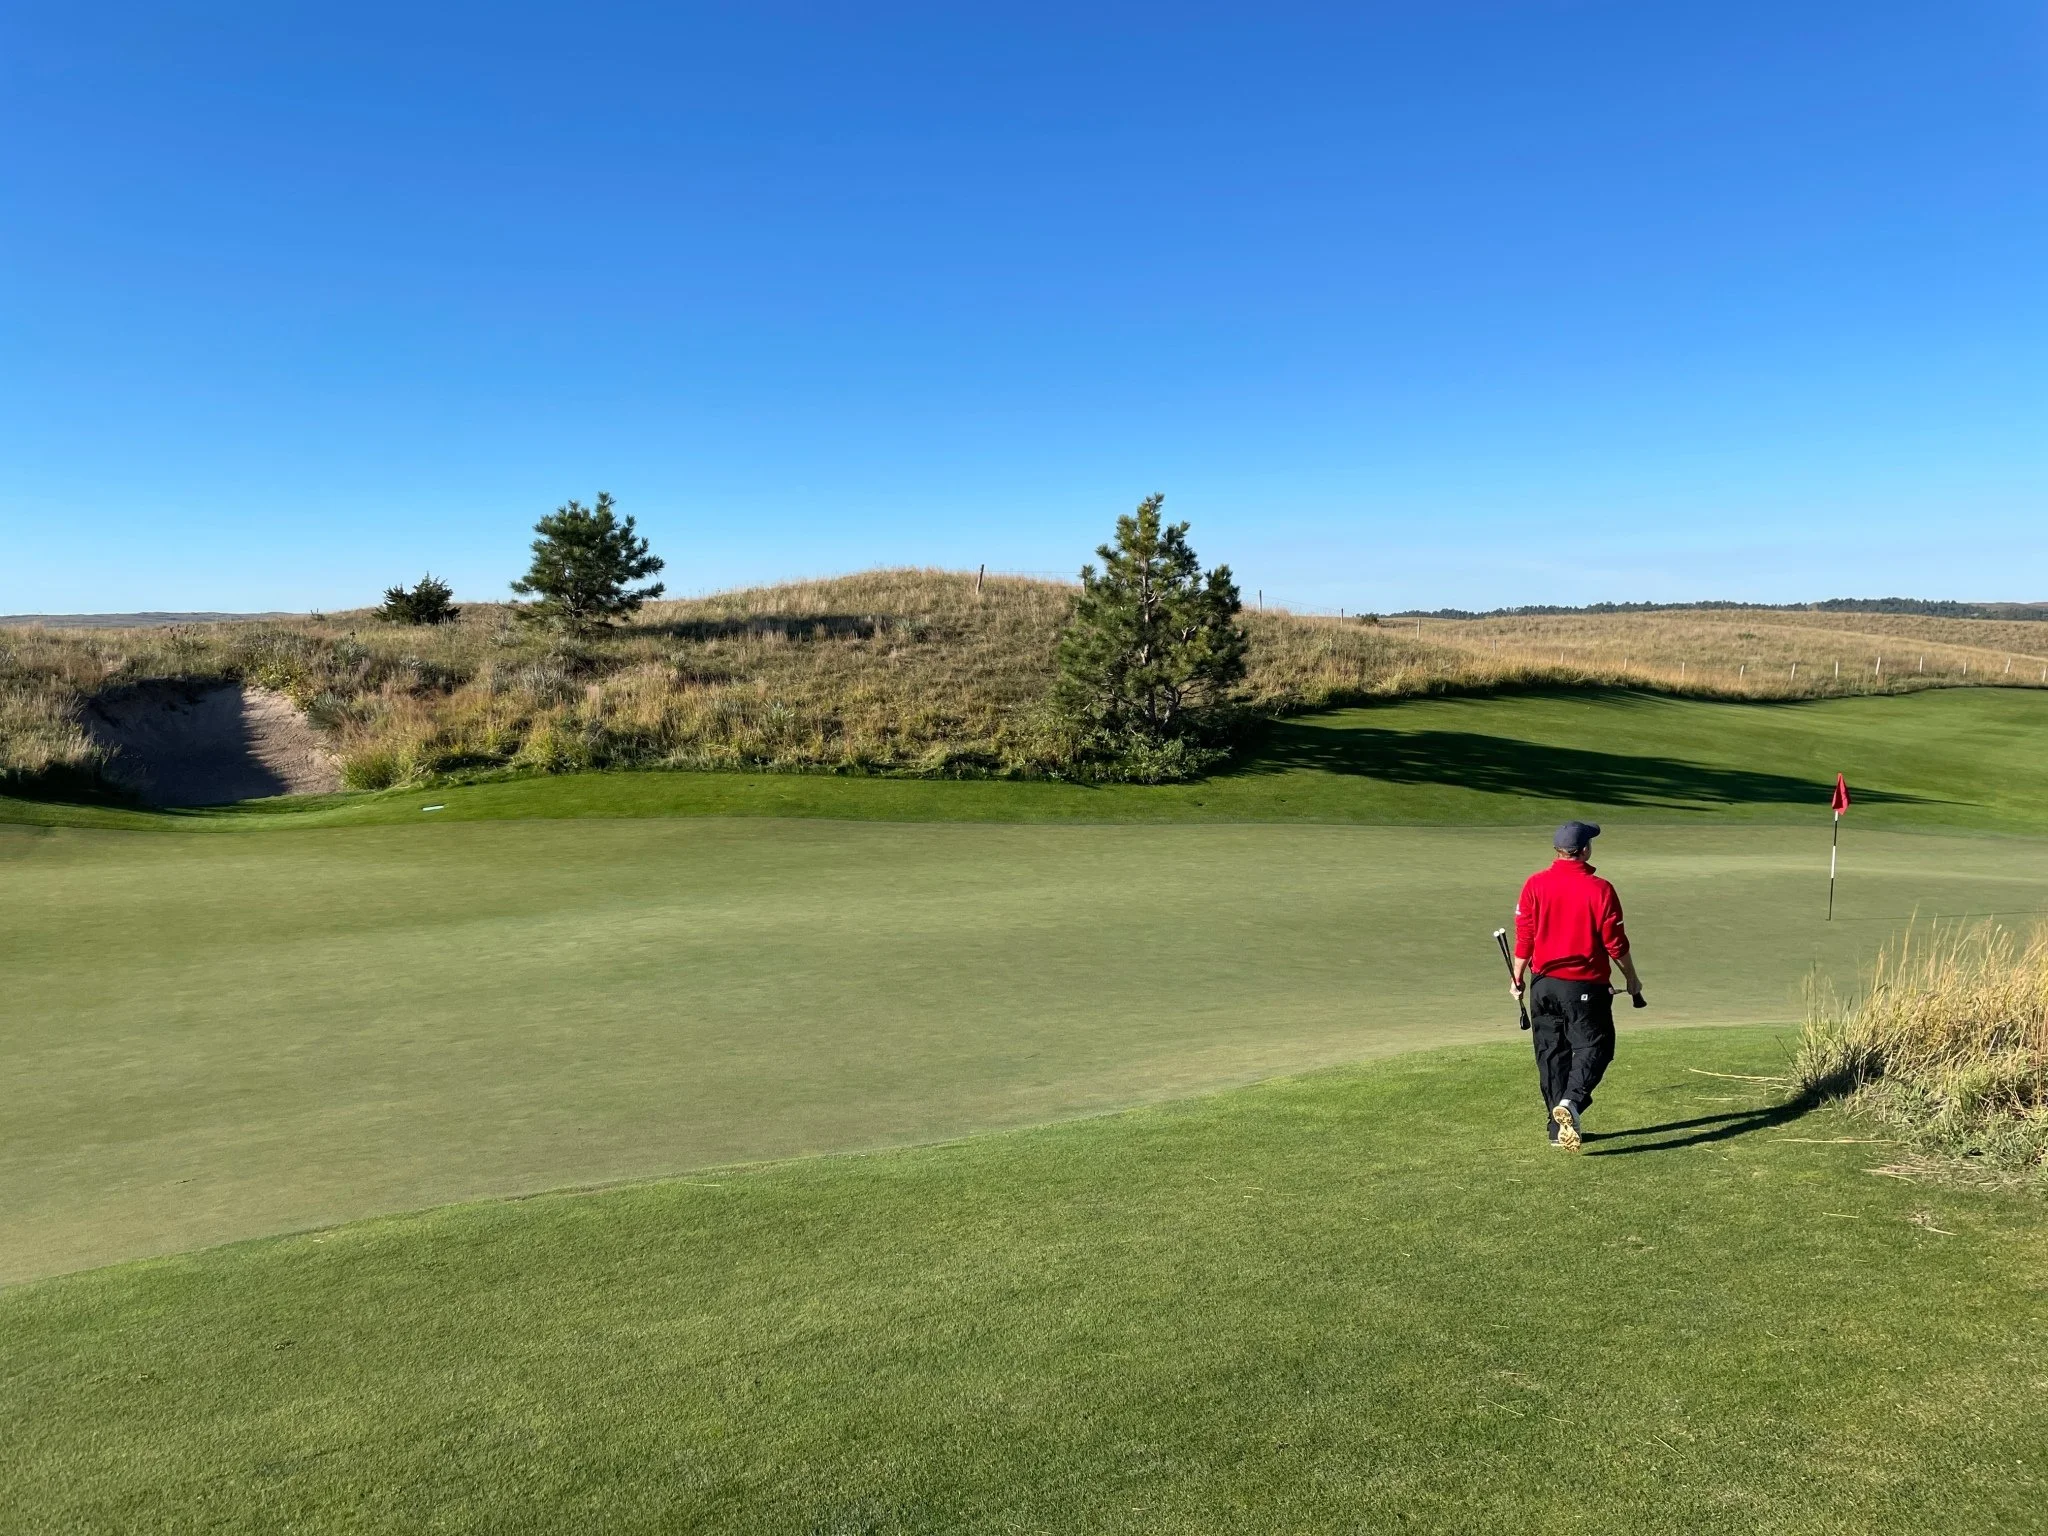
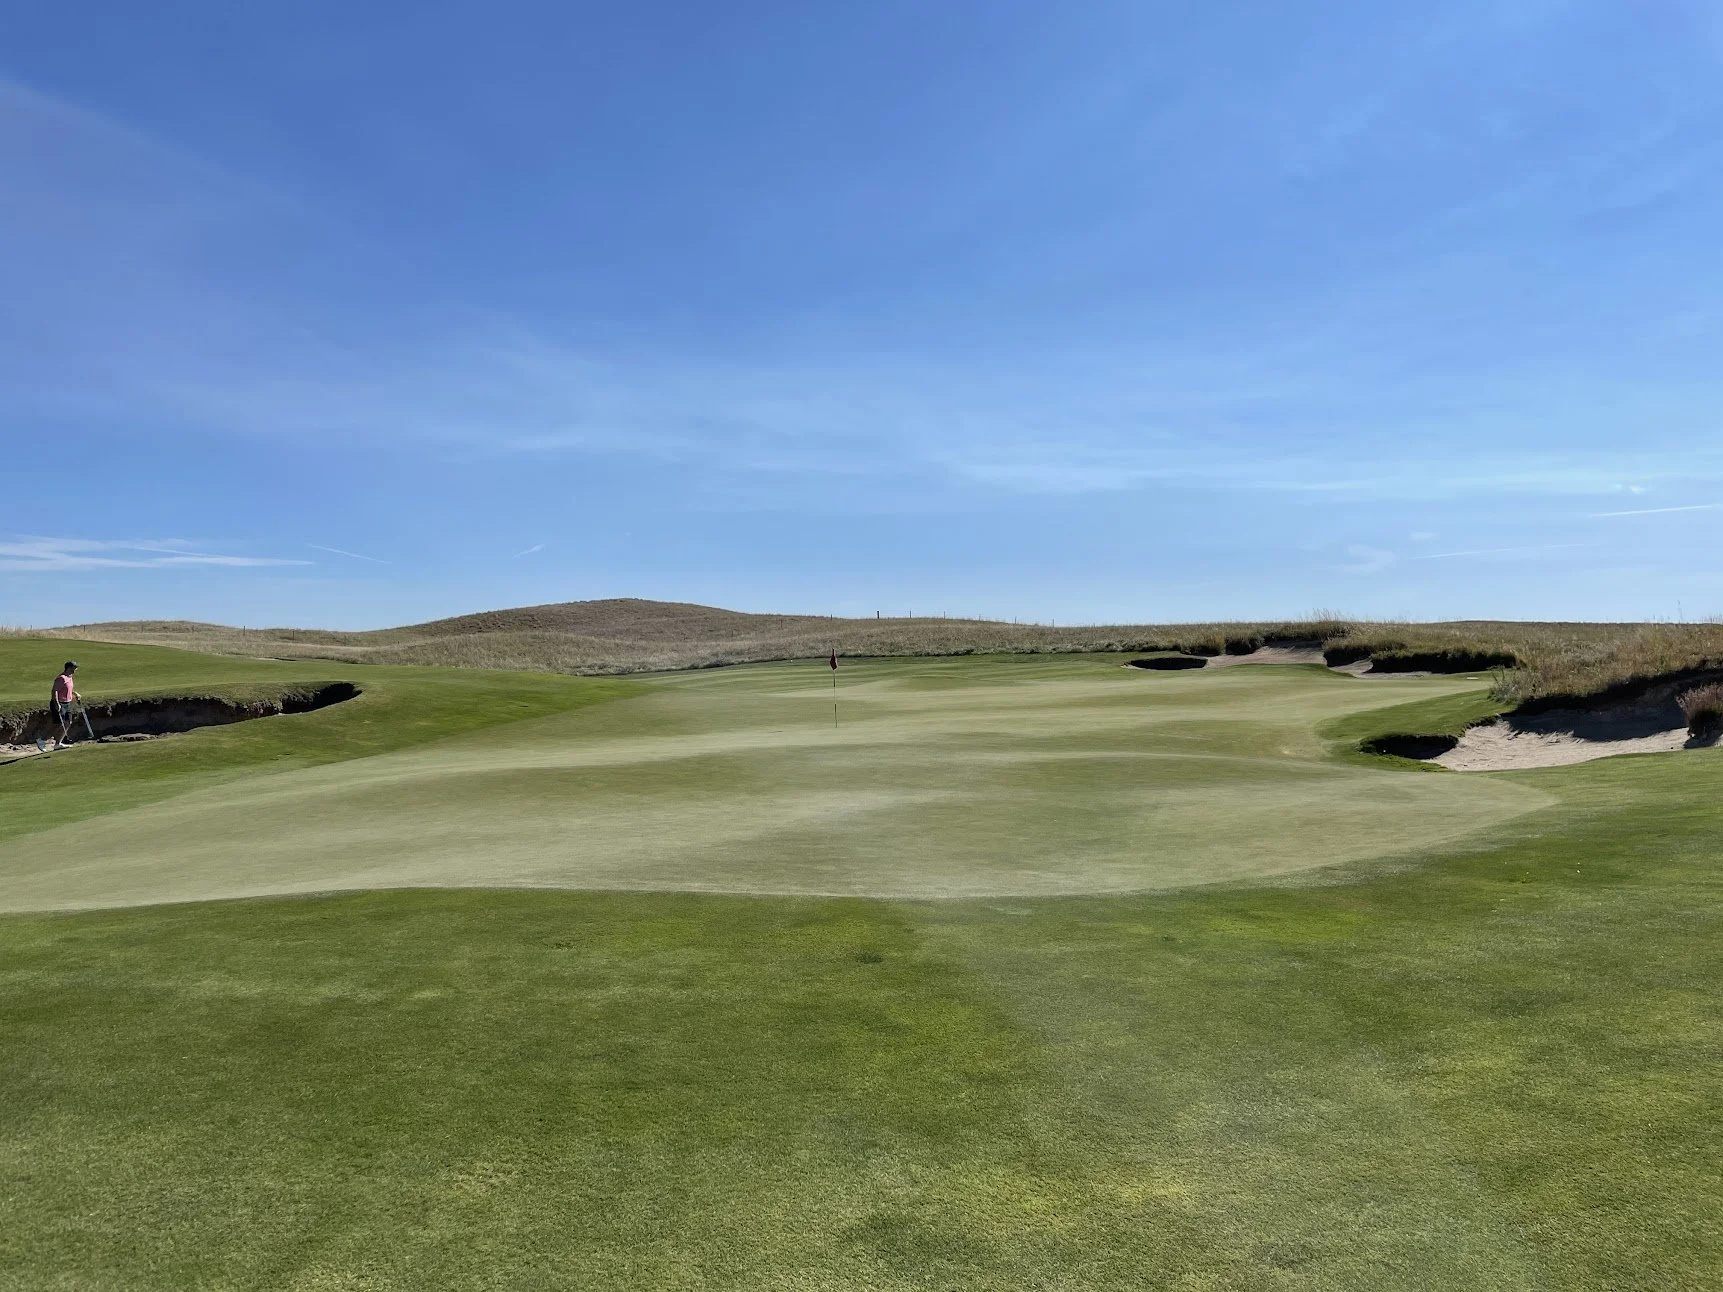
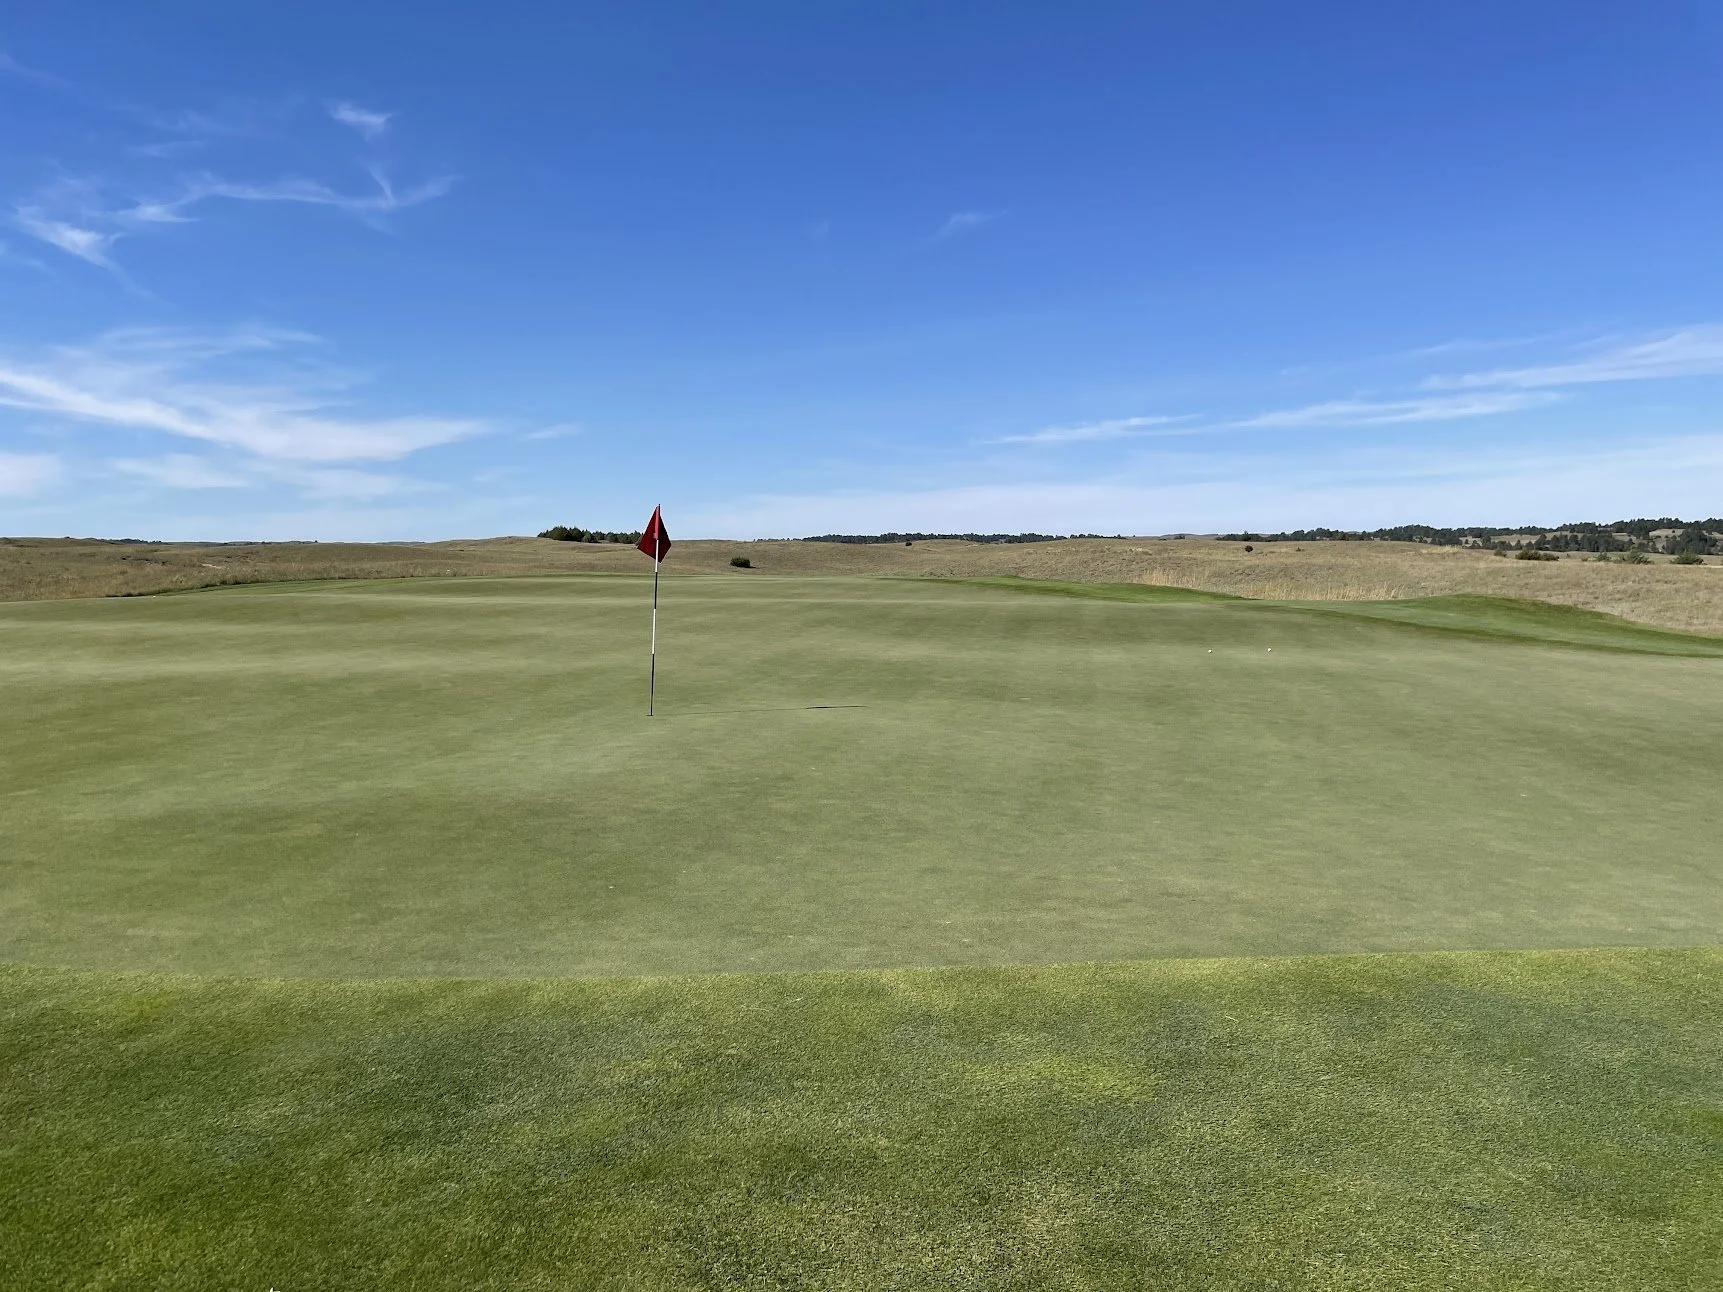
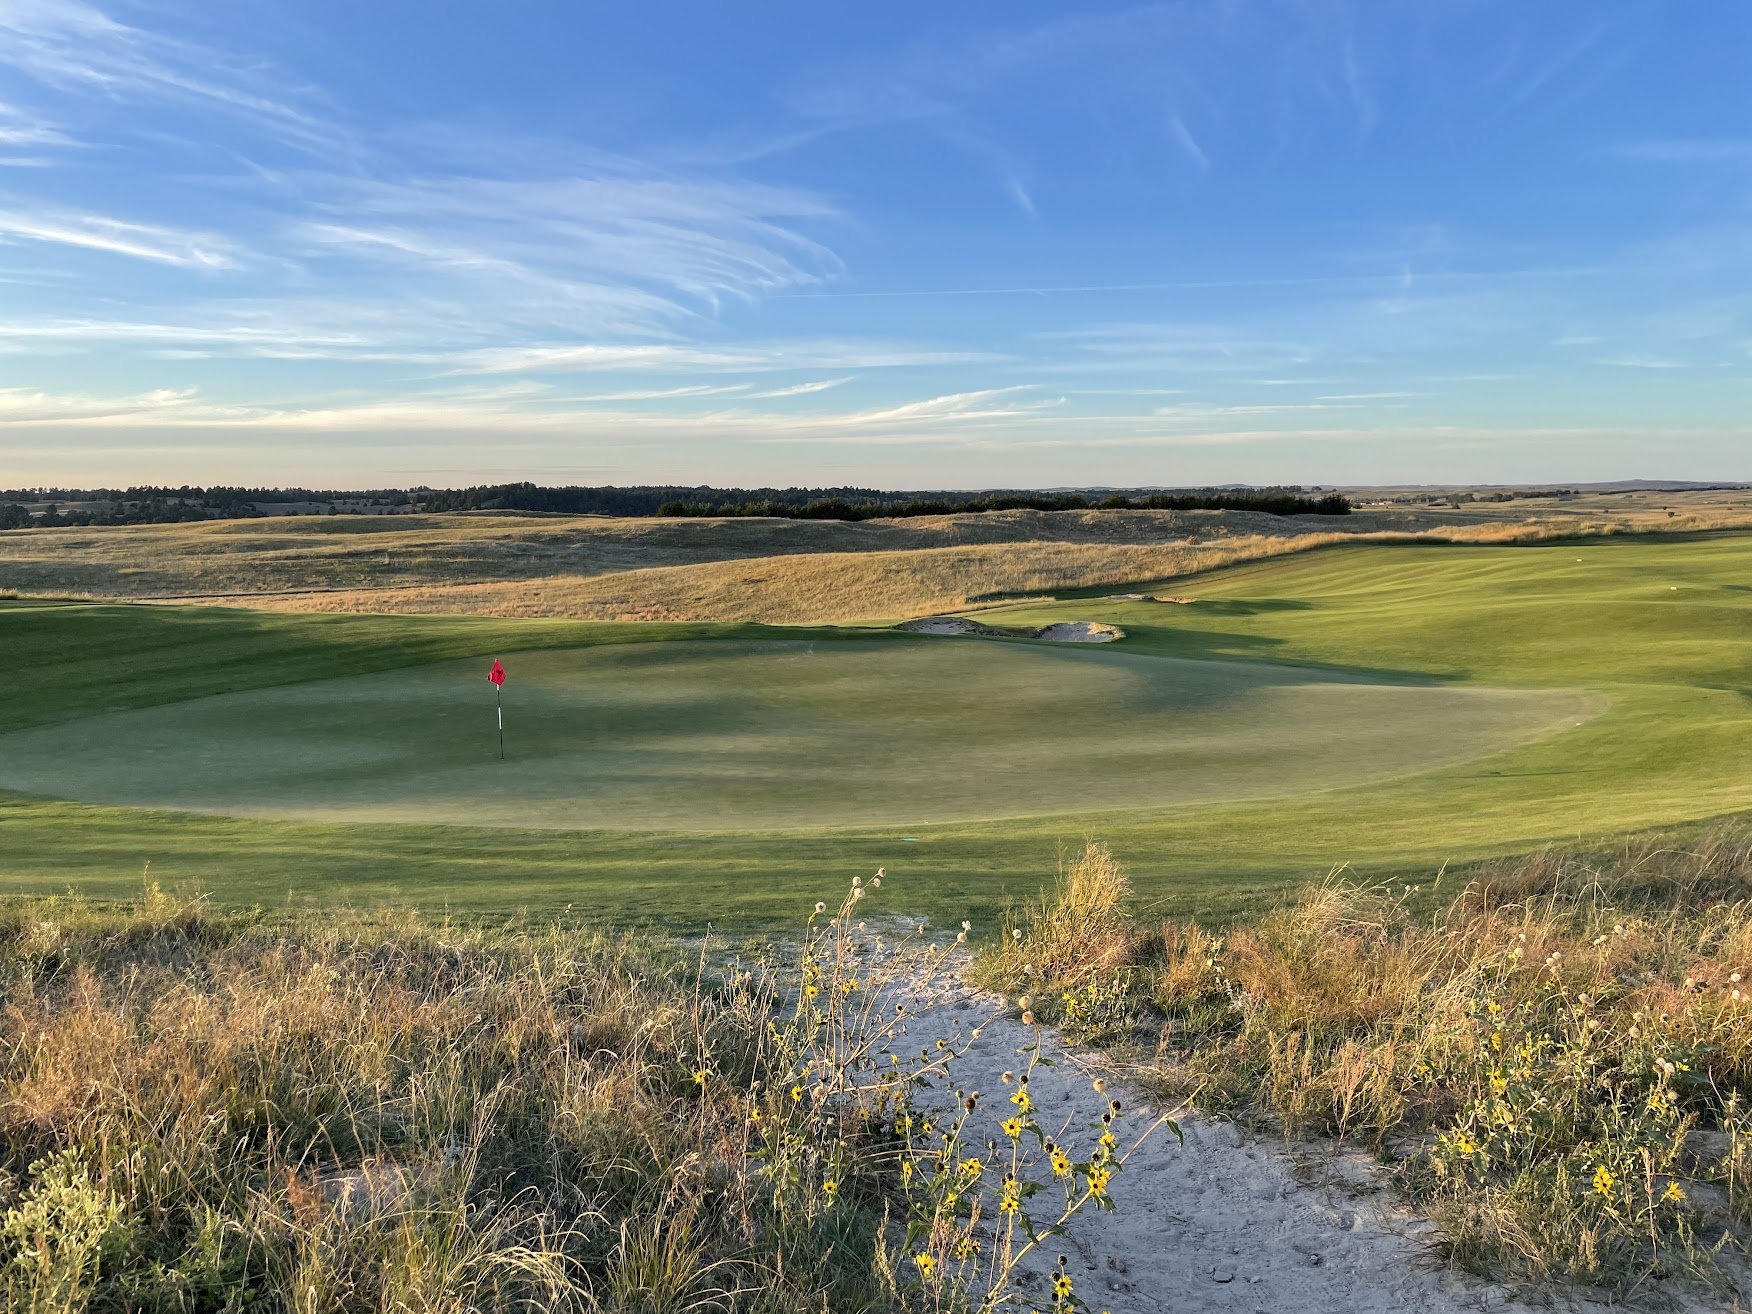
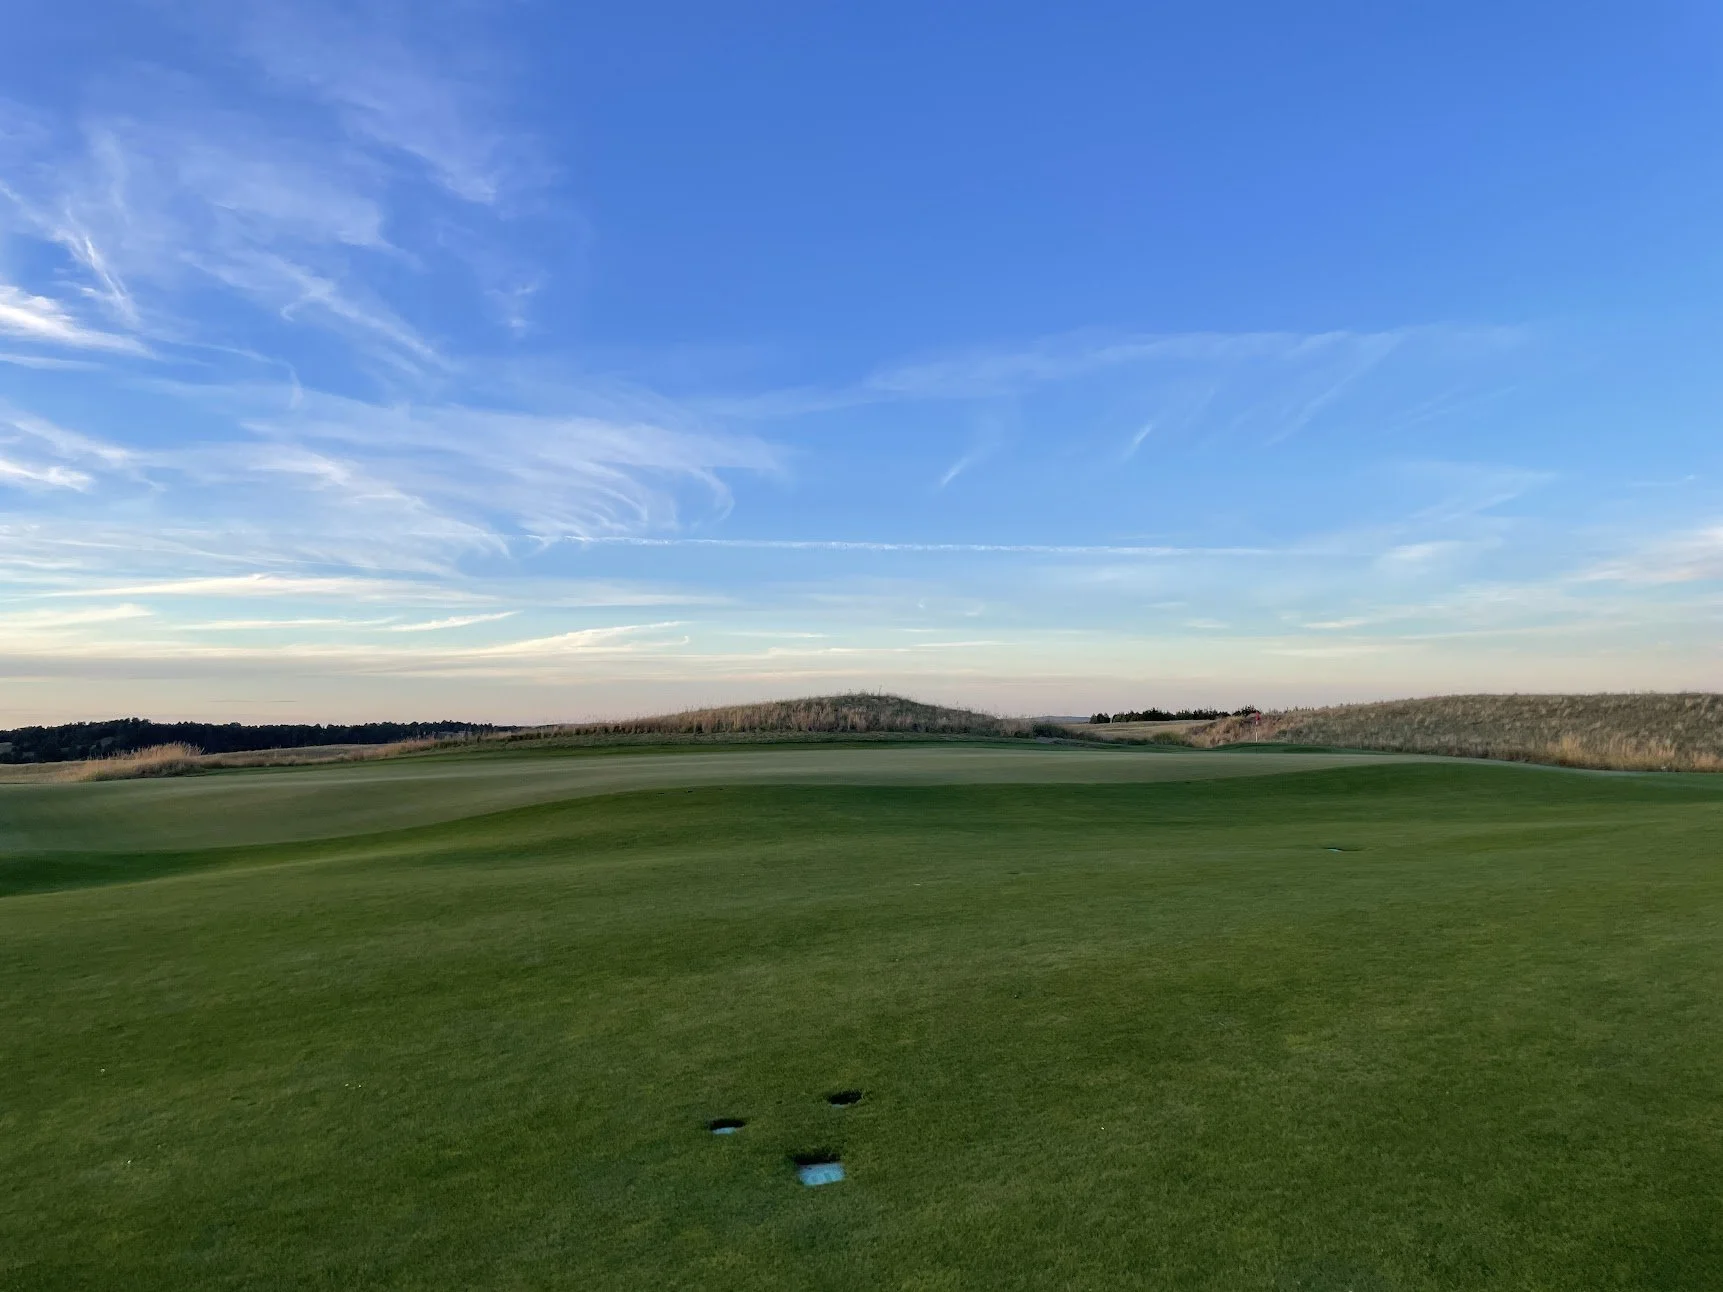
This pin is all the way back-left, which can be tricky to get close because of the shelf and the bunker long.
green on 5.
Hole 6: ⛳️
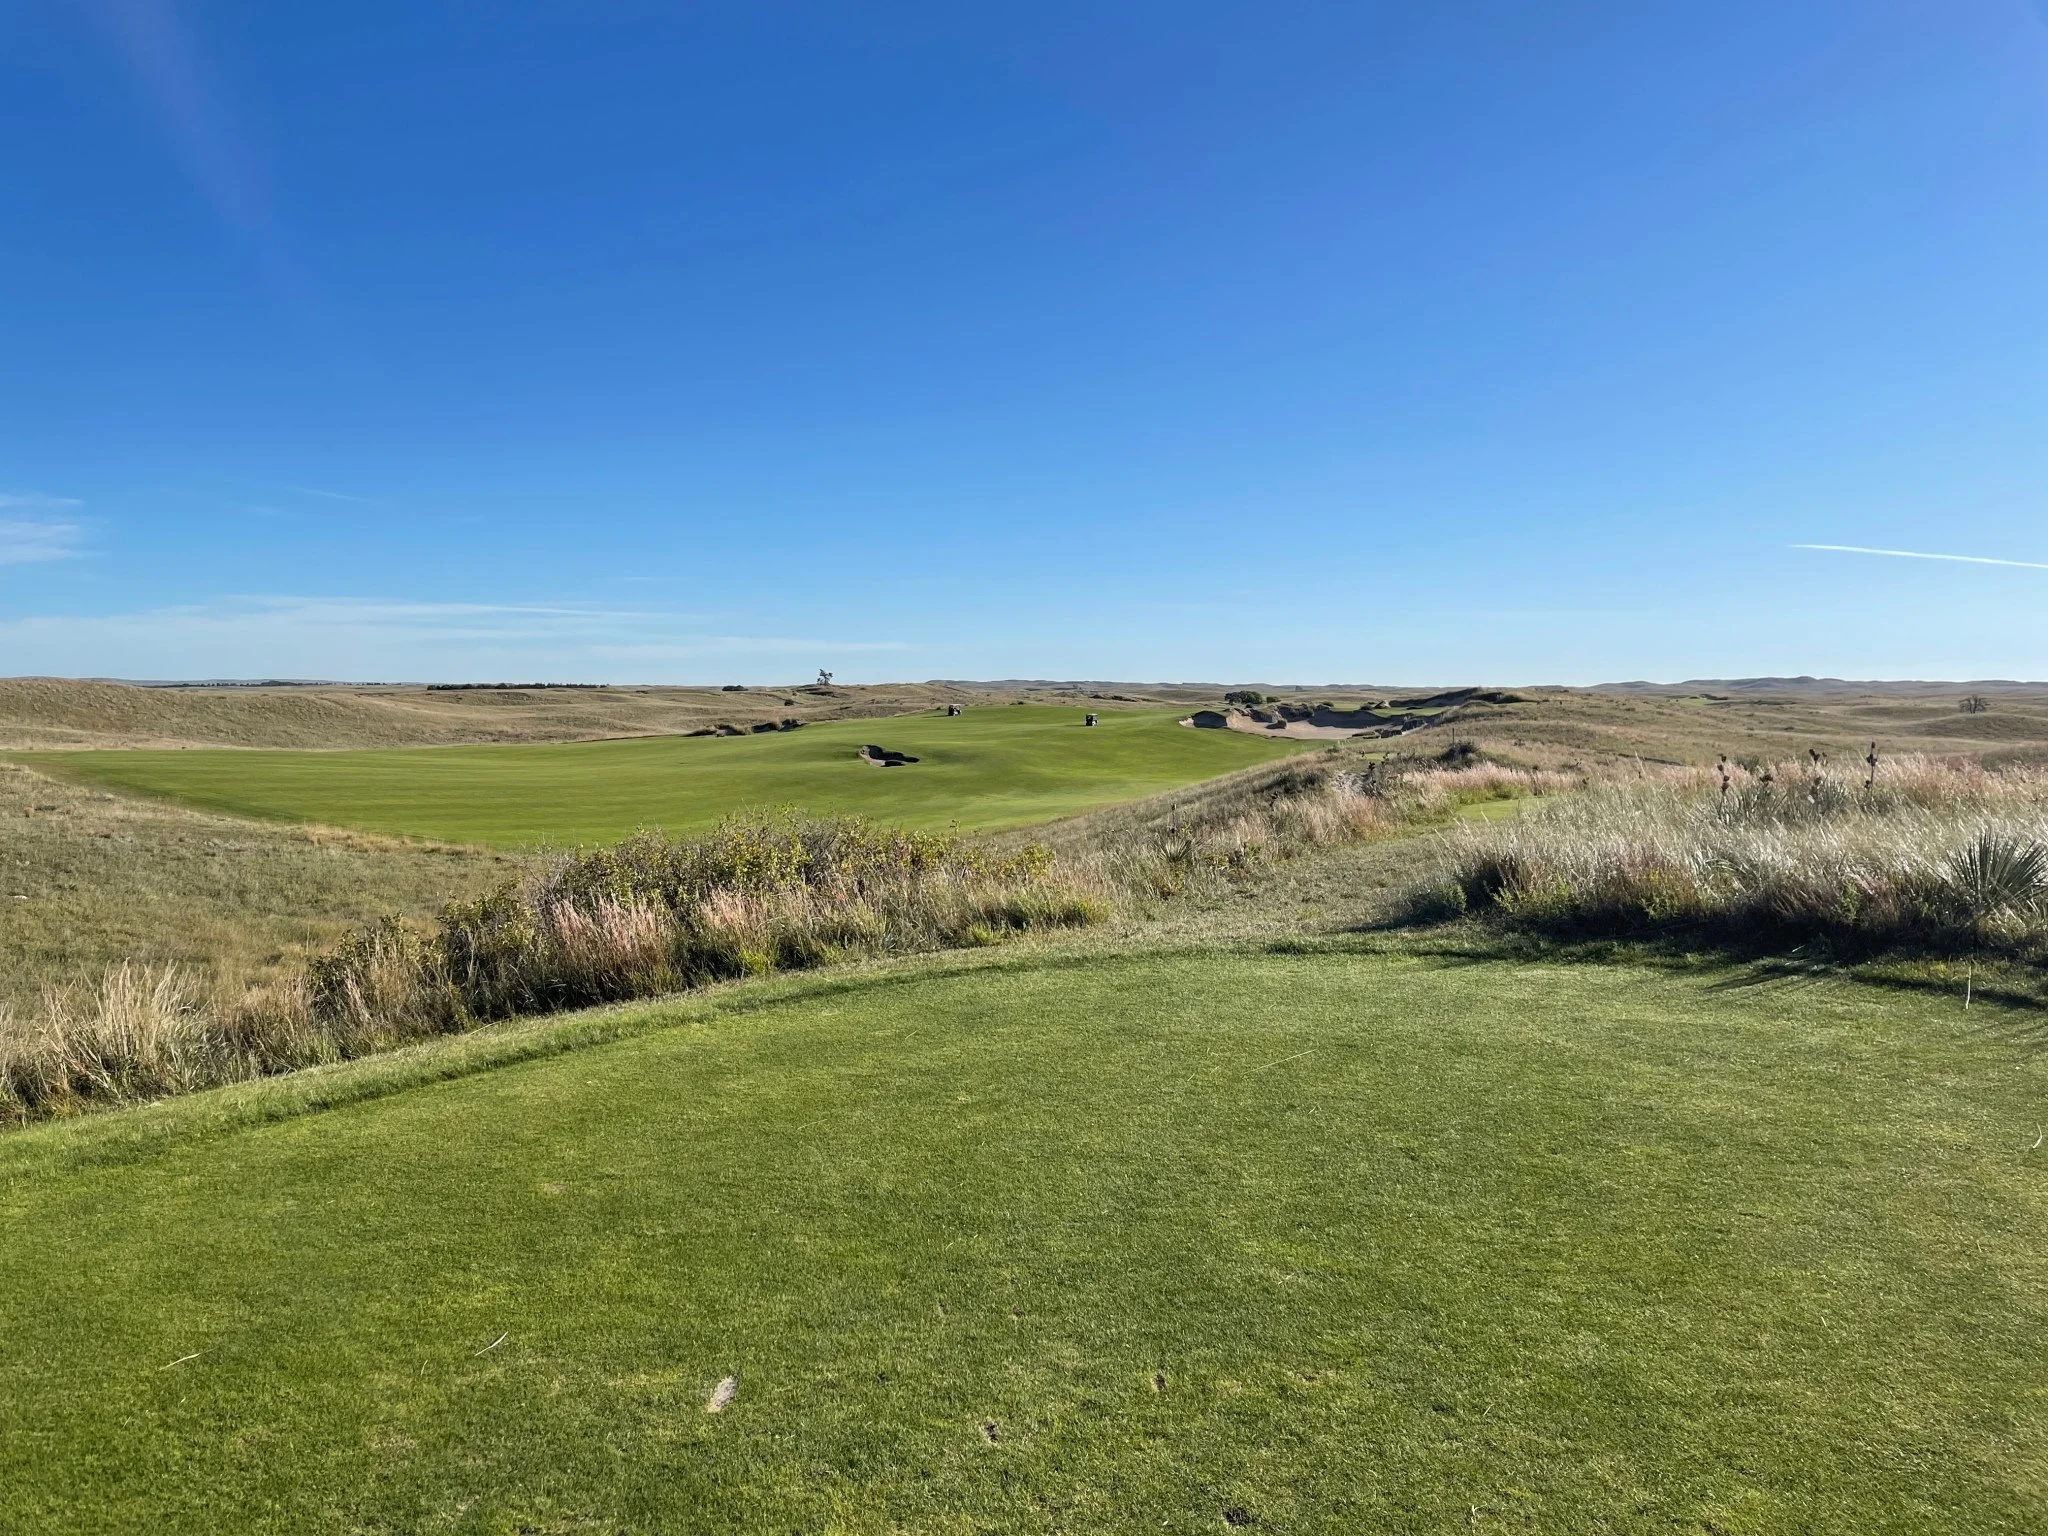
The sixth is another par 5 with a challenging line. The safe play off the tee is to go right of the middle bunker, but that’ll set up a longer approach. The more risky play is to go just left of the middle bunker where there’s less fairway to miss, but a downhill will allow for more roll; setting up a shorter approach.
tee on 6.
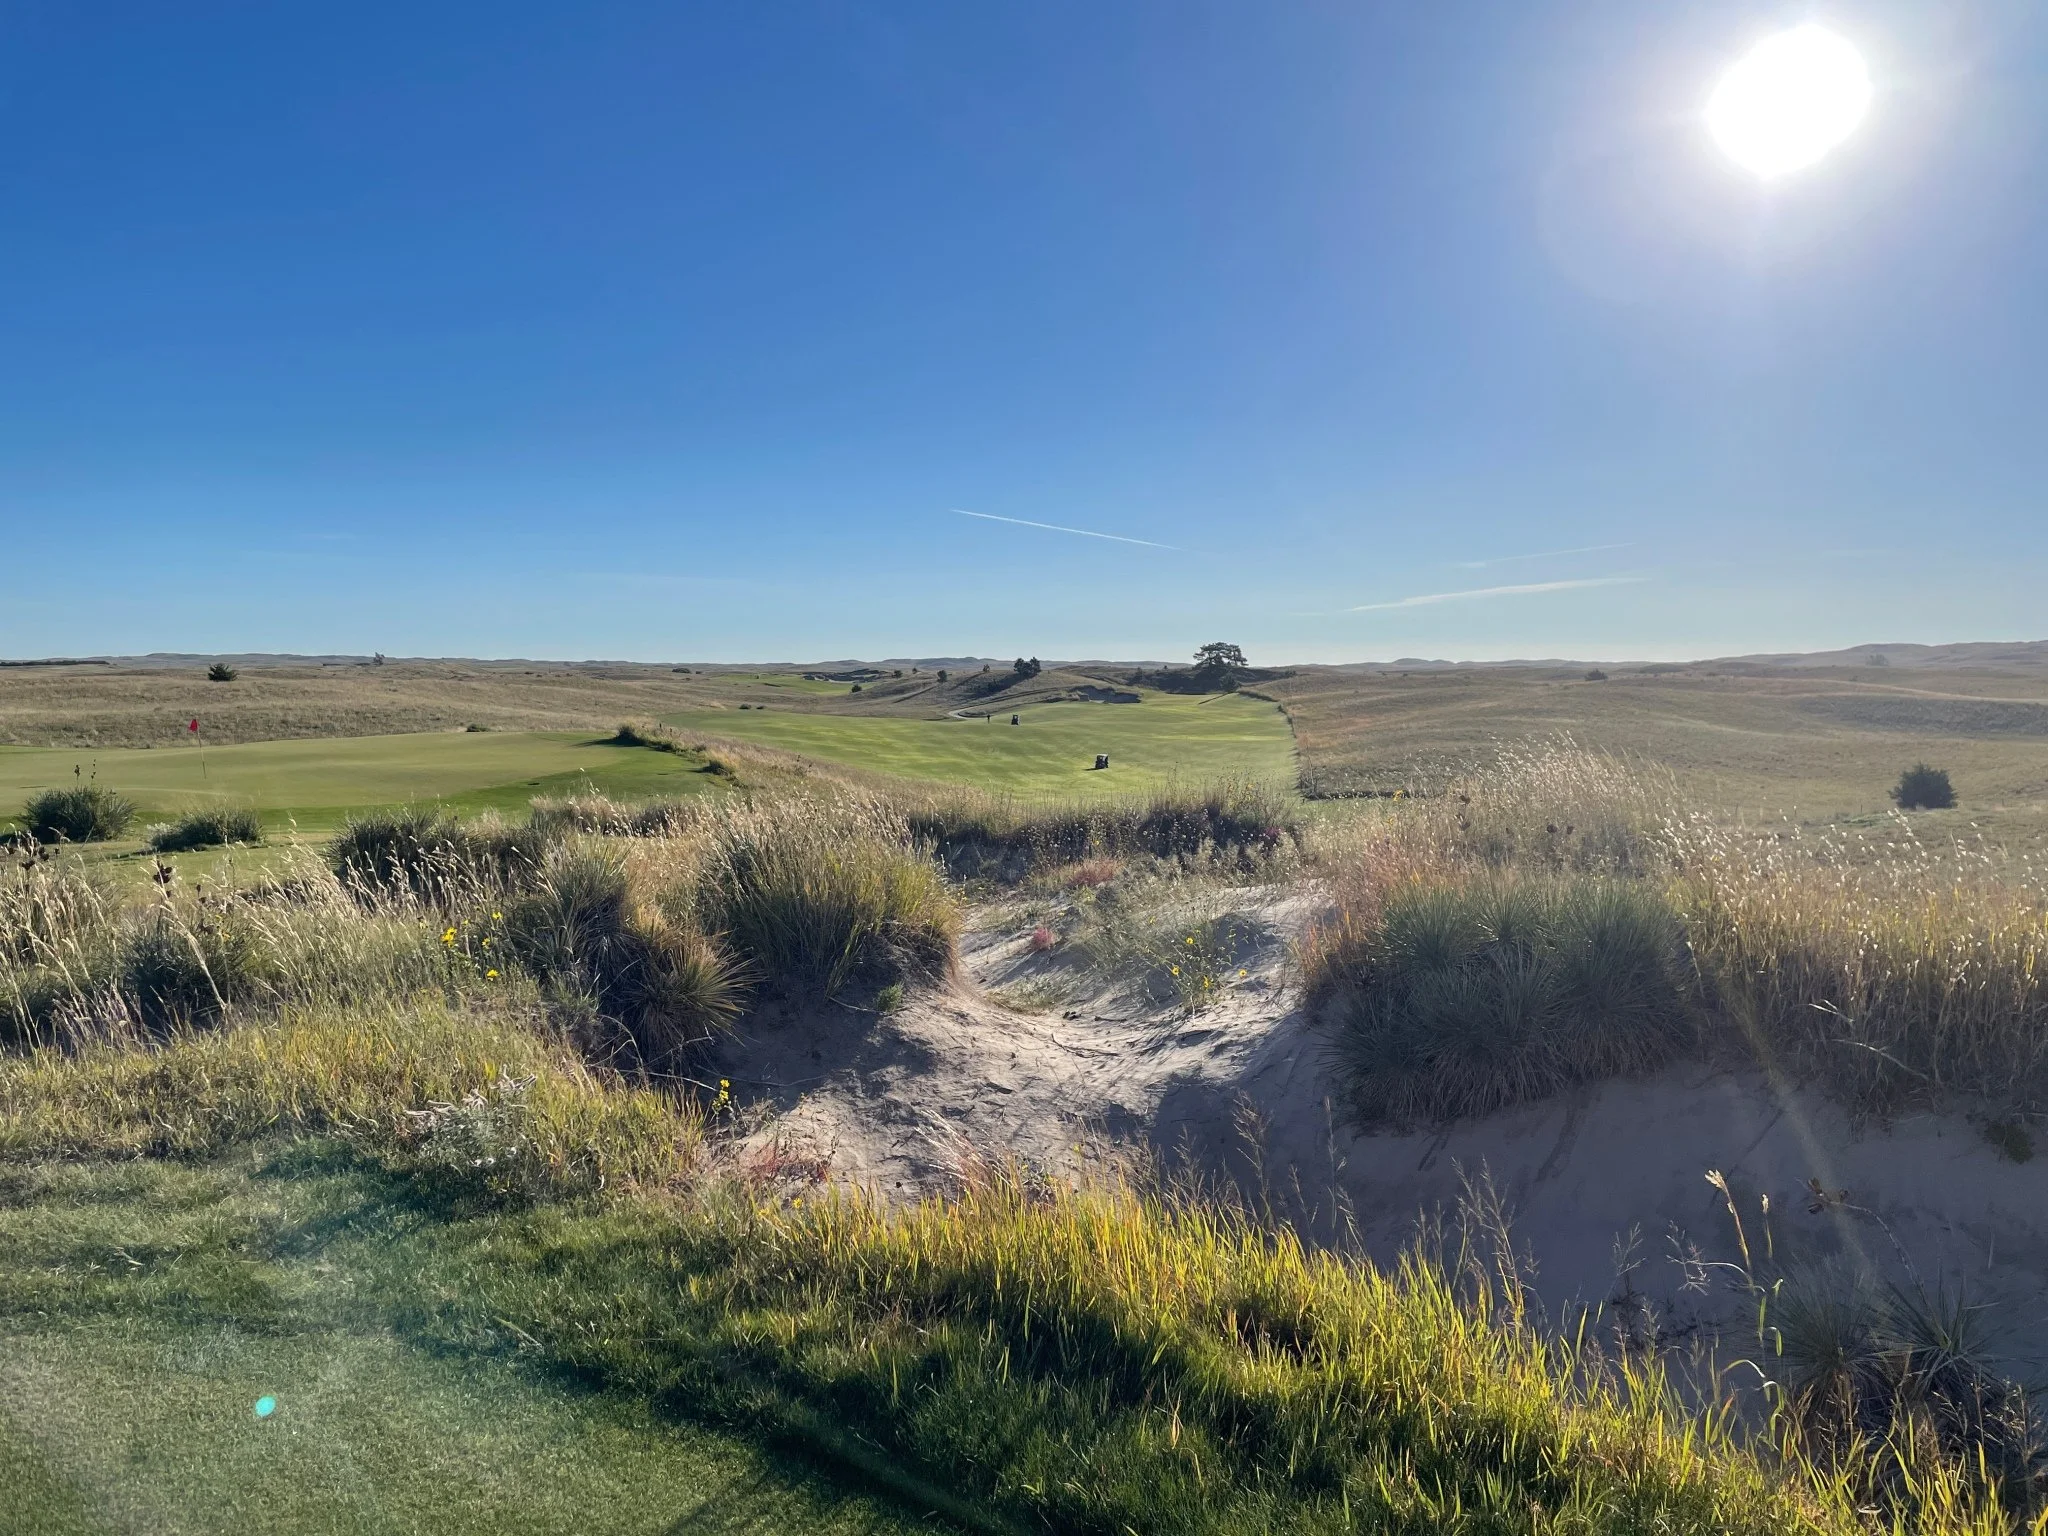
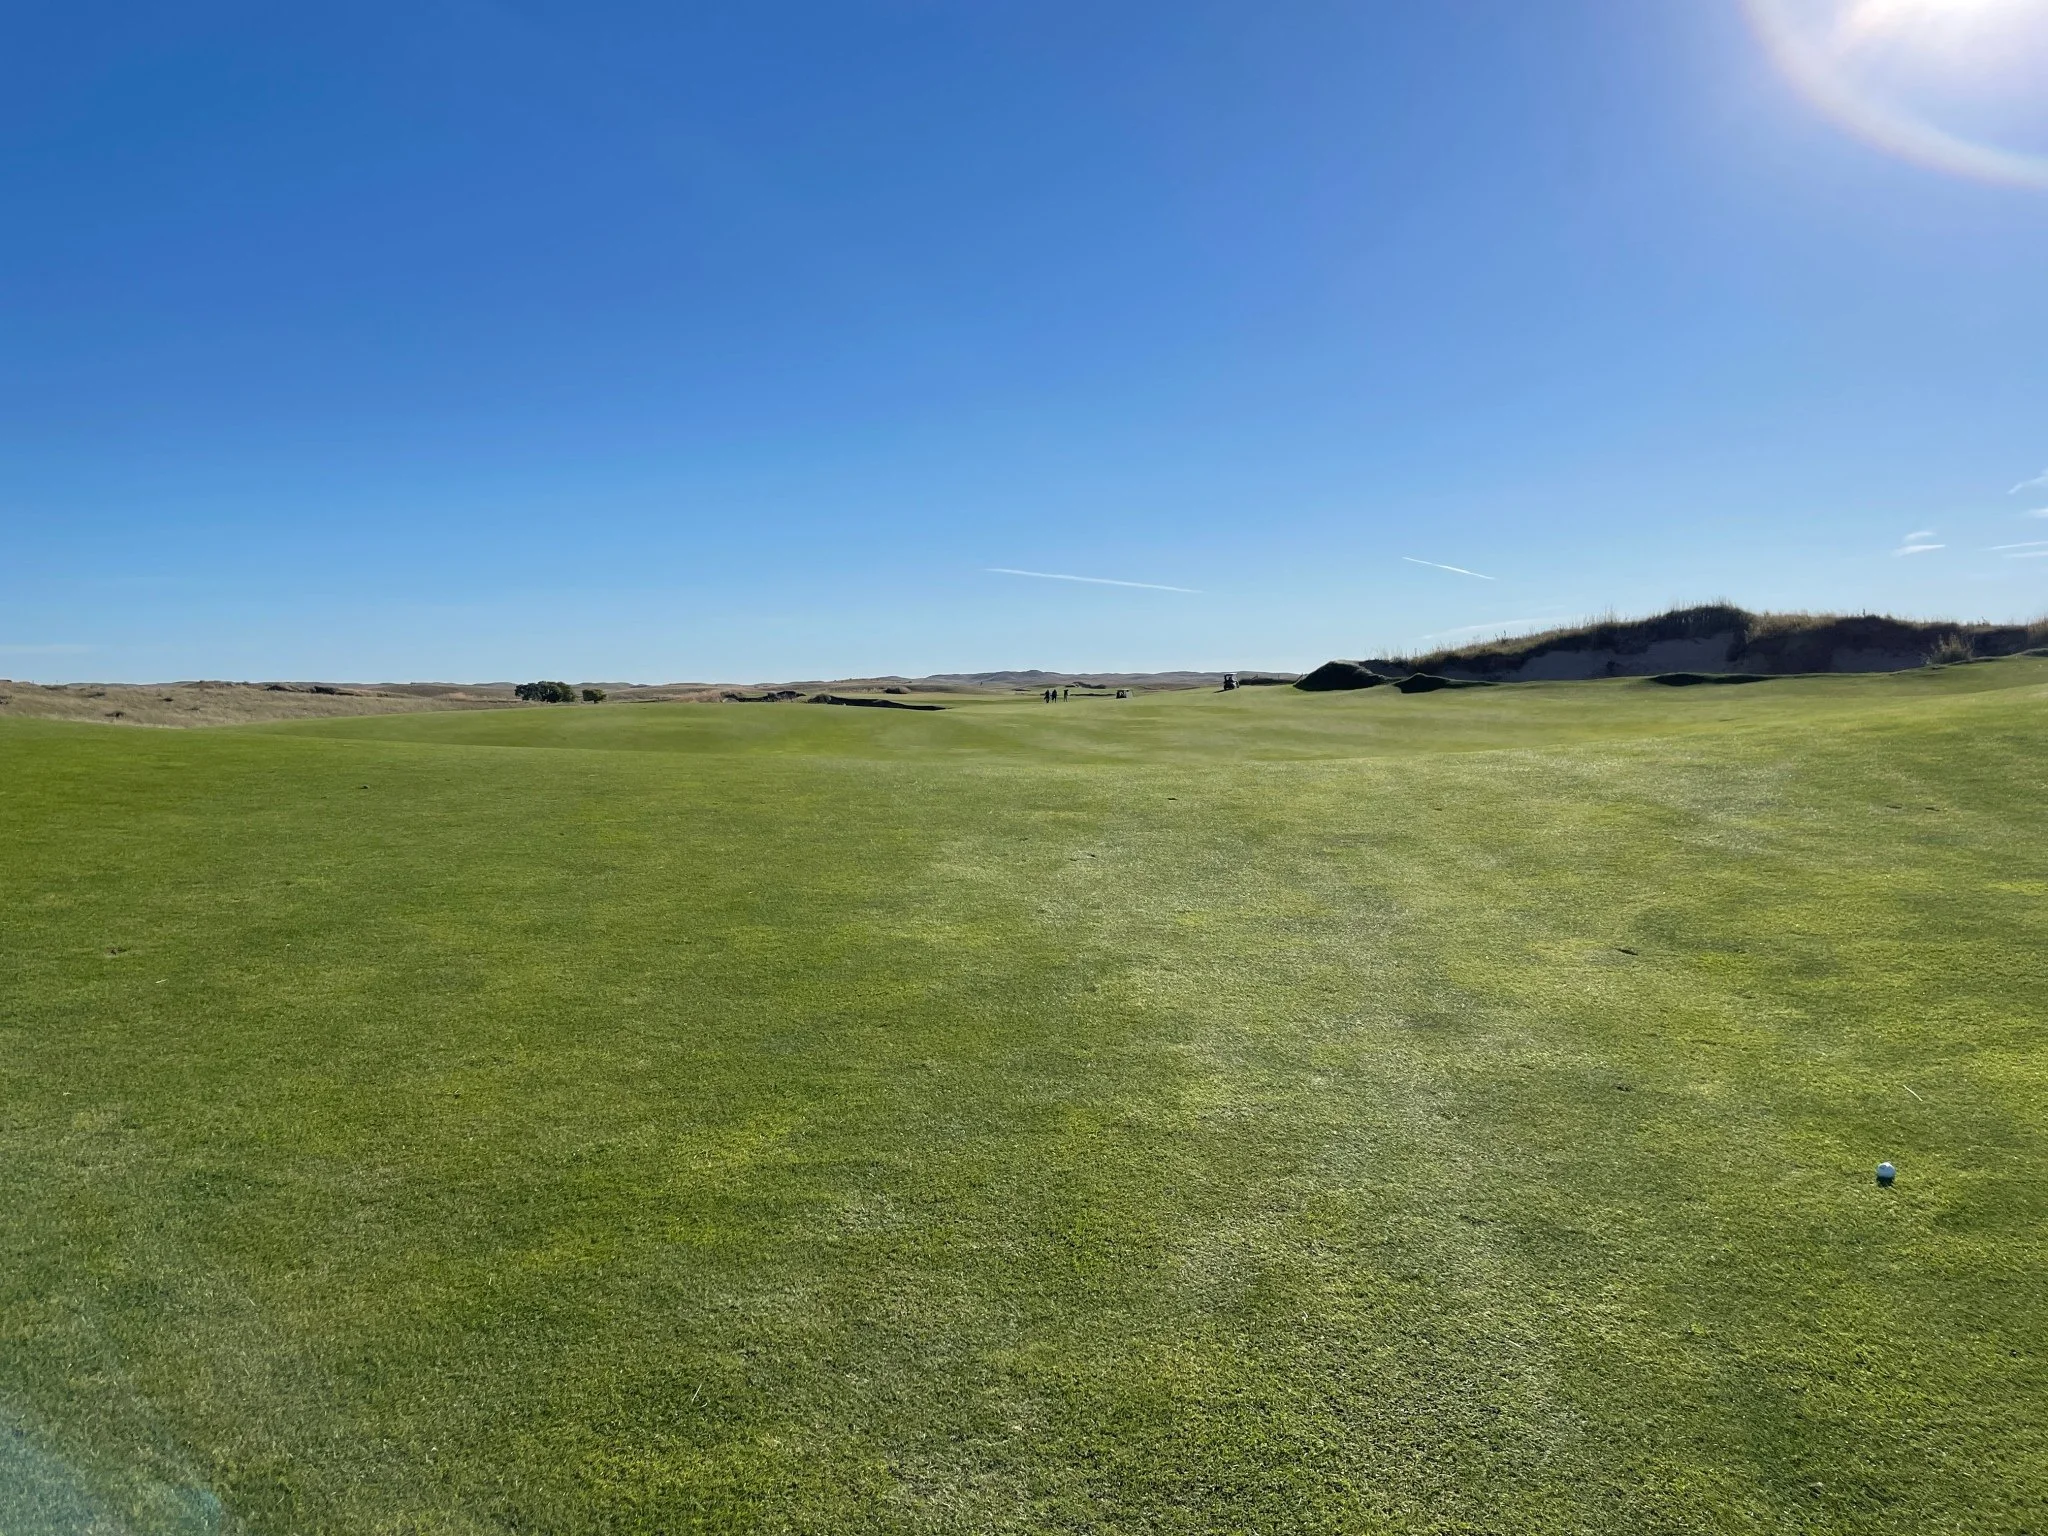
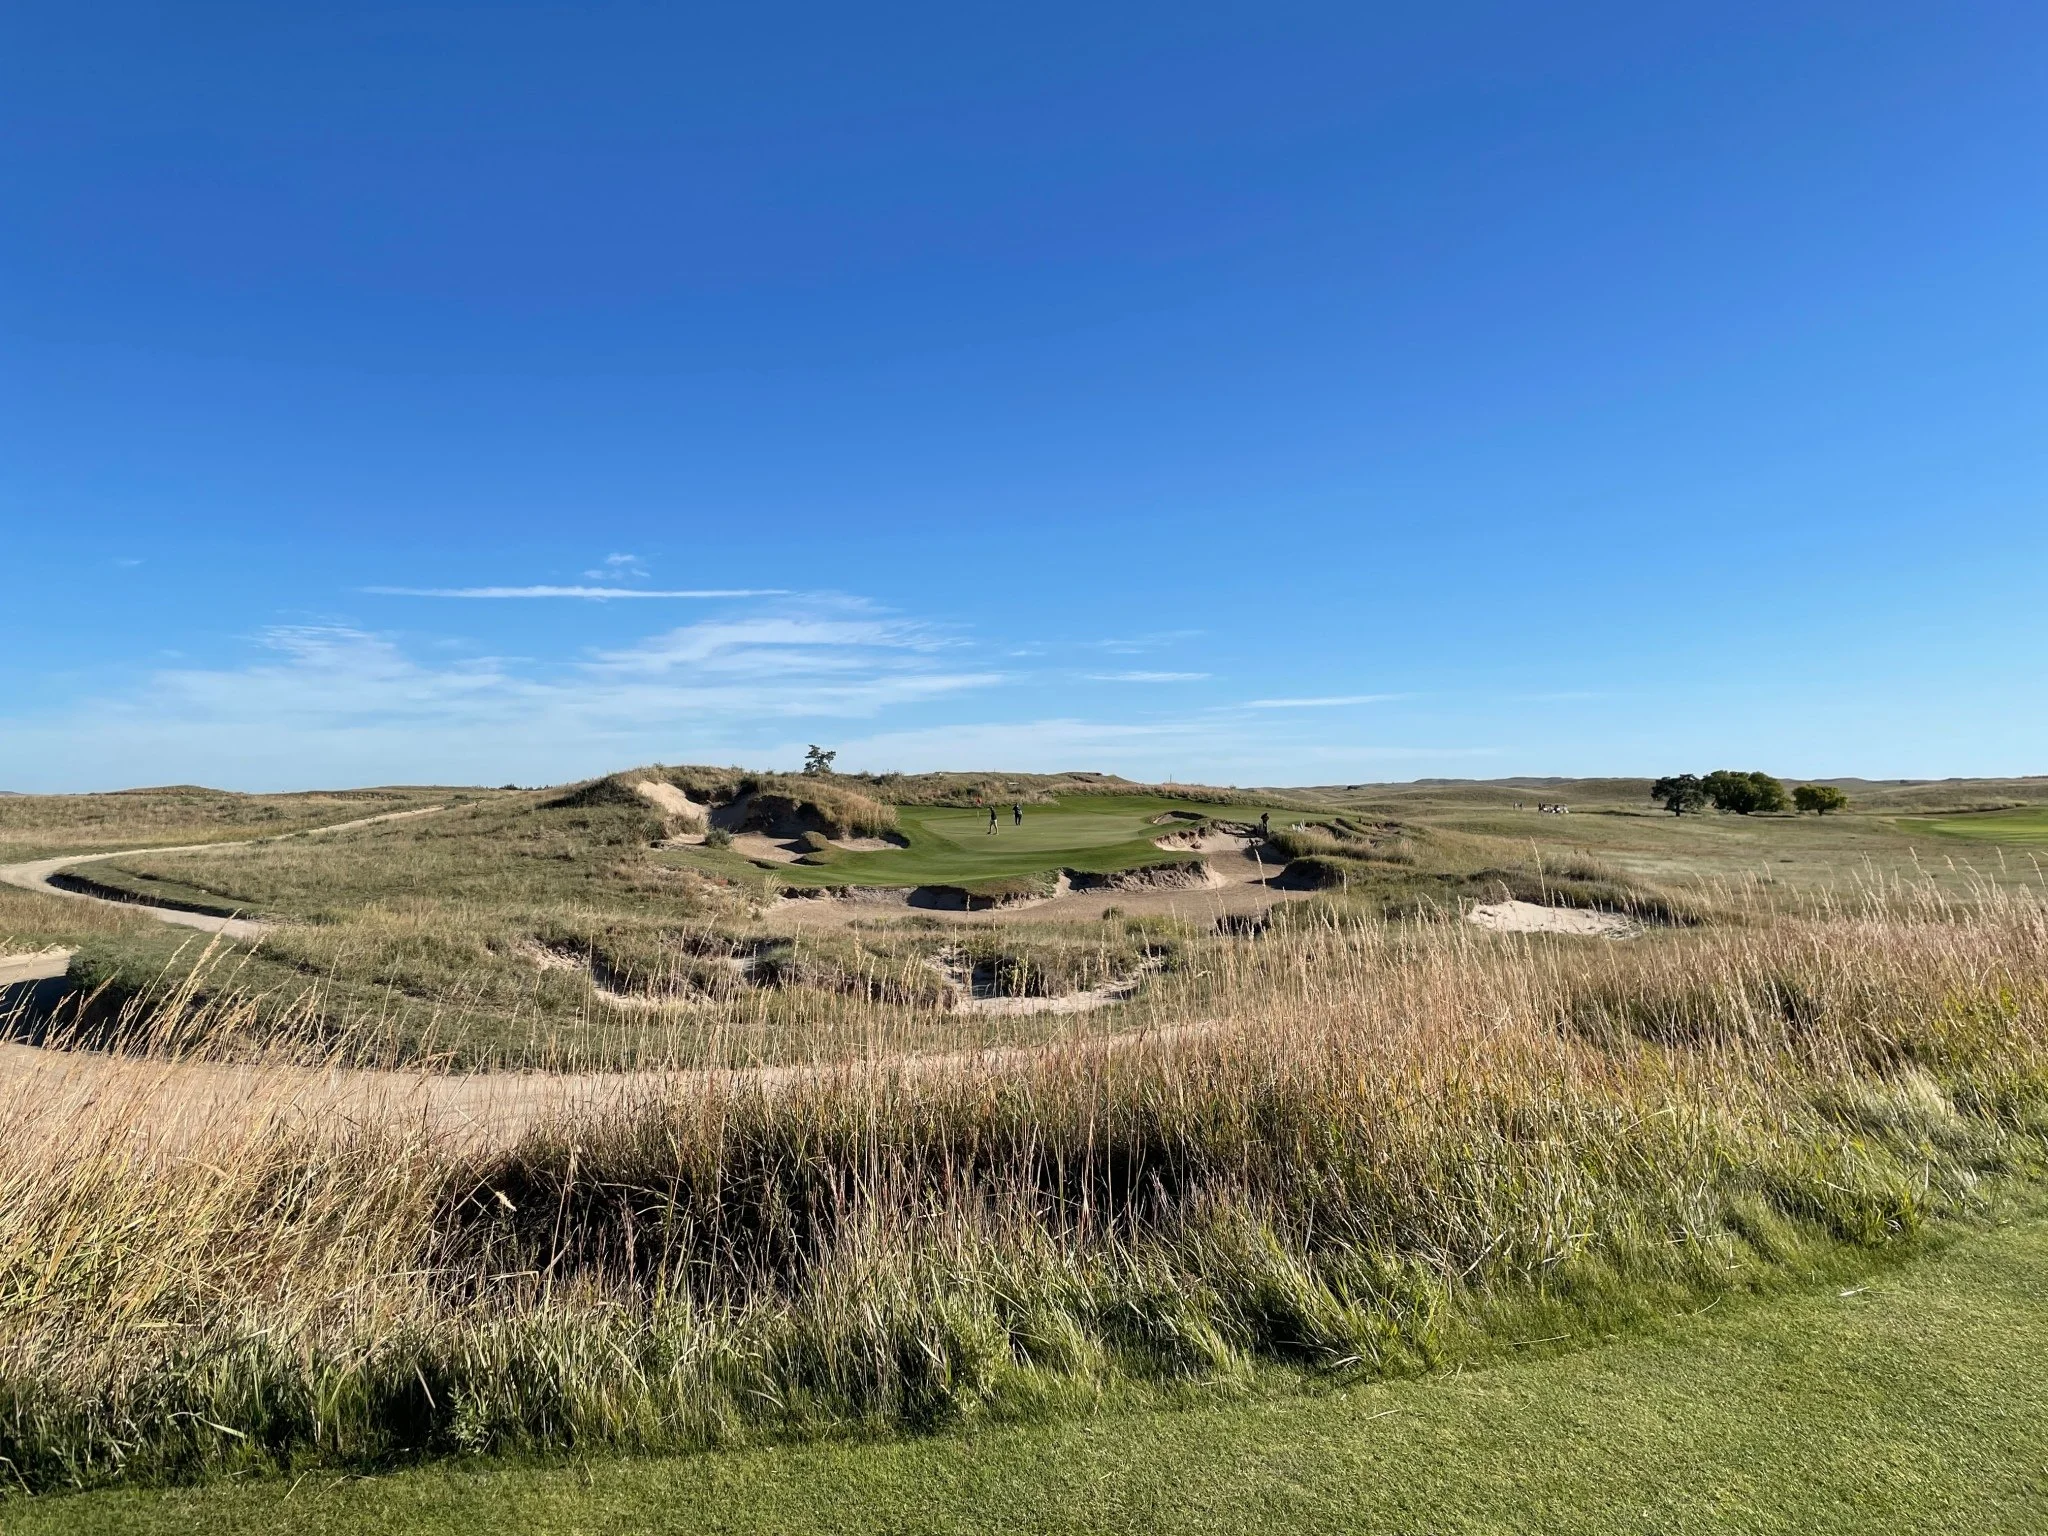
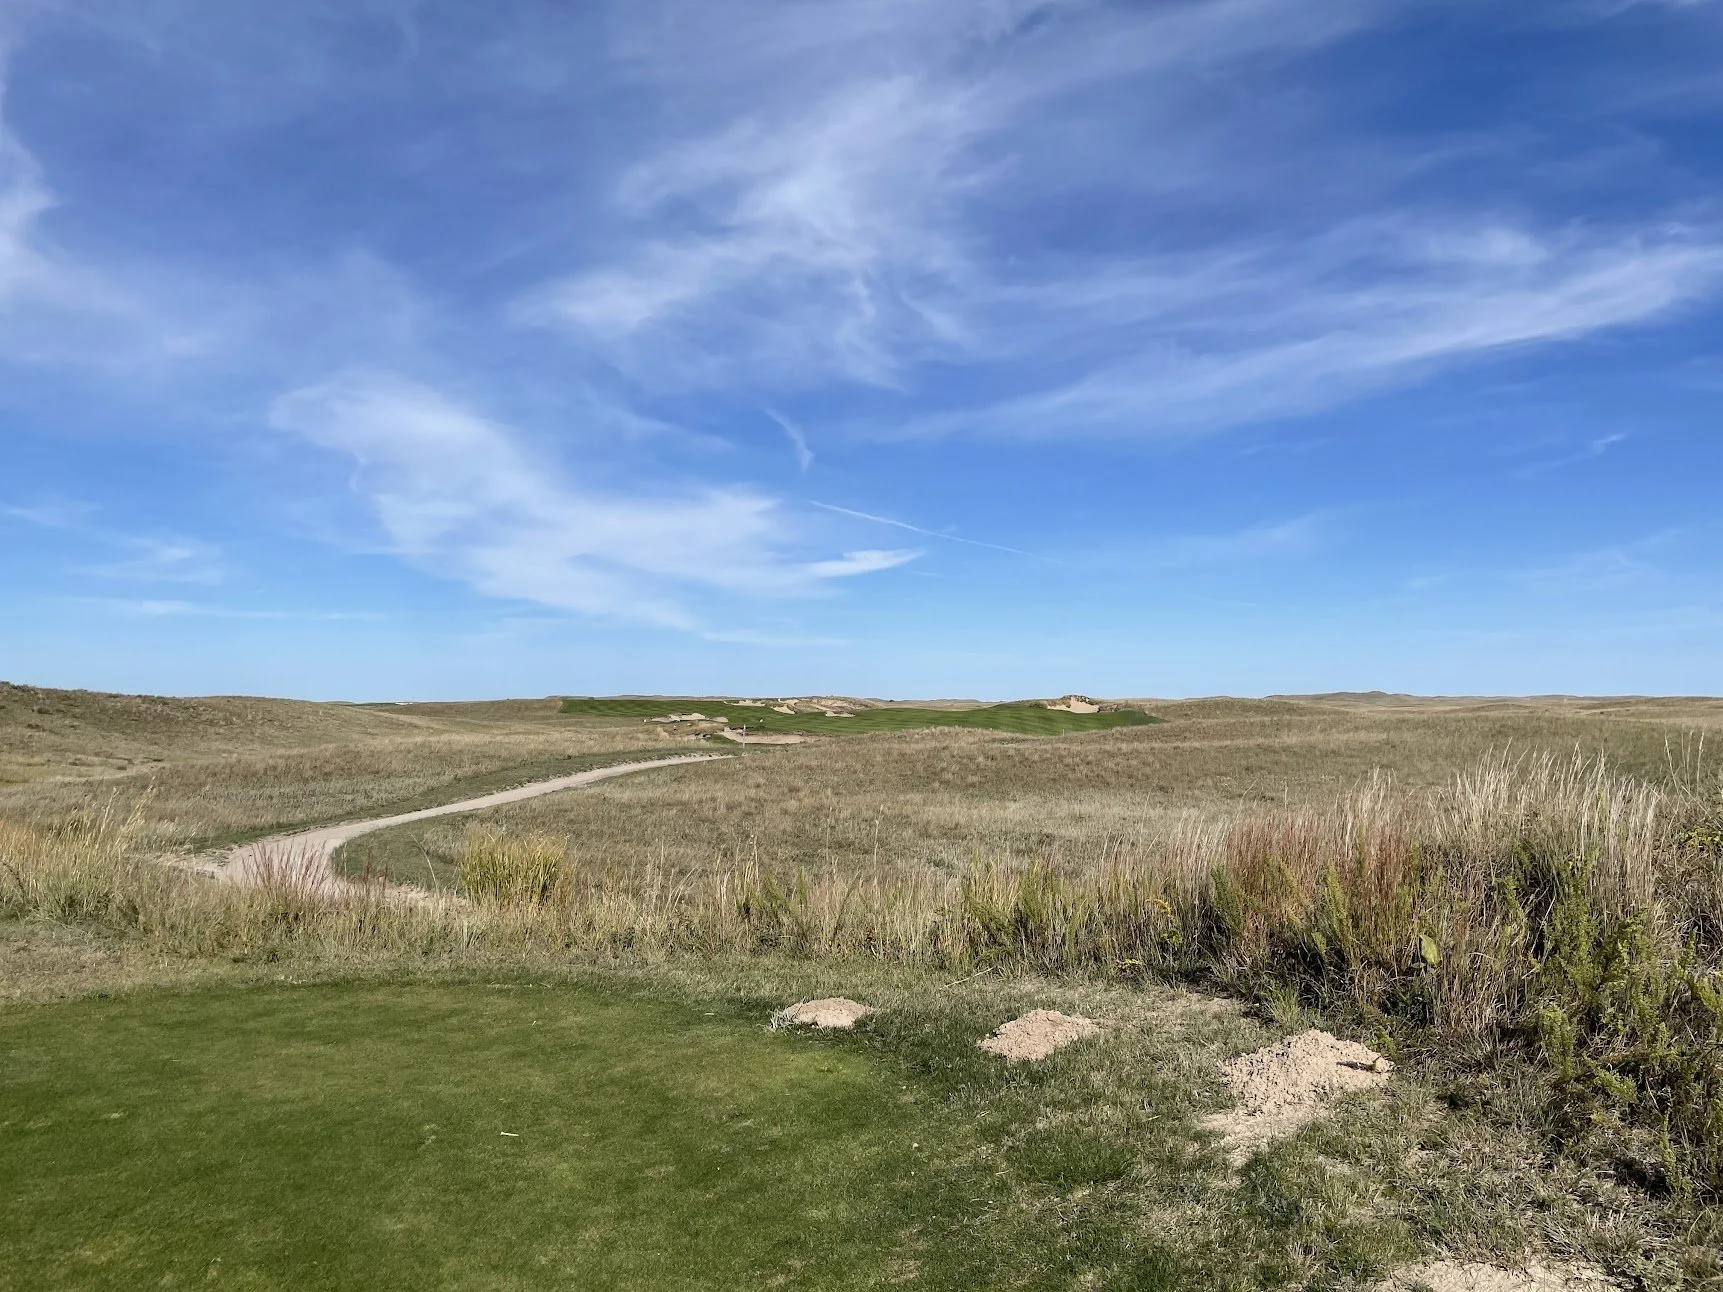
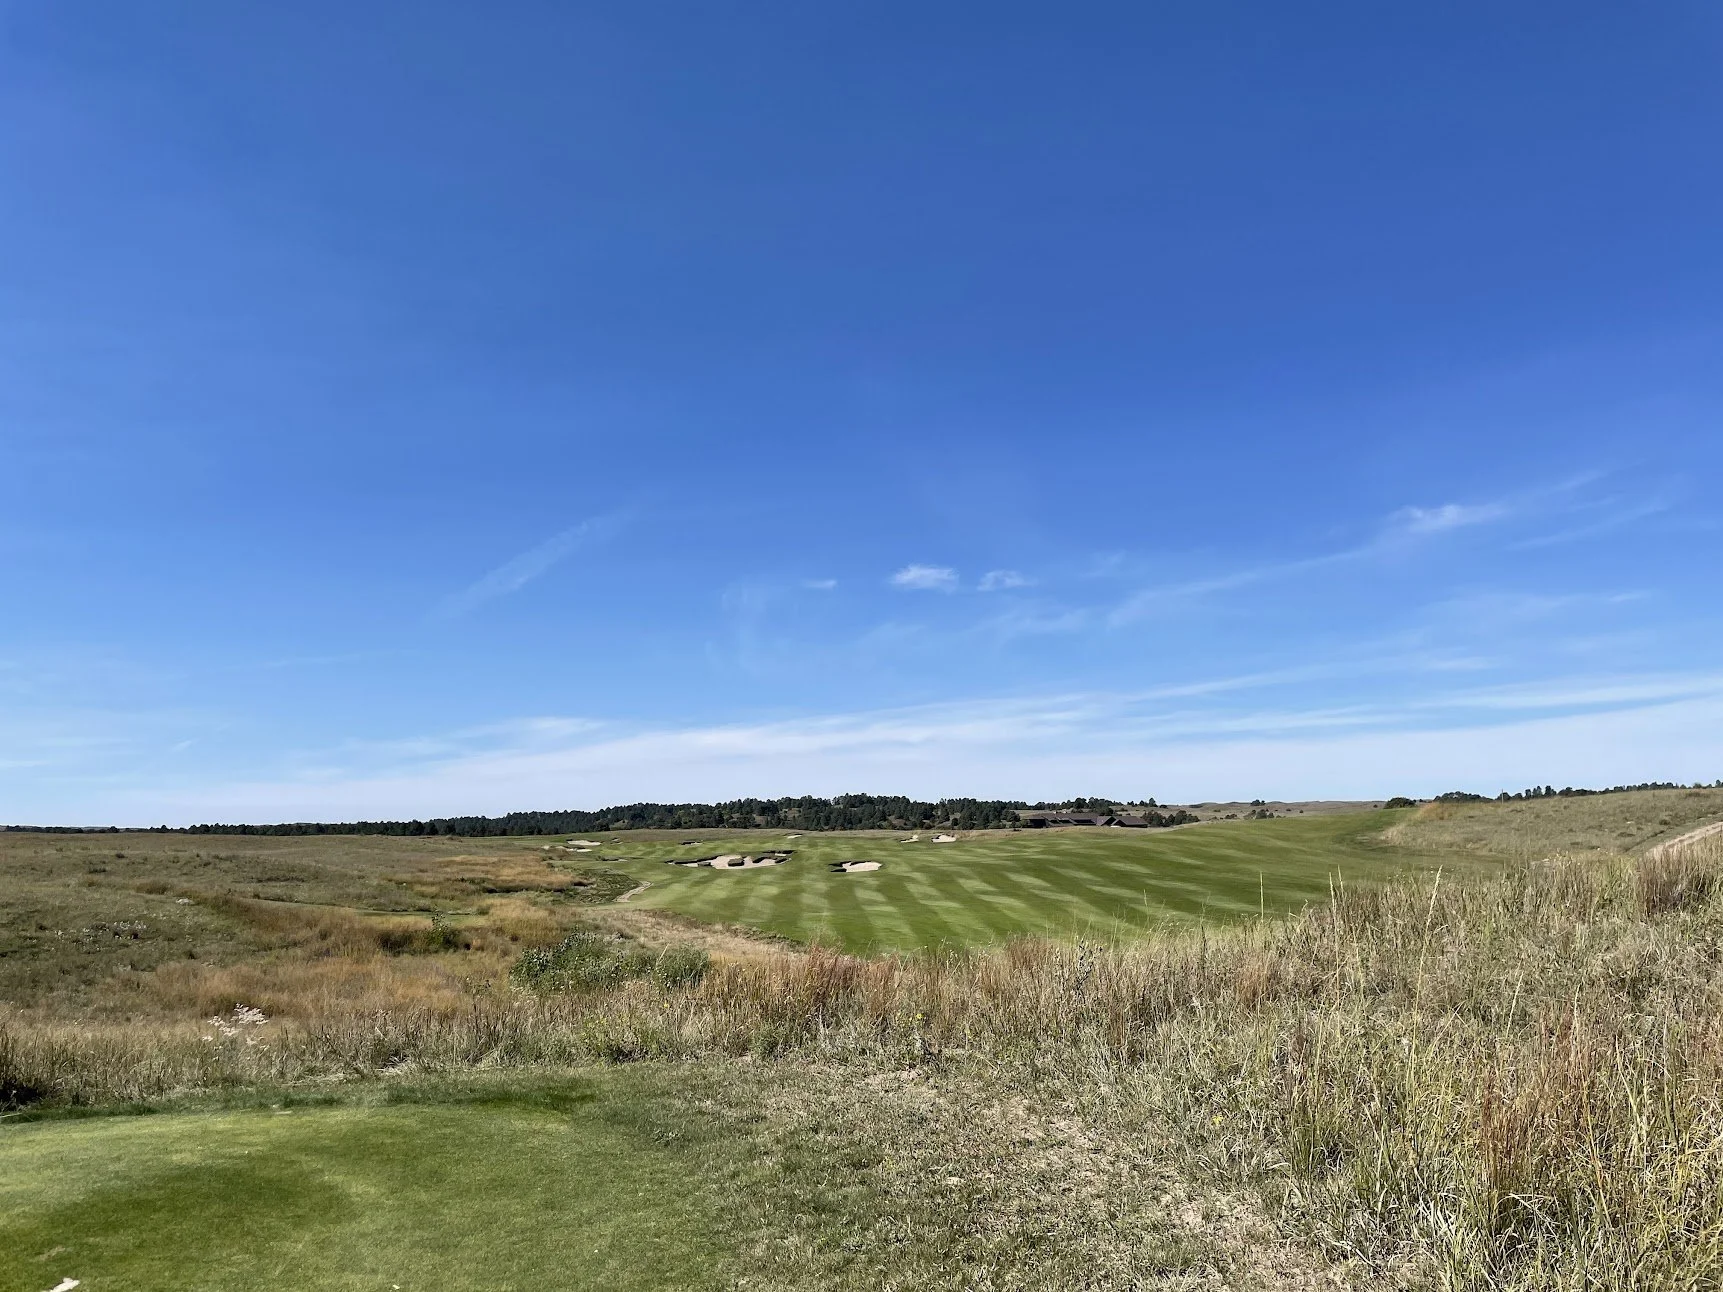
The view below is from just right of the middle bunker. The second shot from there is almost blind (you can see the flag just over the hill) and long.
approach on 6.
green on 6.
Hole 7: ⛳️
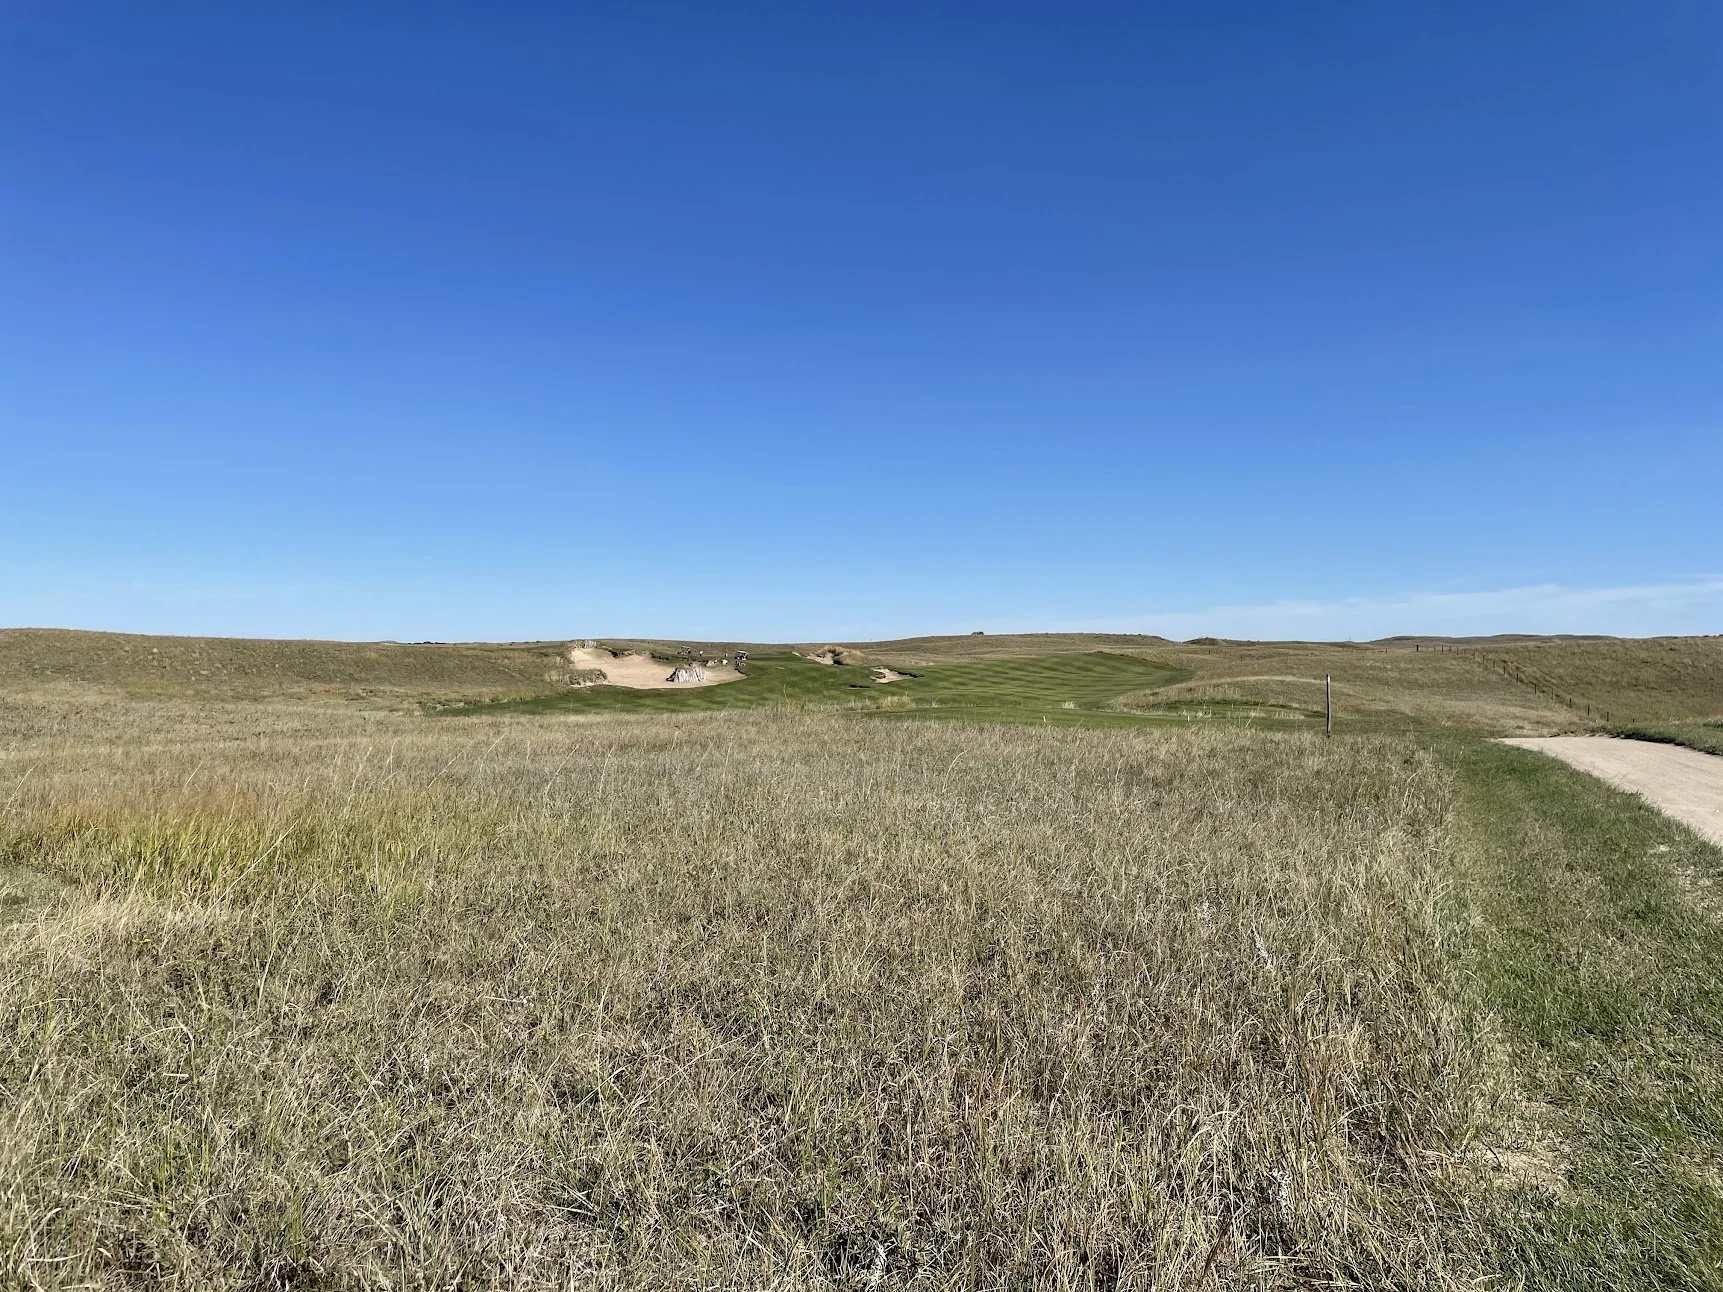
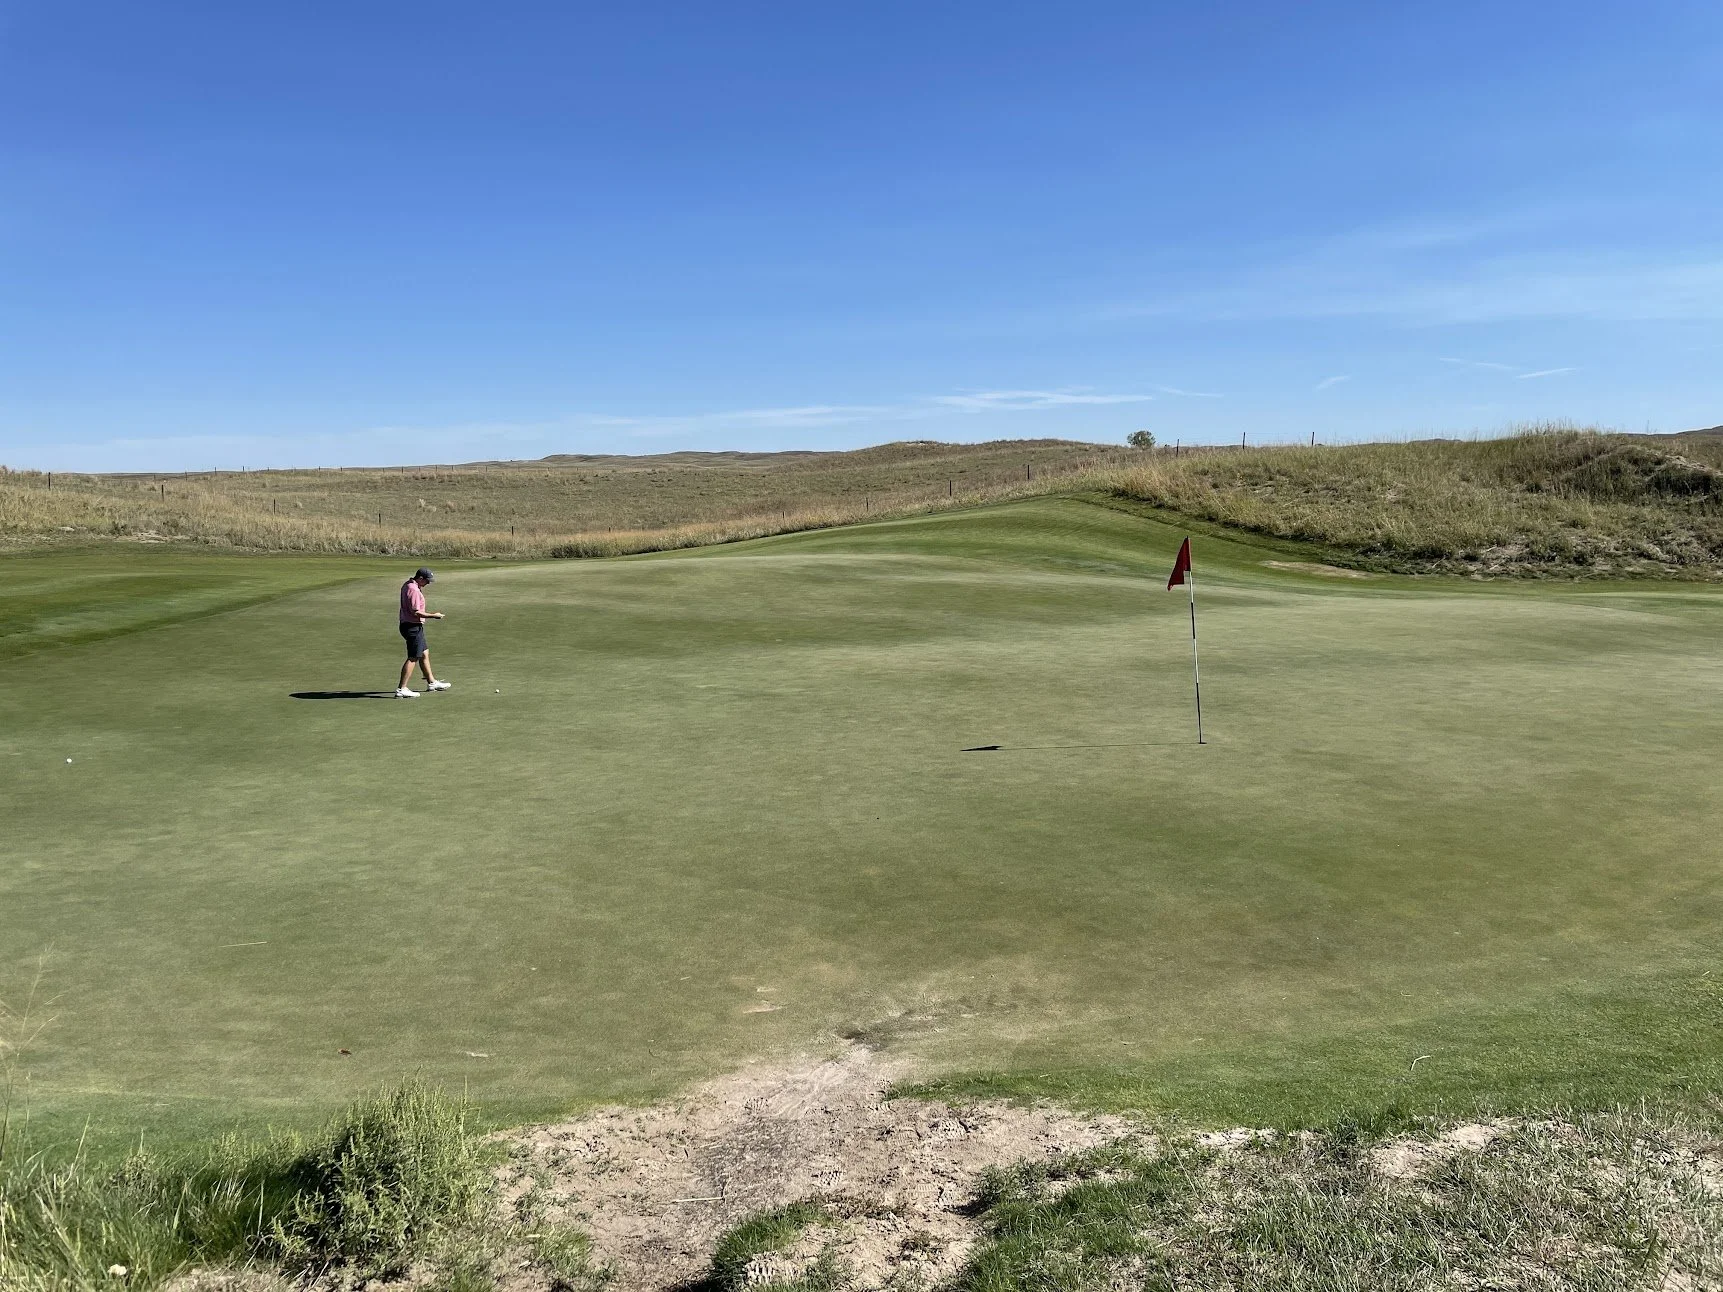
The view from the tee on seven is a little intimidating, as the dune on the left blocks some of the hole from view. There’s more room left, but any long putt on this hole is difficult to two-putt.
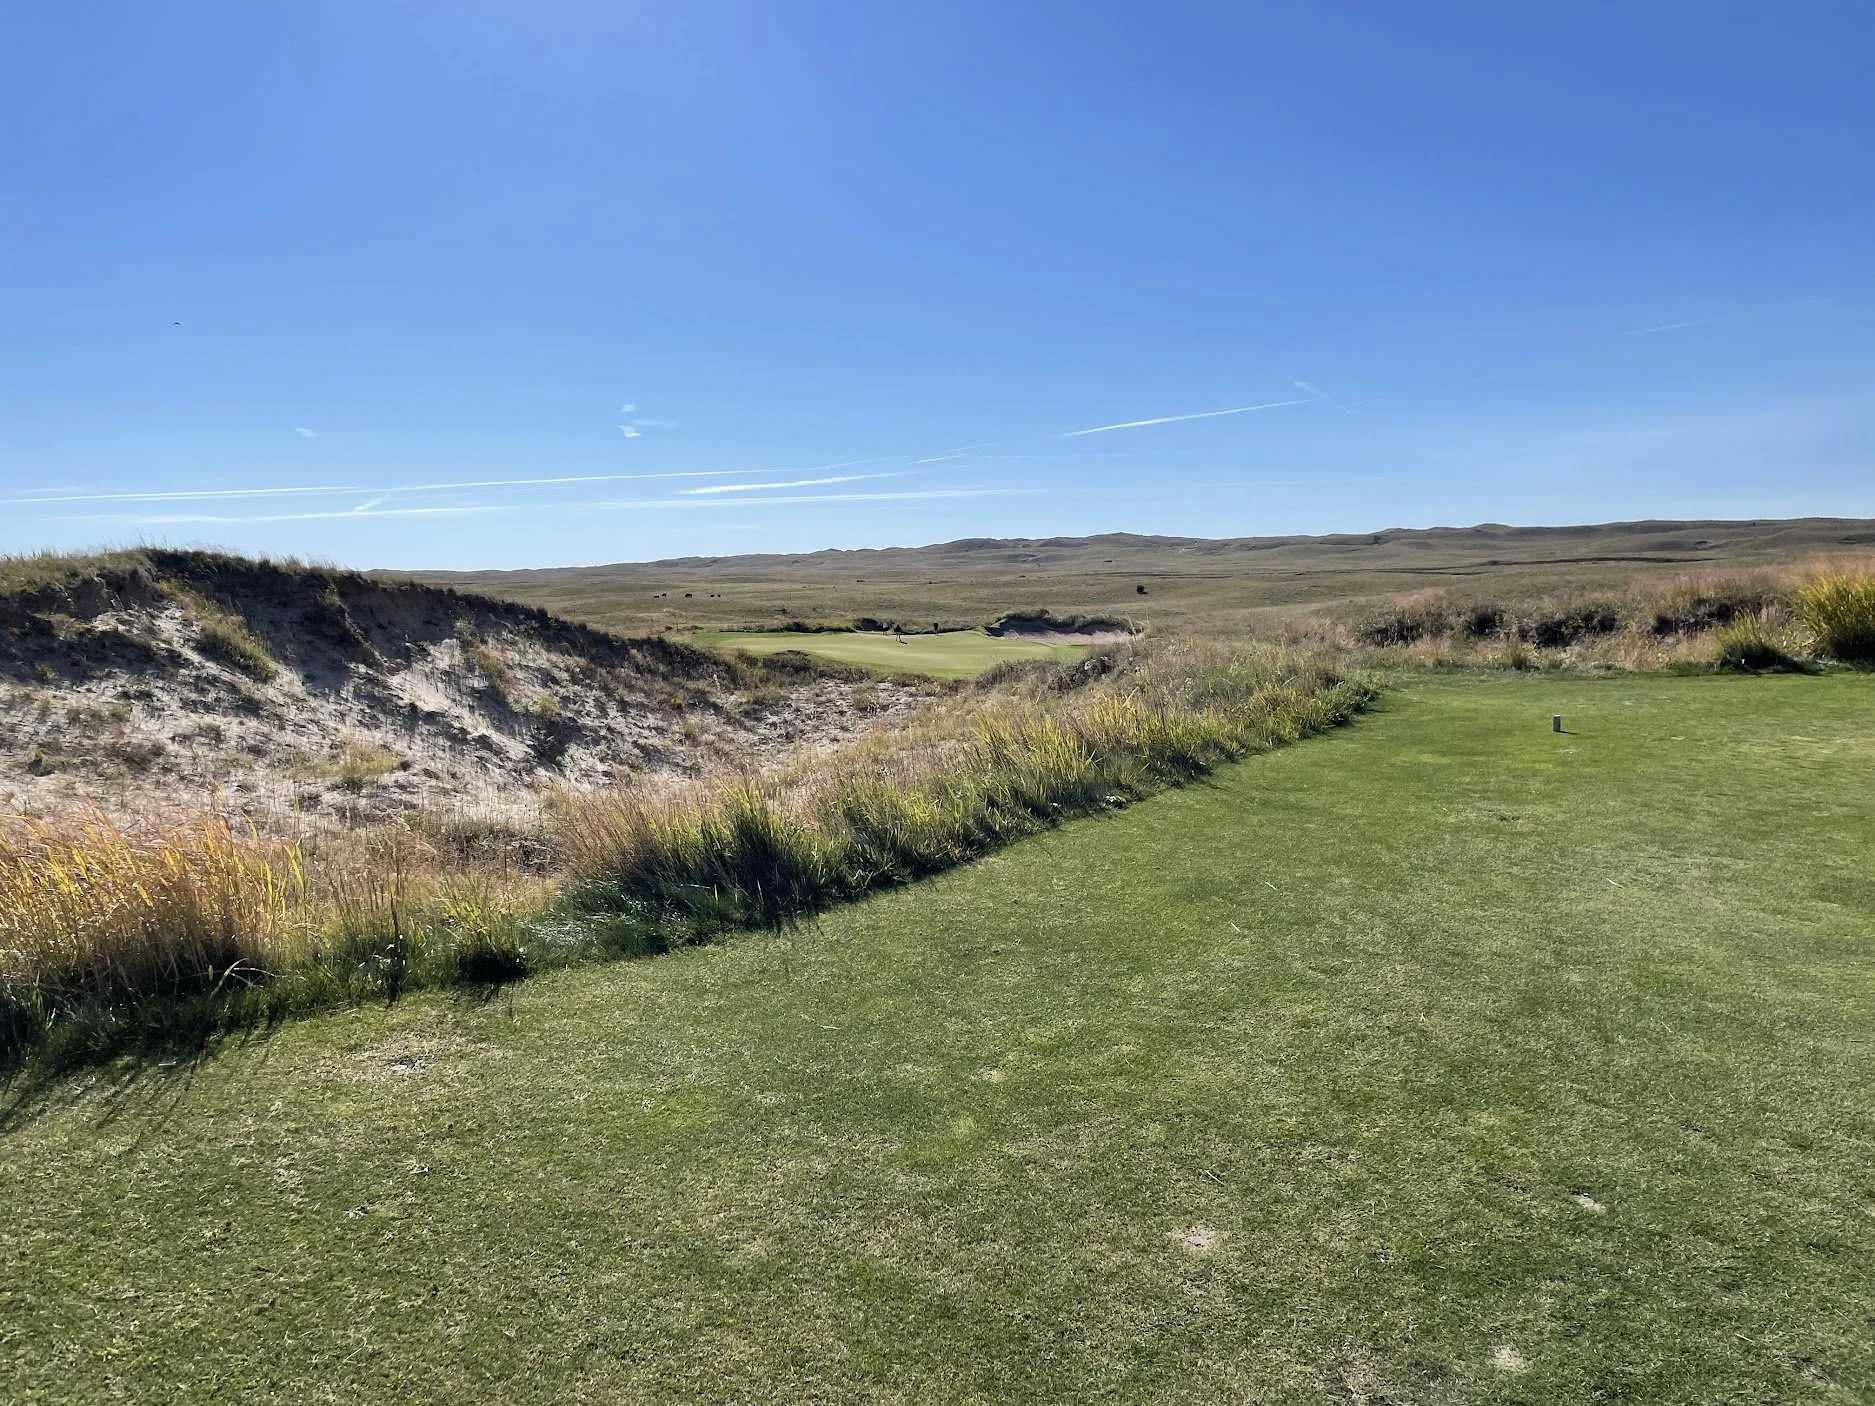
tee on 7.
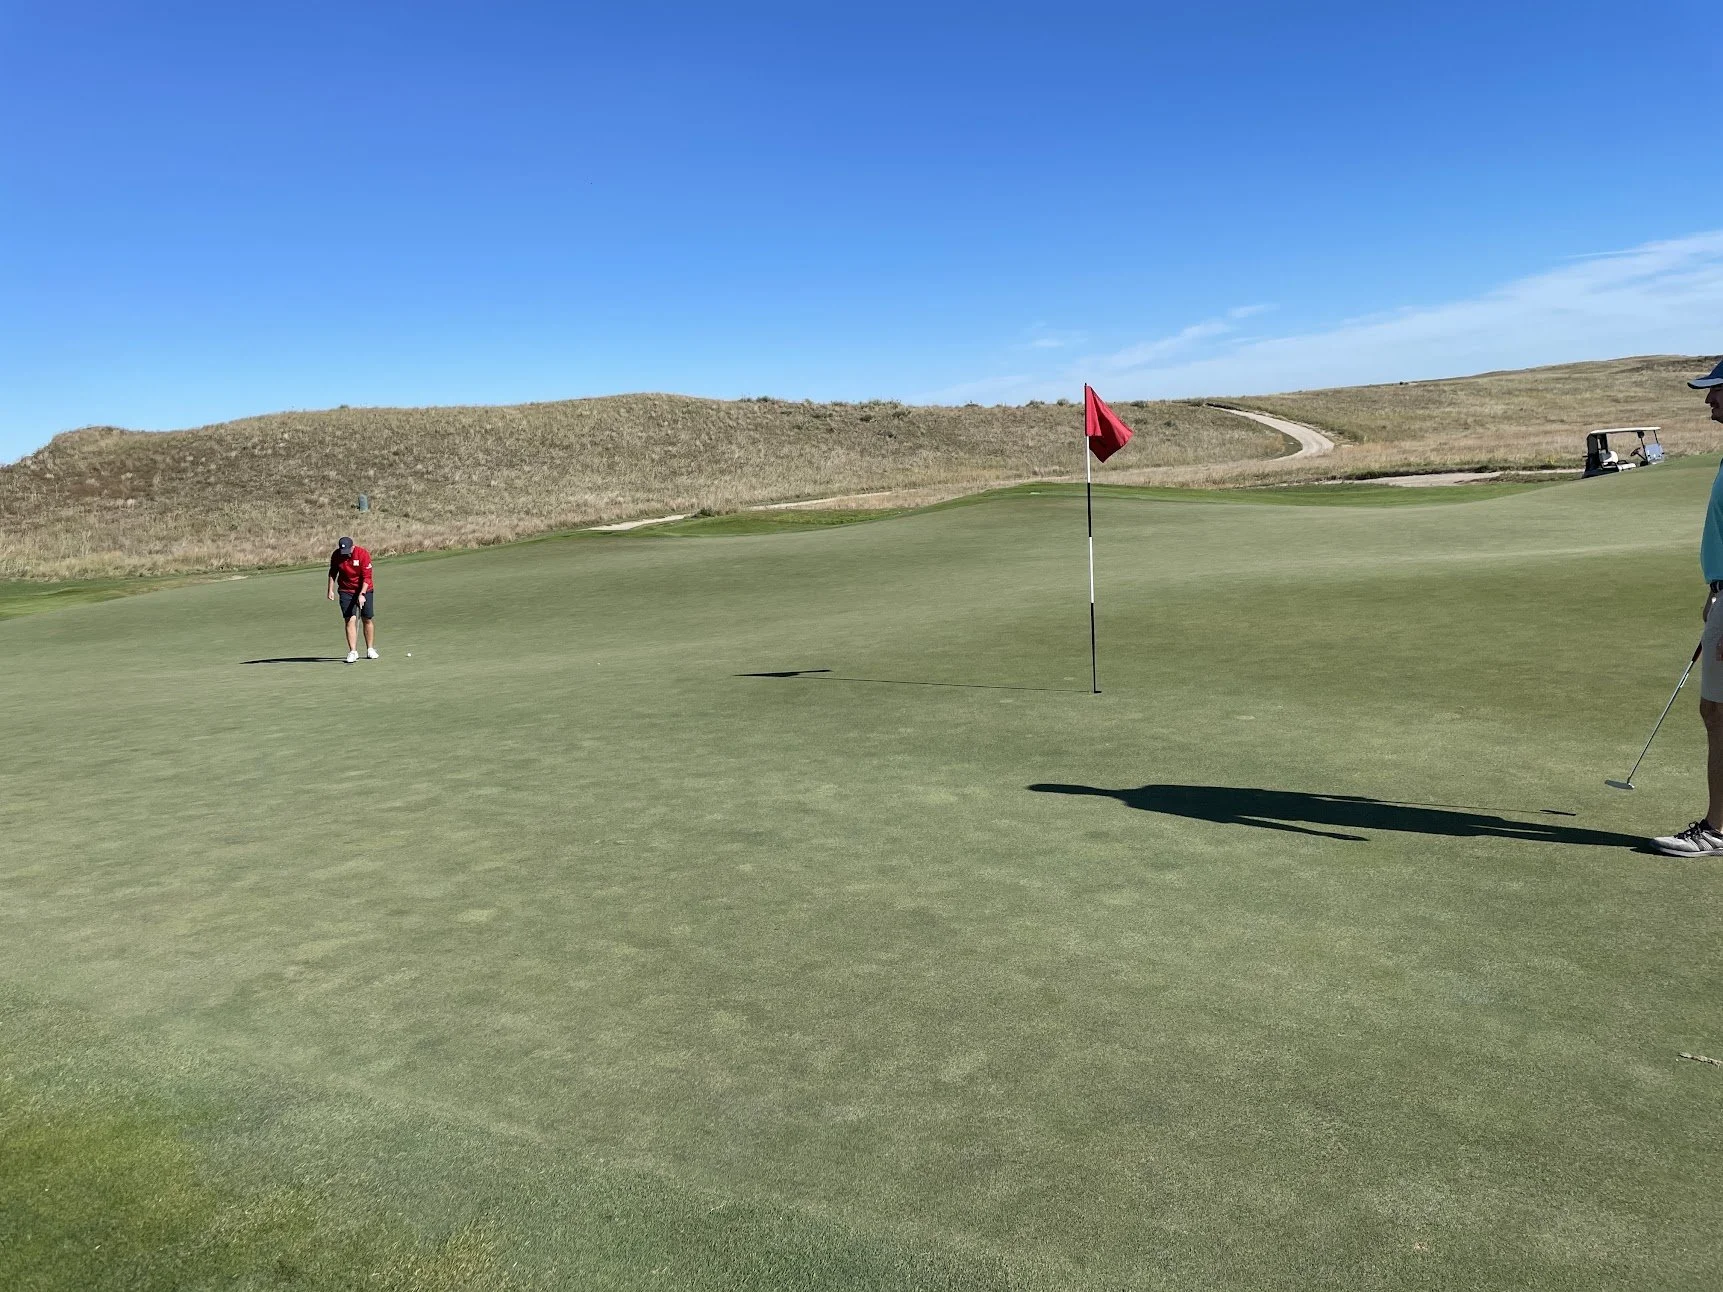
green on 7.
Hole 8: ⛳️
The eighth is a fairly straightforward par 4, by Prairie Club standards. Players will want to keep their drives between the bunkers off the tee.
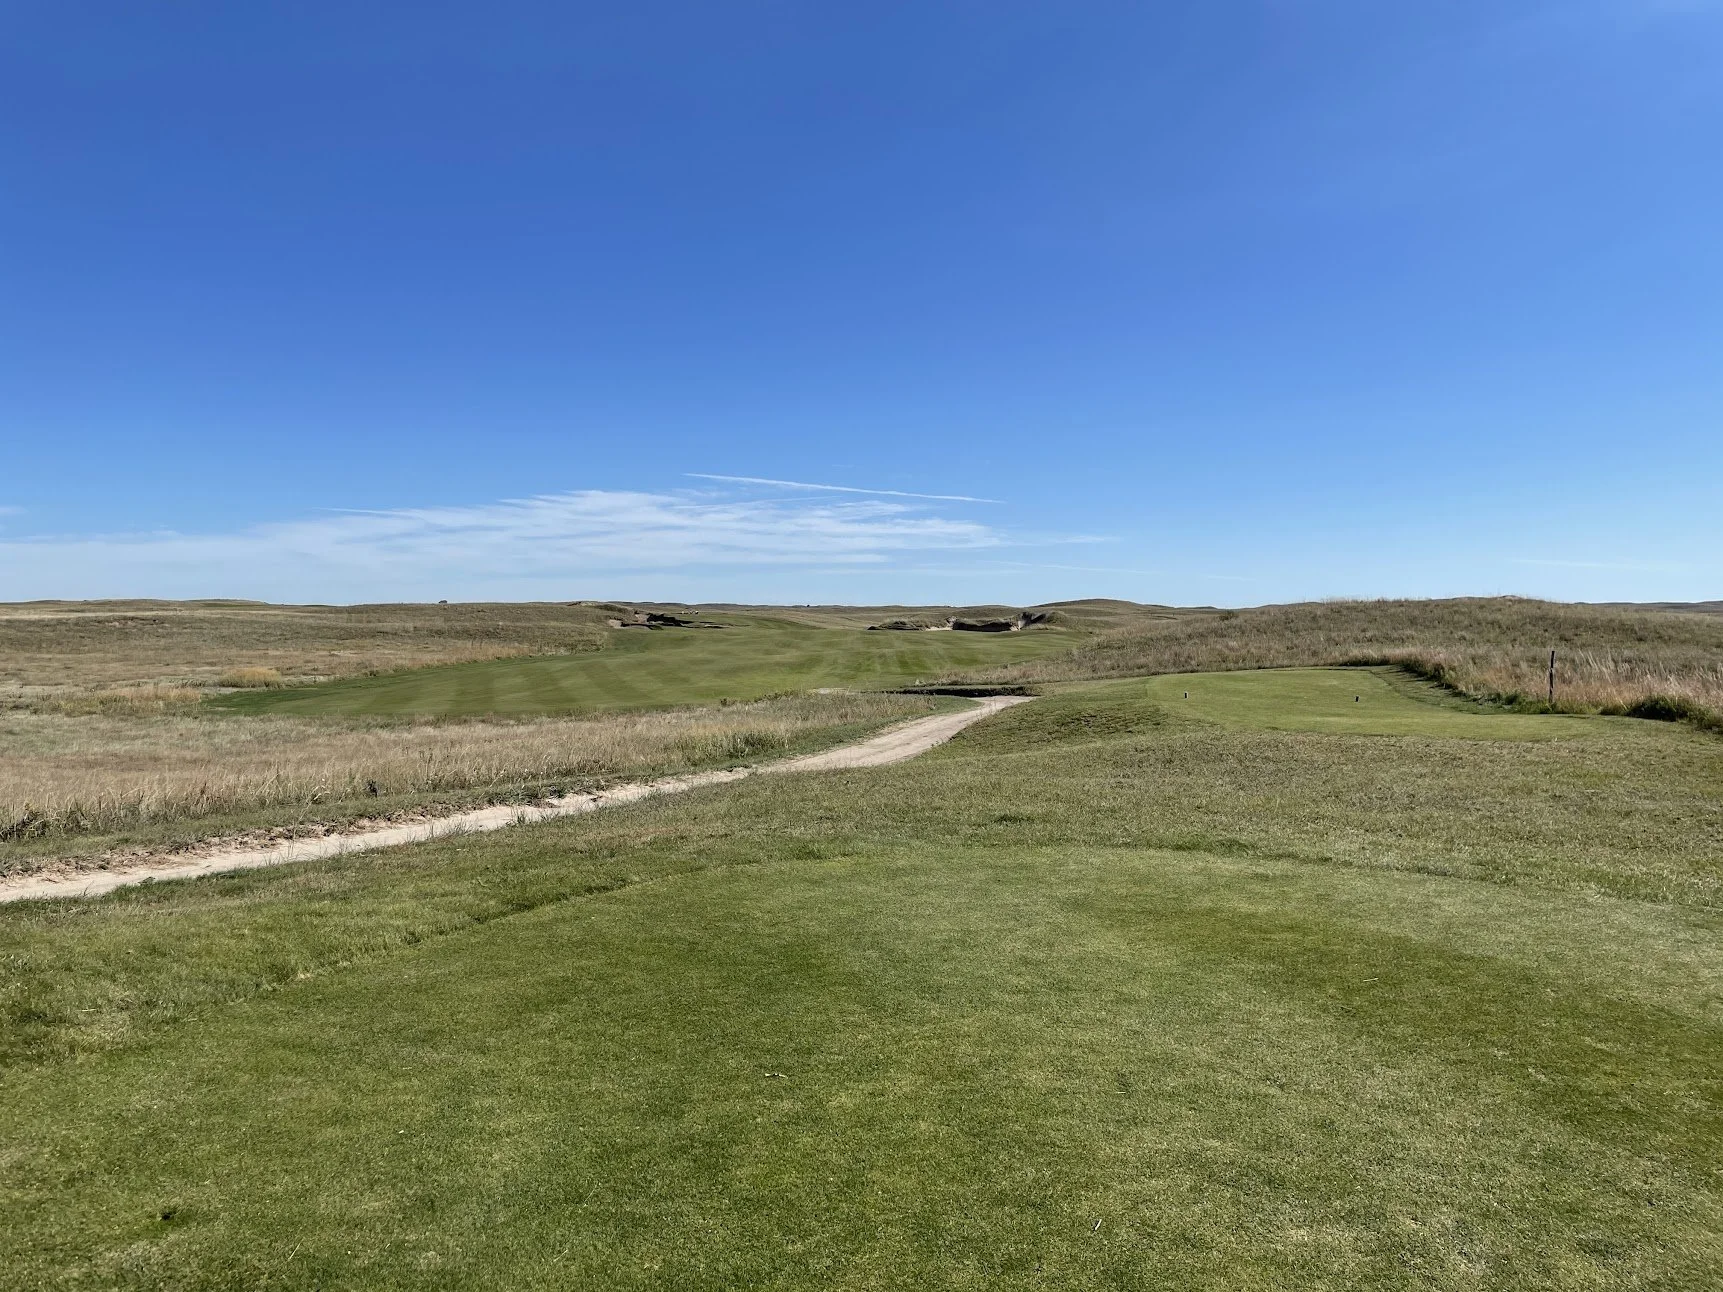
tee on 8.
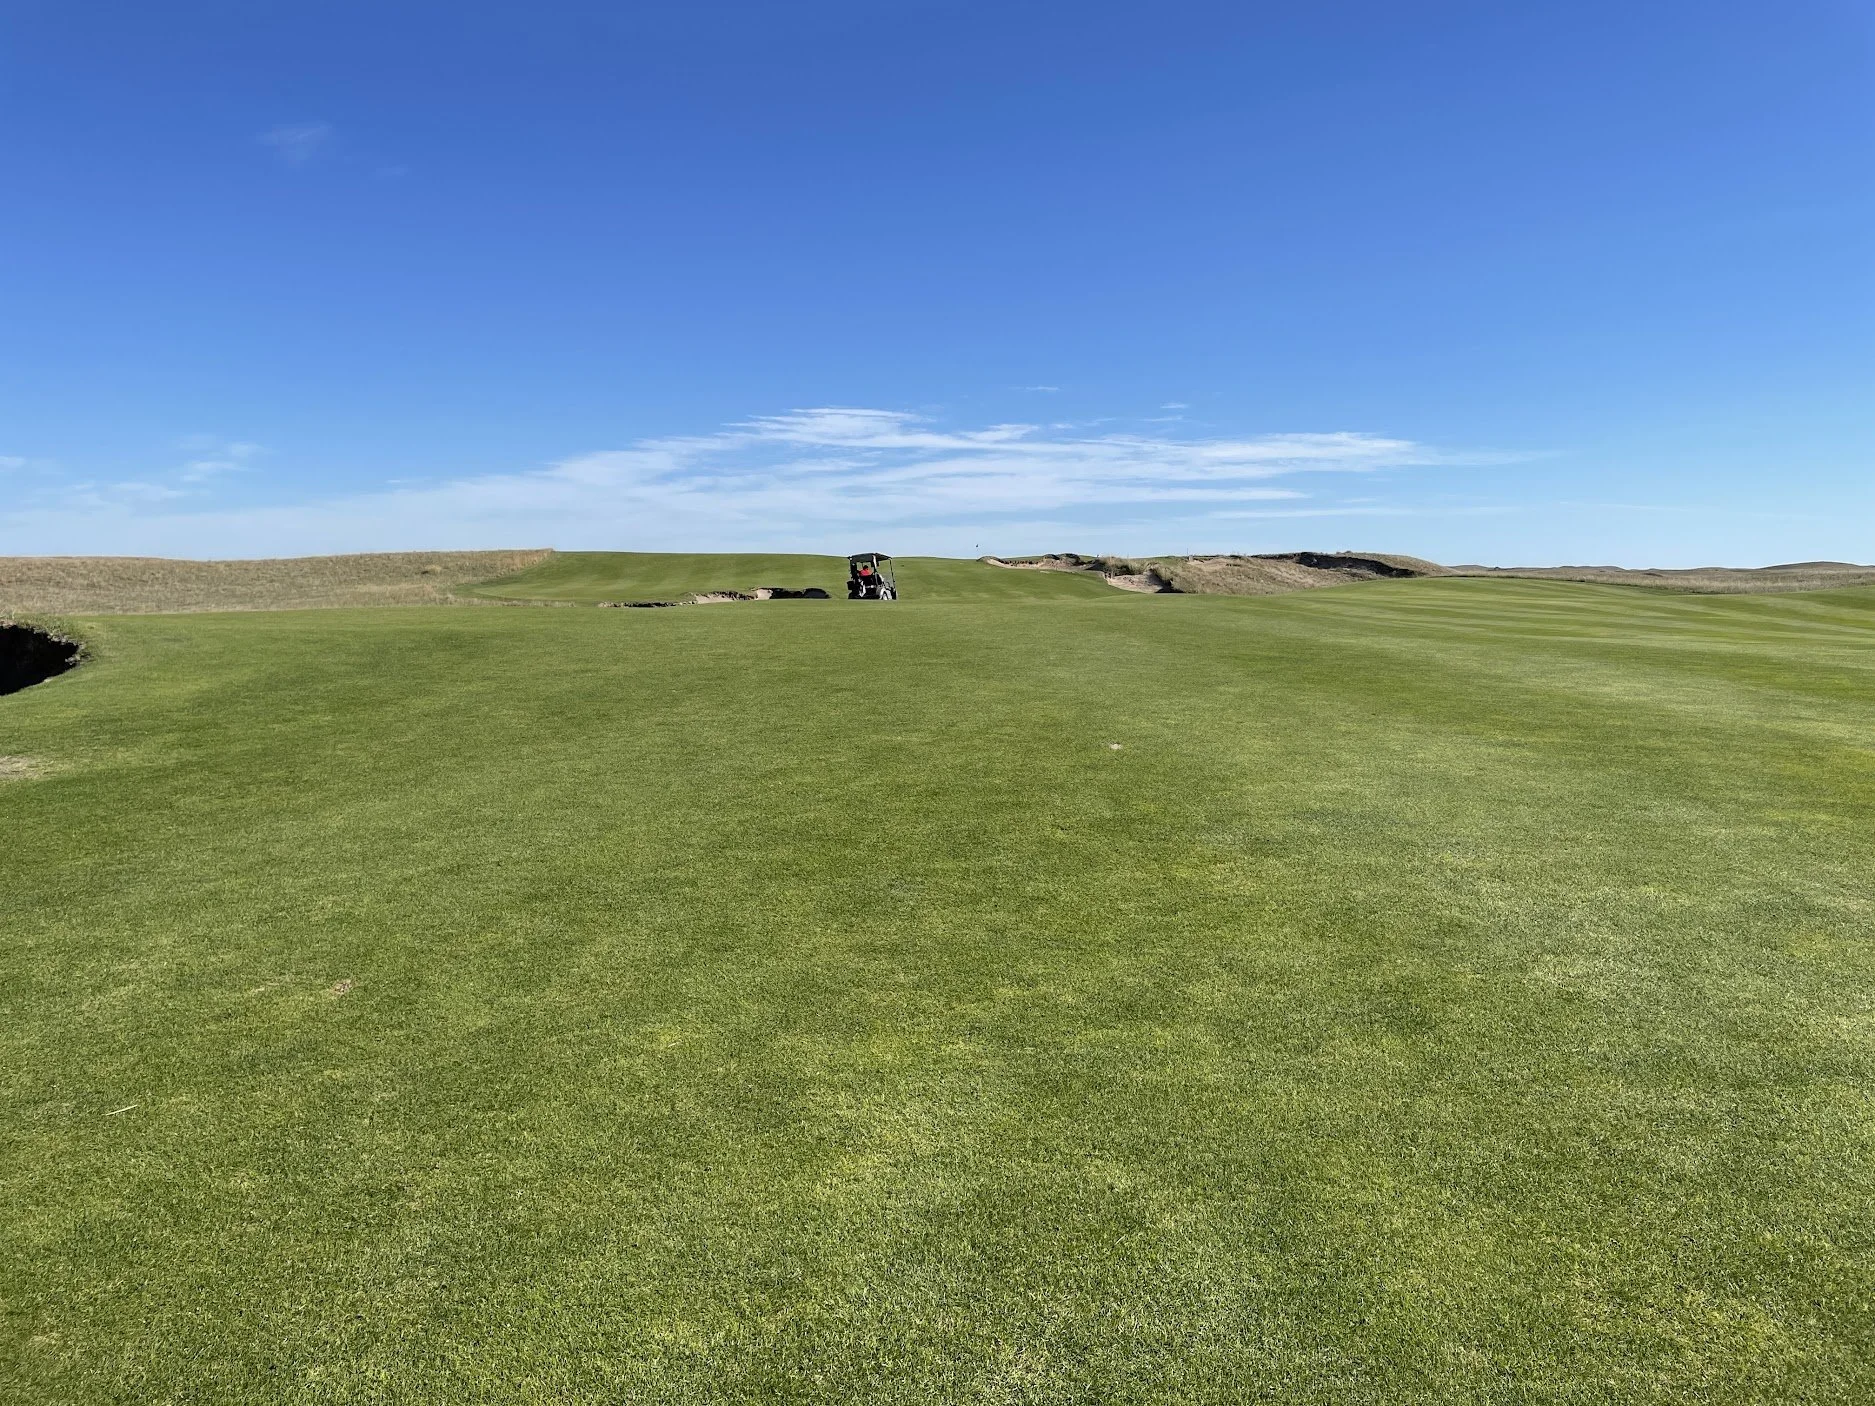
Dunes make the second shot a little uncomfortable, but really anything right of the left dune will end up pretty good. Driving up to see the green is helpful. There’s more room left than it feels like too.
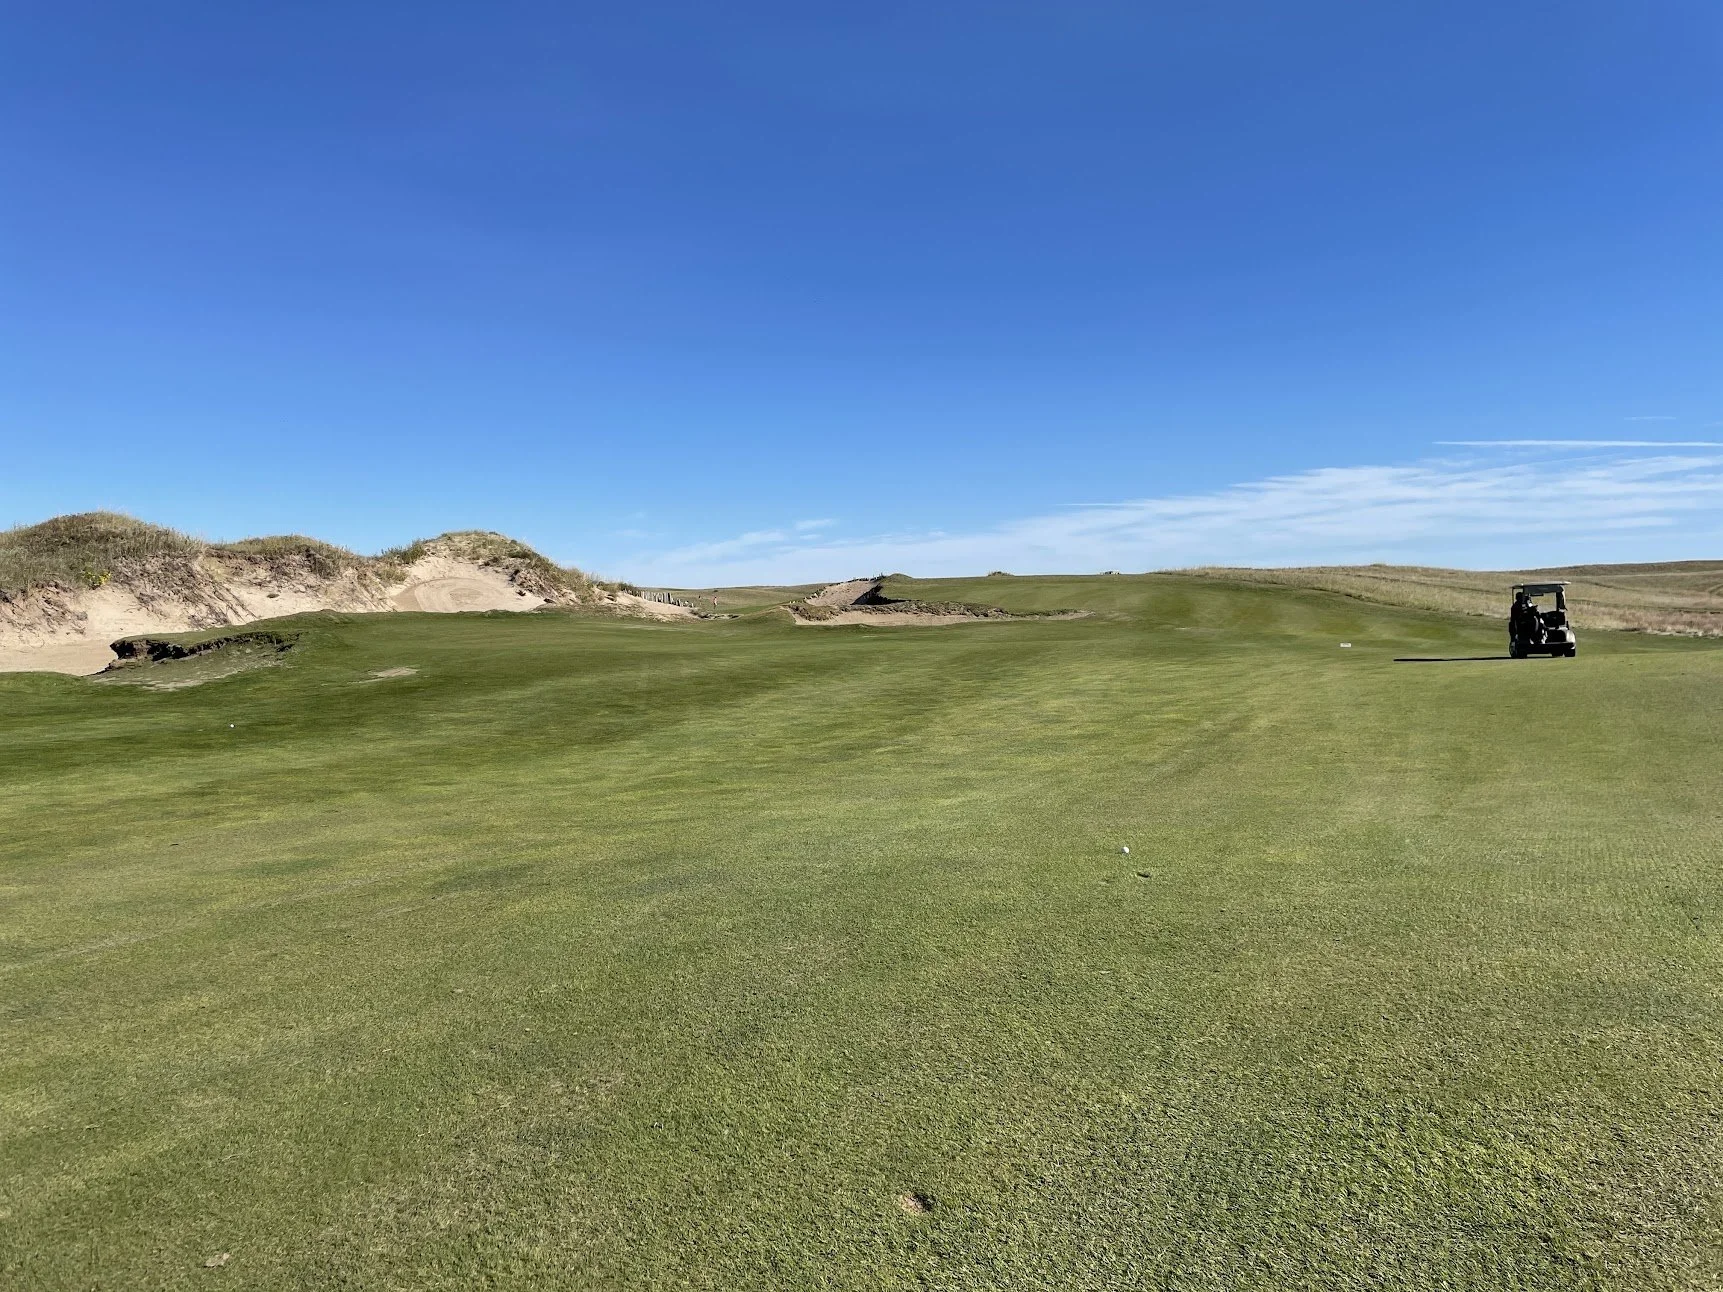
approach on 8.
green on 8.
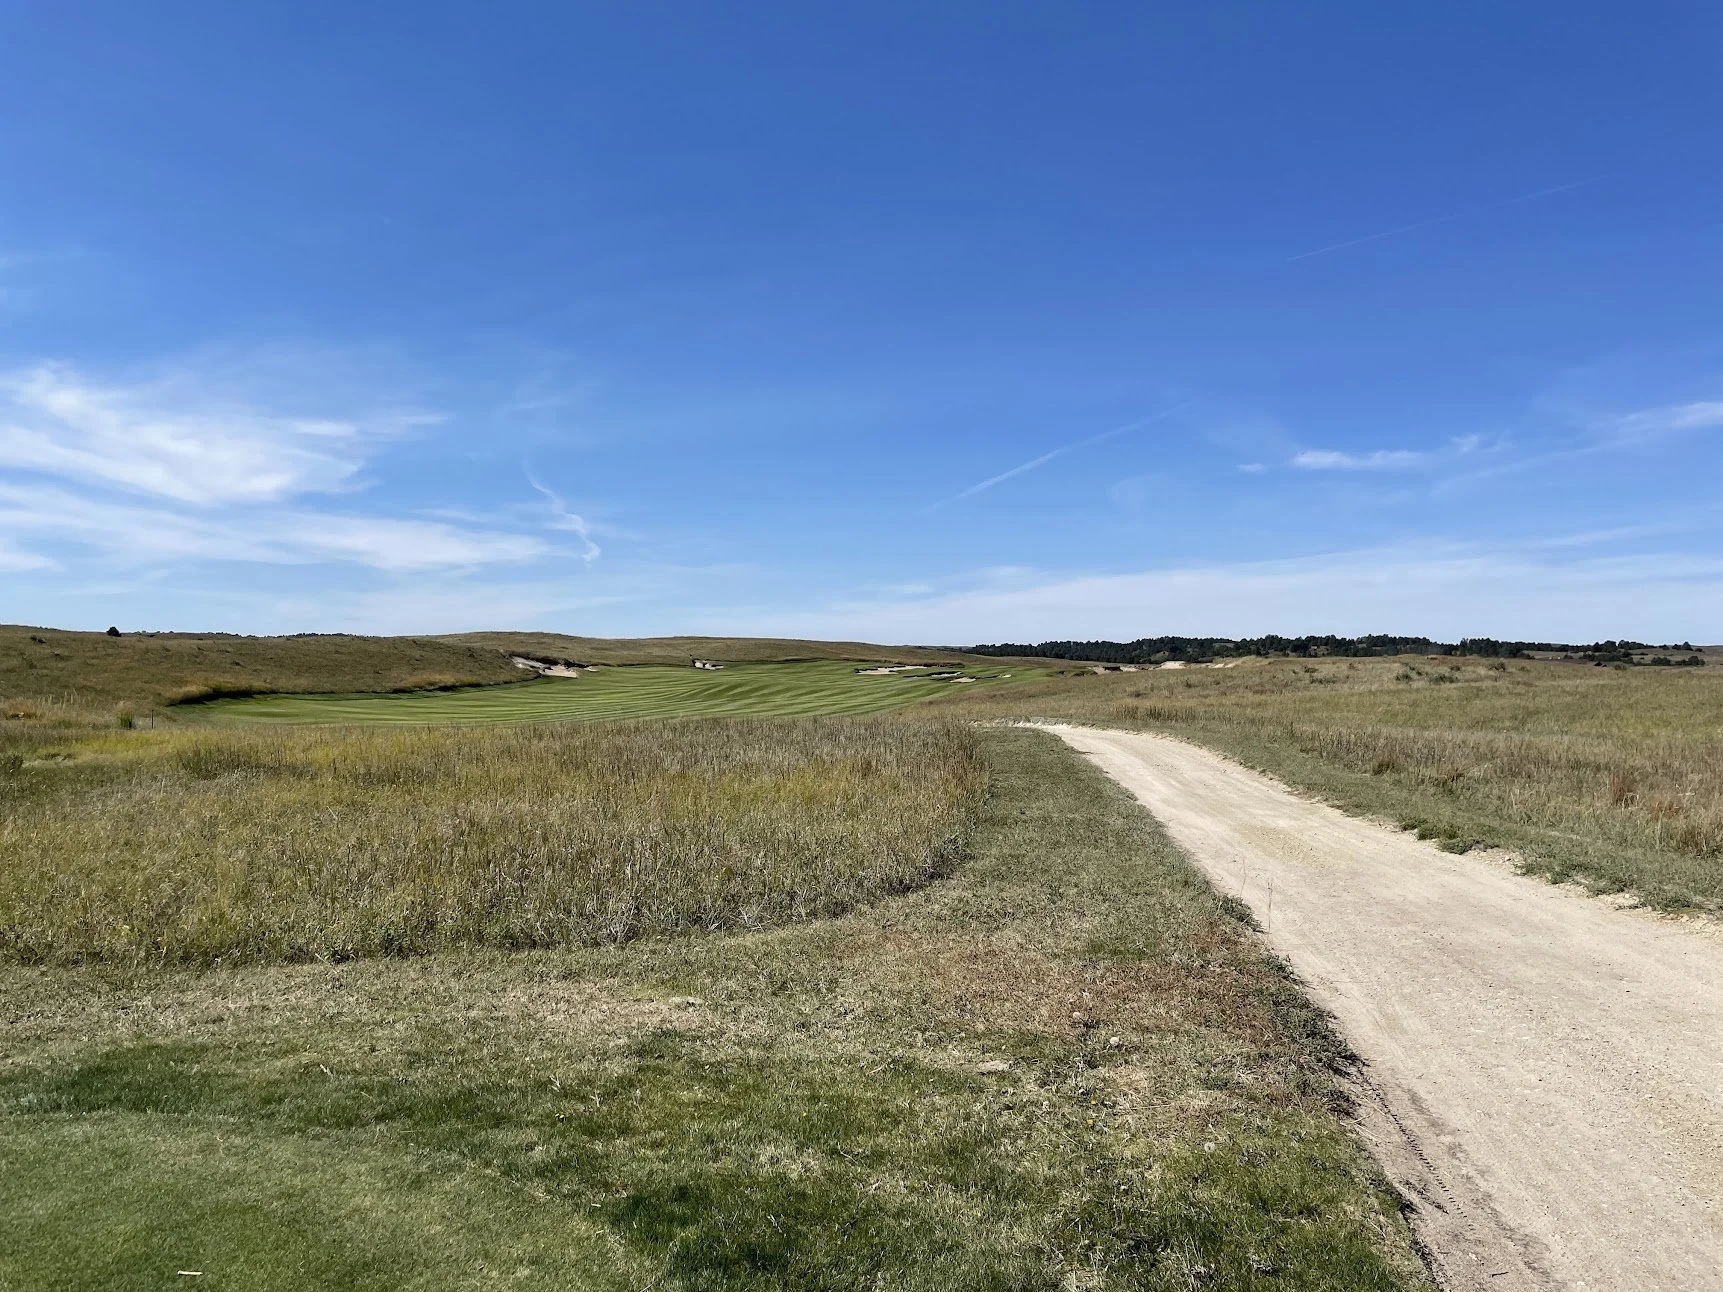
Hole 9: ⛳️
The final hole on the front nine is a long par 4 that also plays uphill. It requires a solid drive in order to set up an approach with a long iron. The line is straight down the middle, or just left of the right bunker.
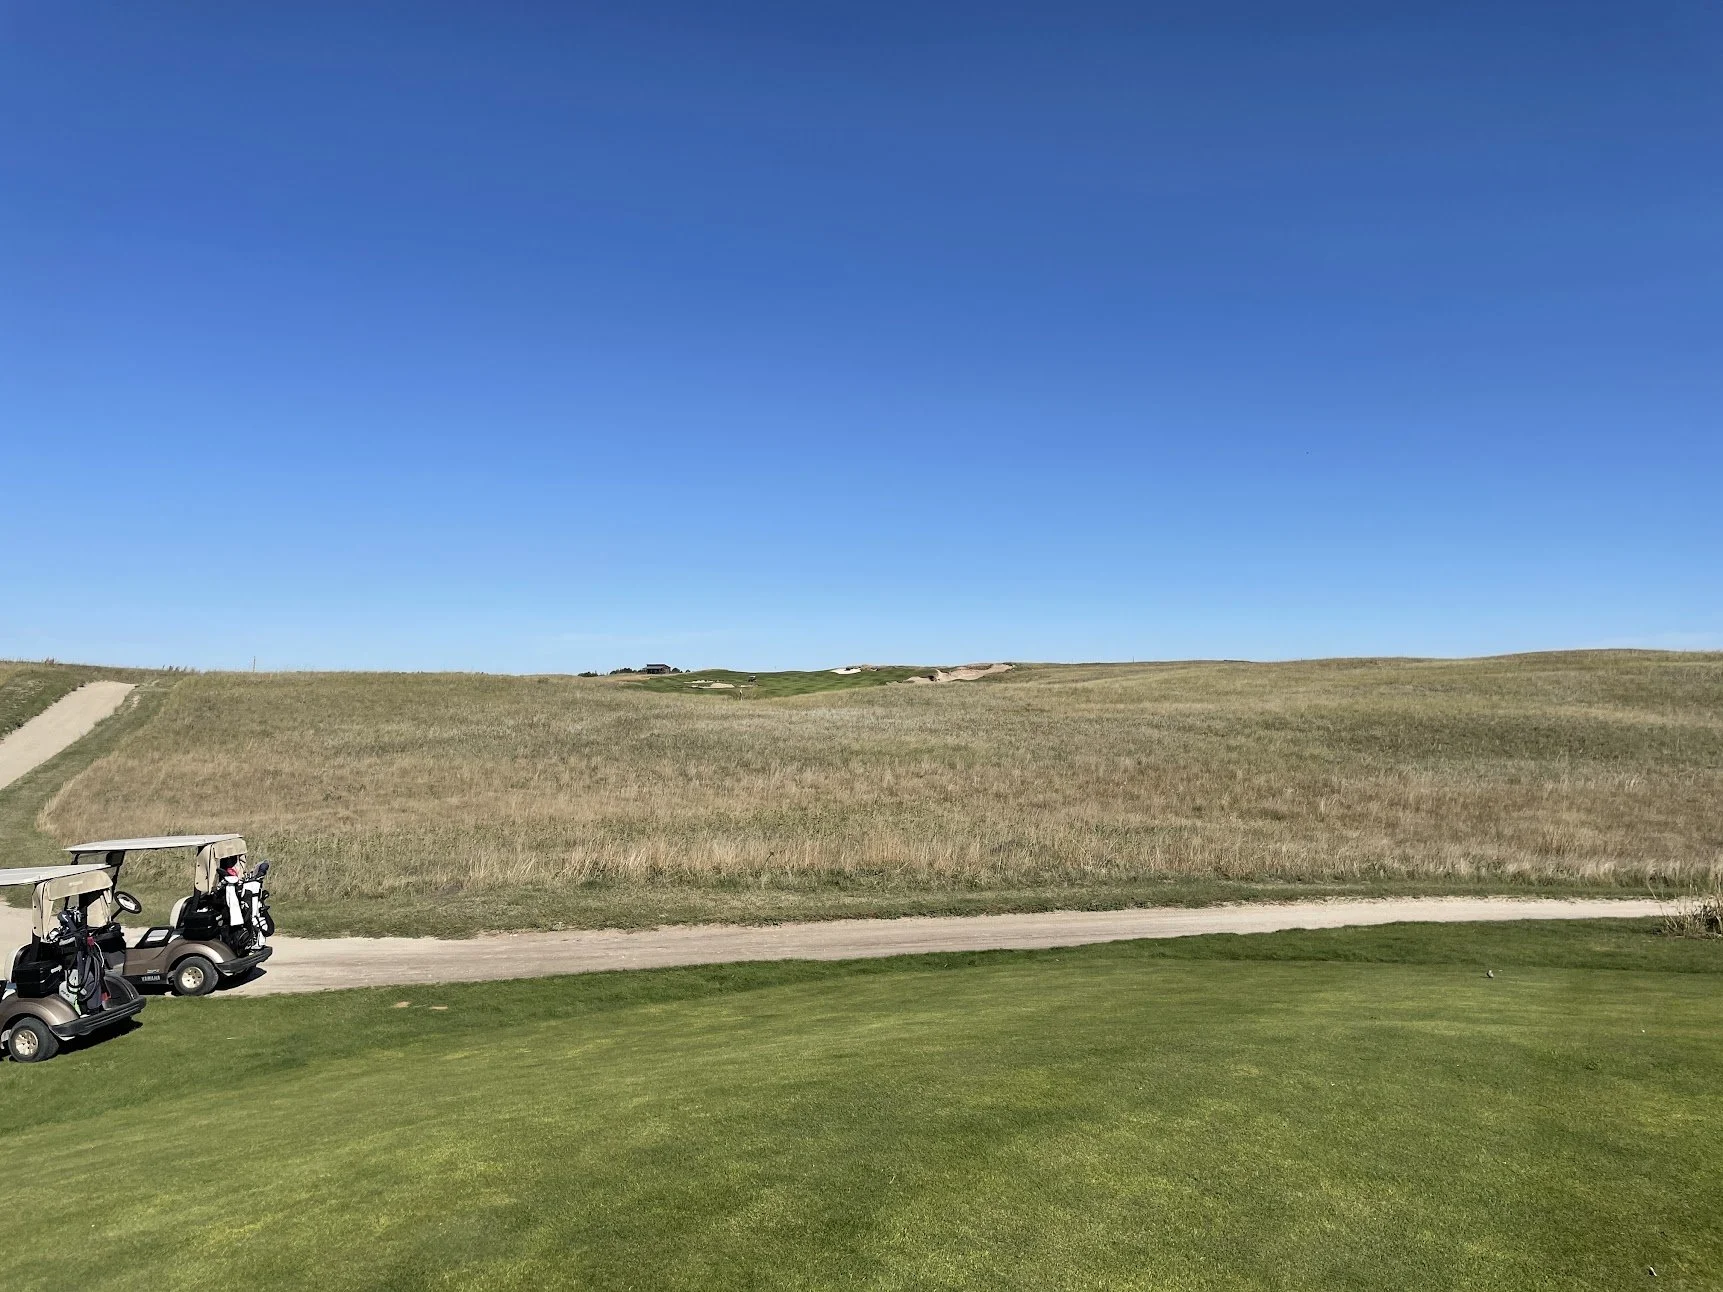
tee on 9.
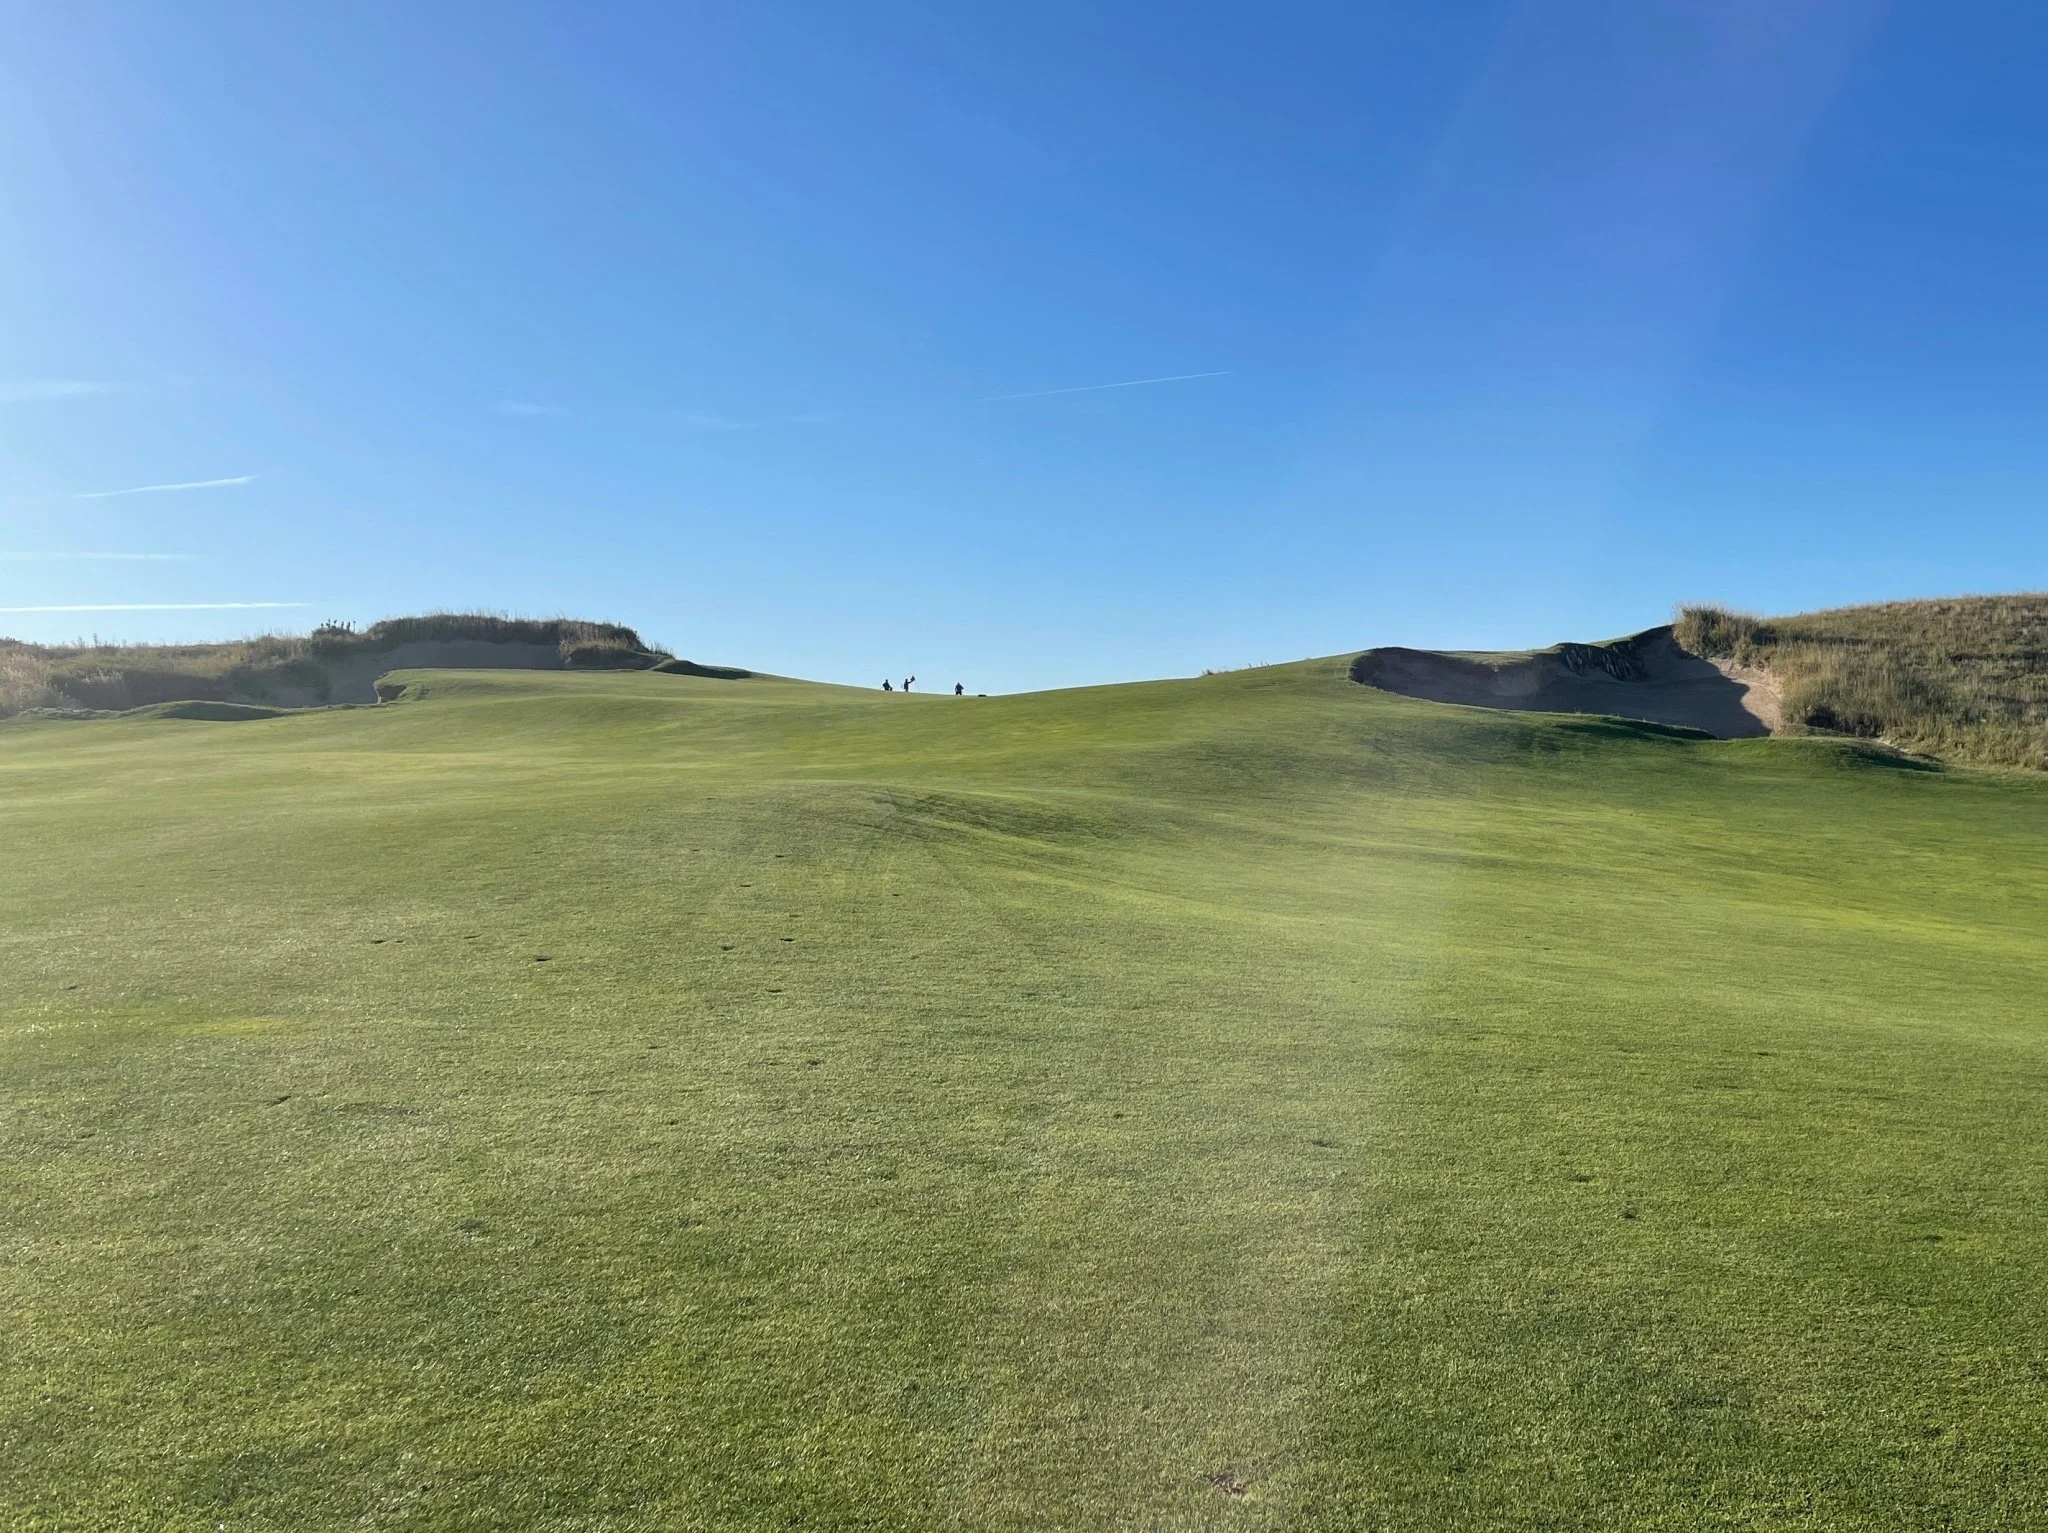
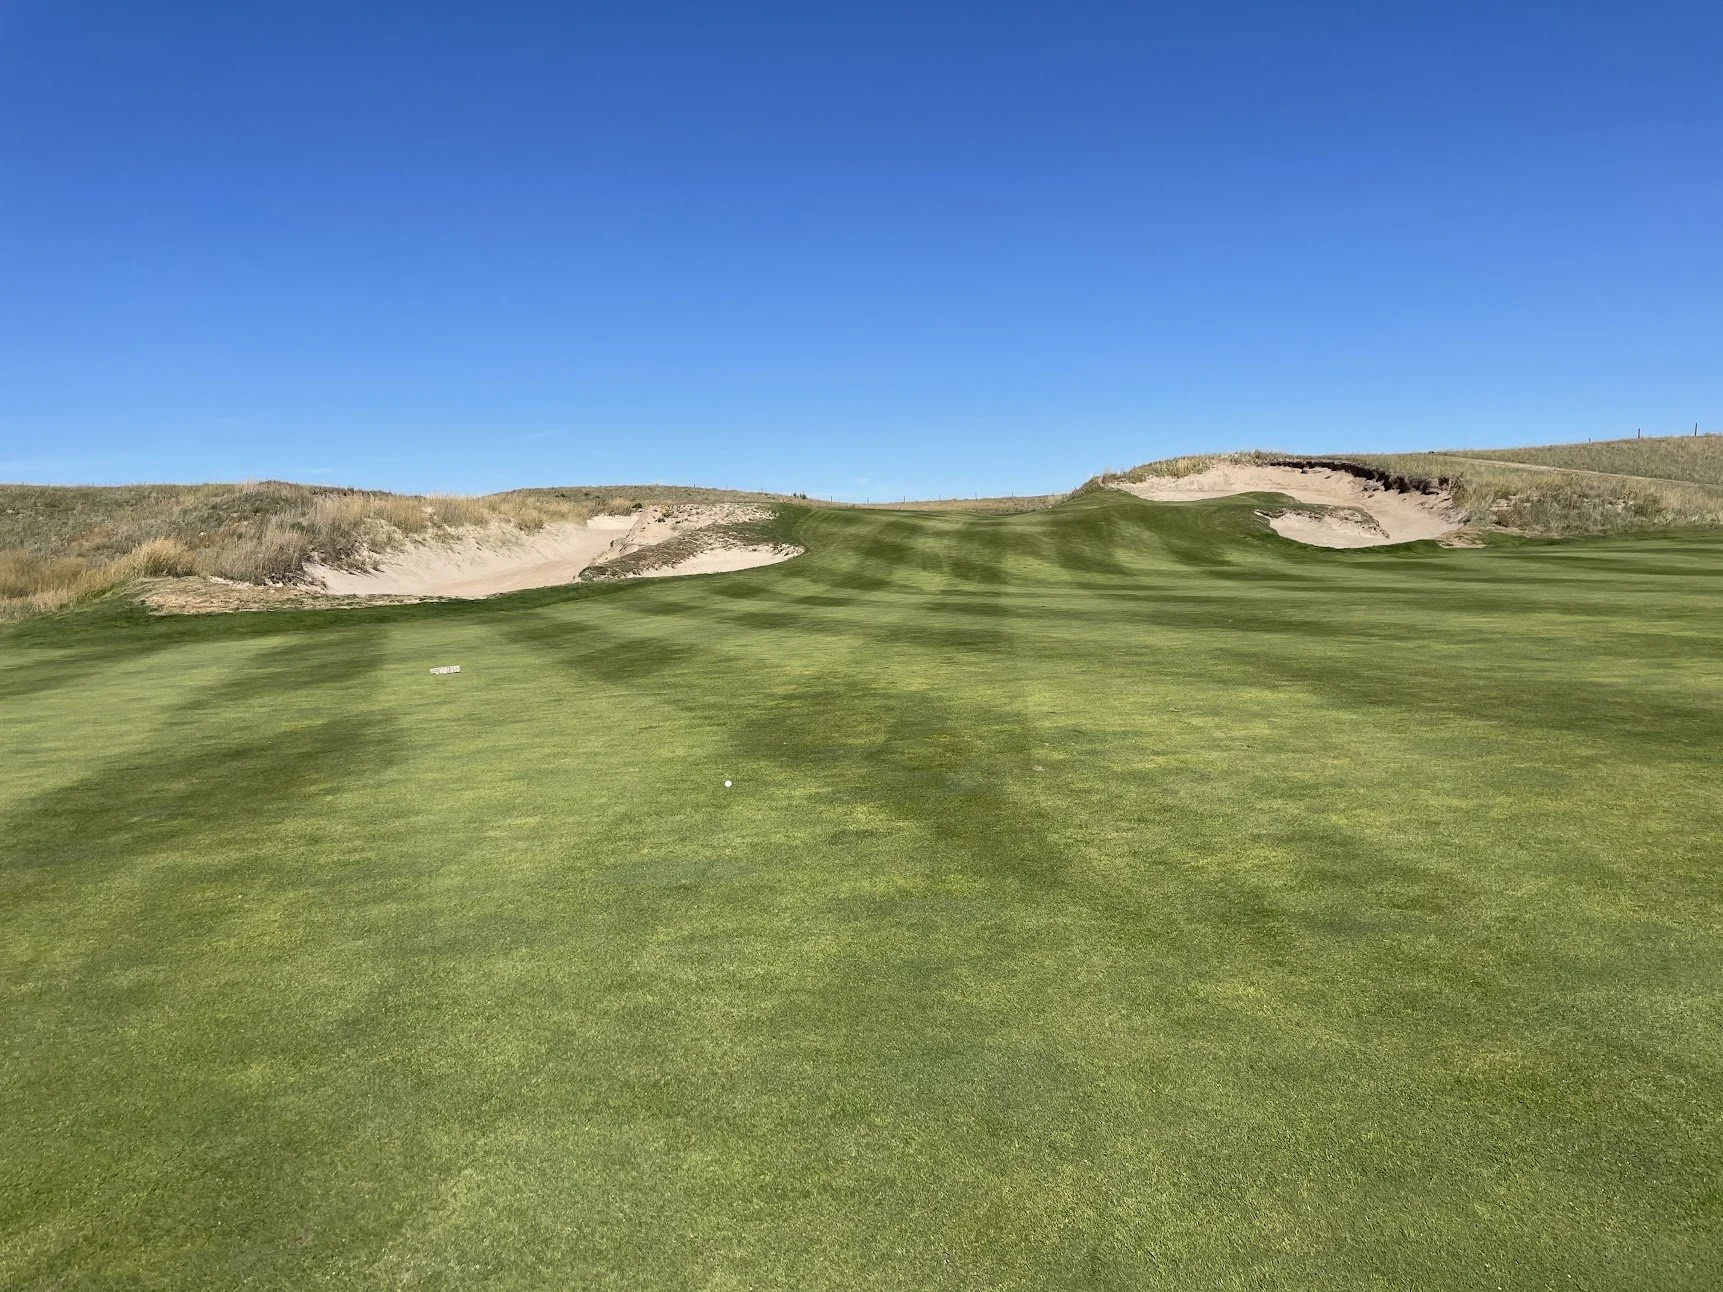
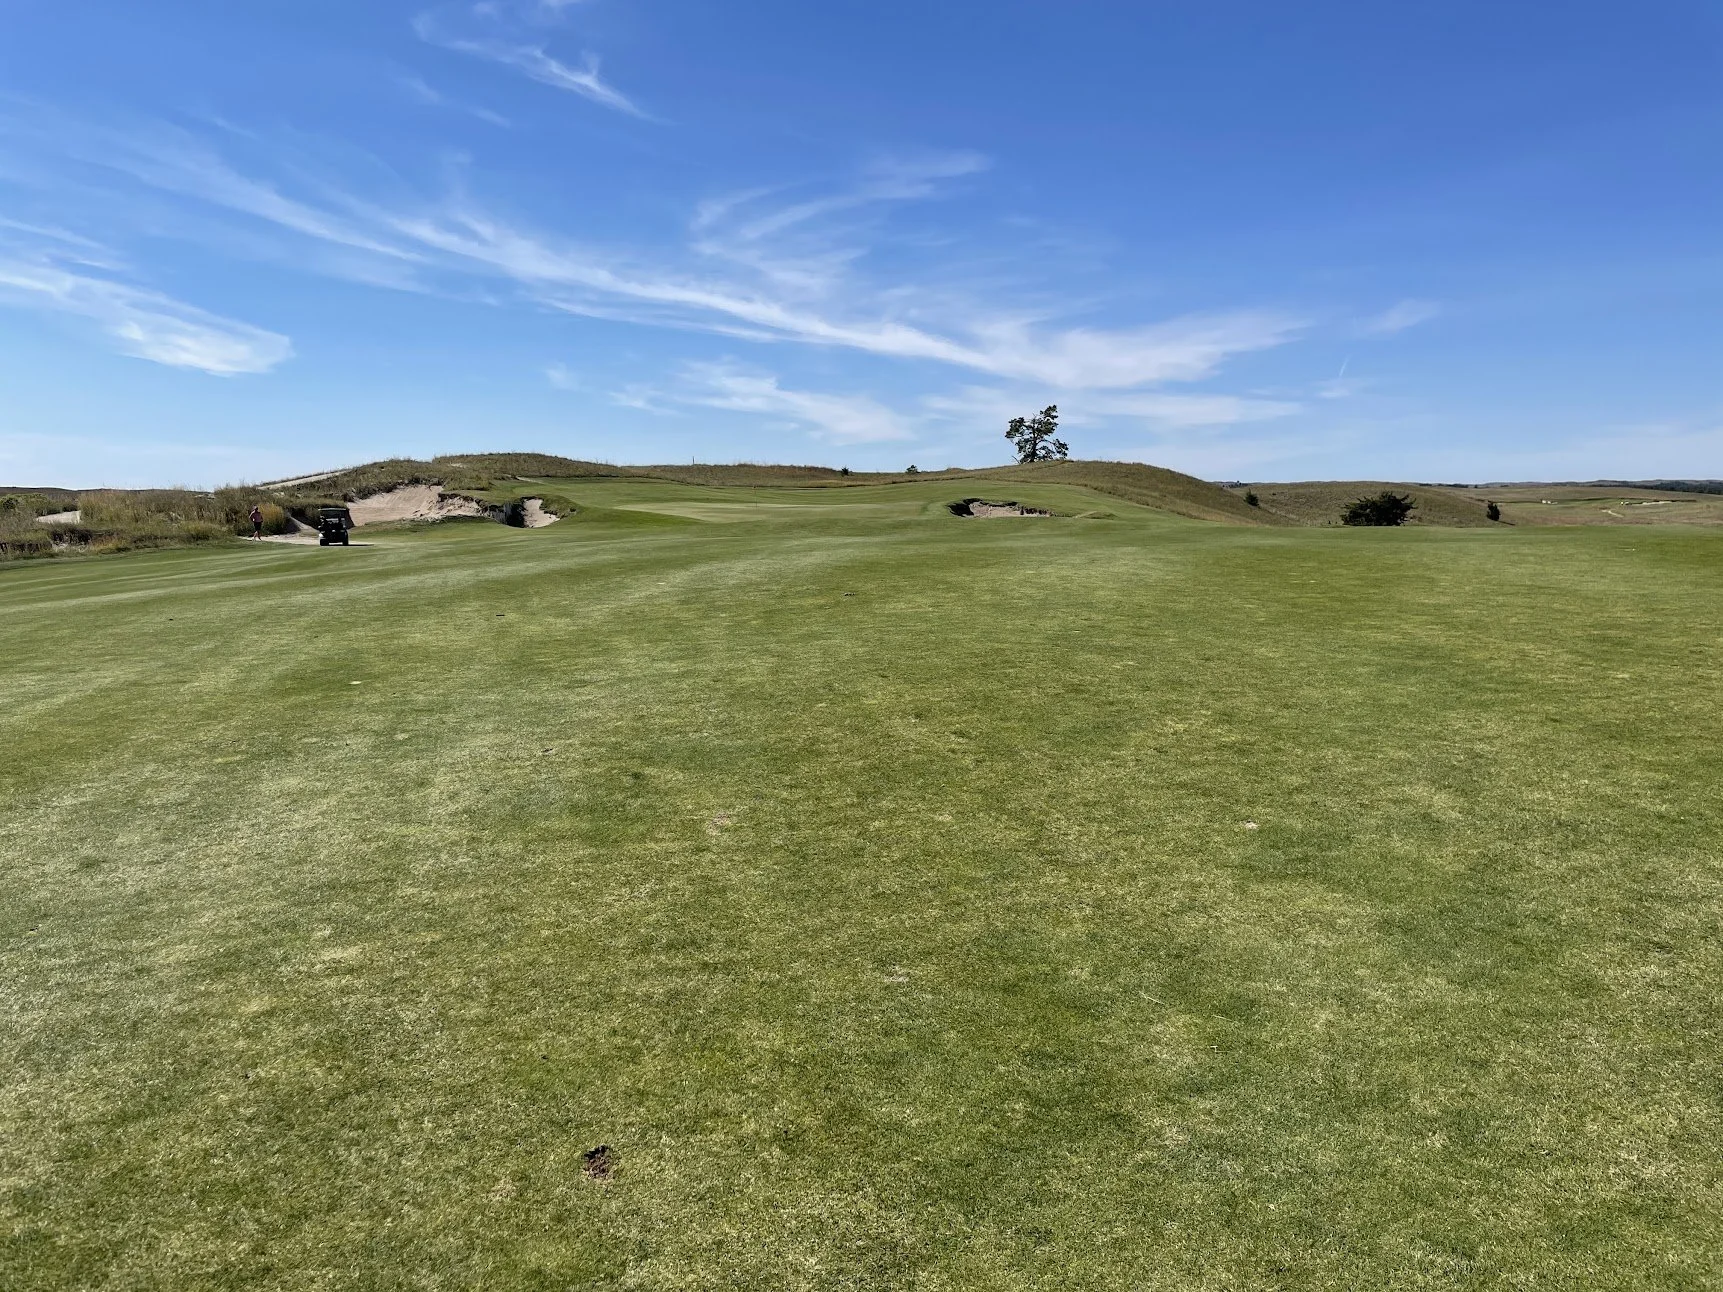
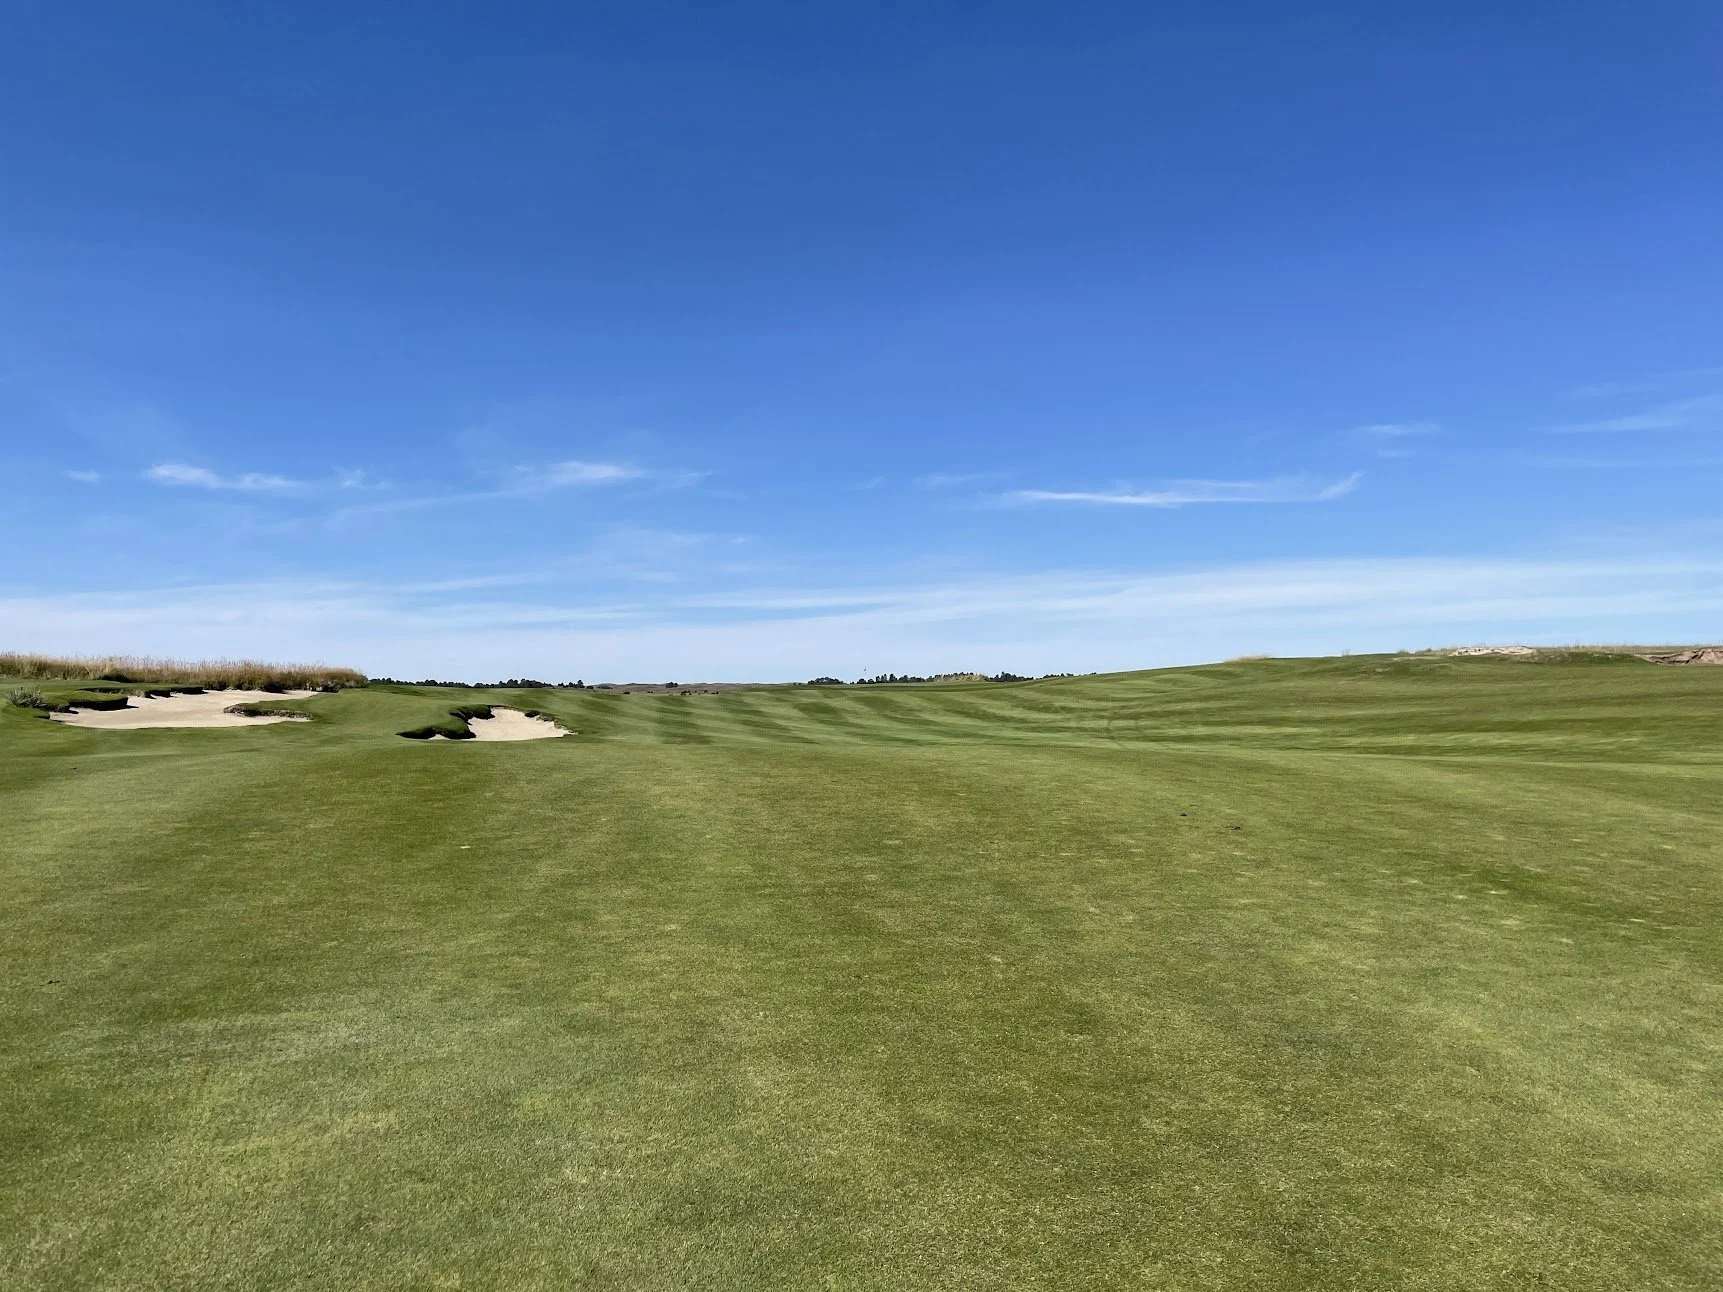
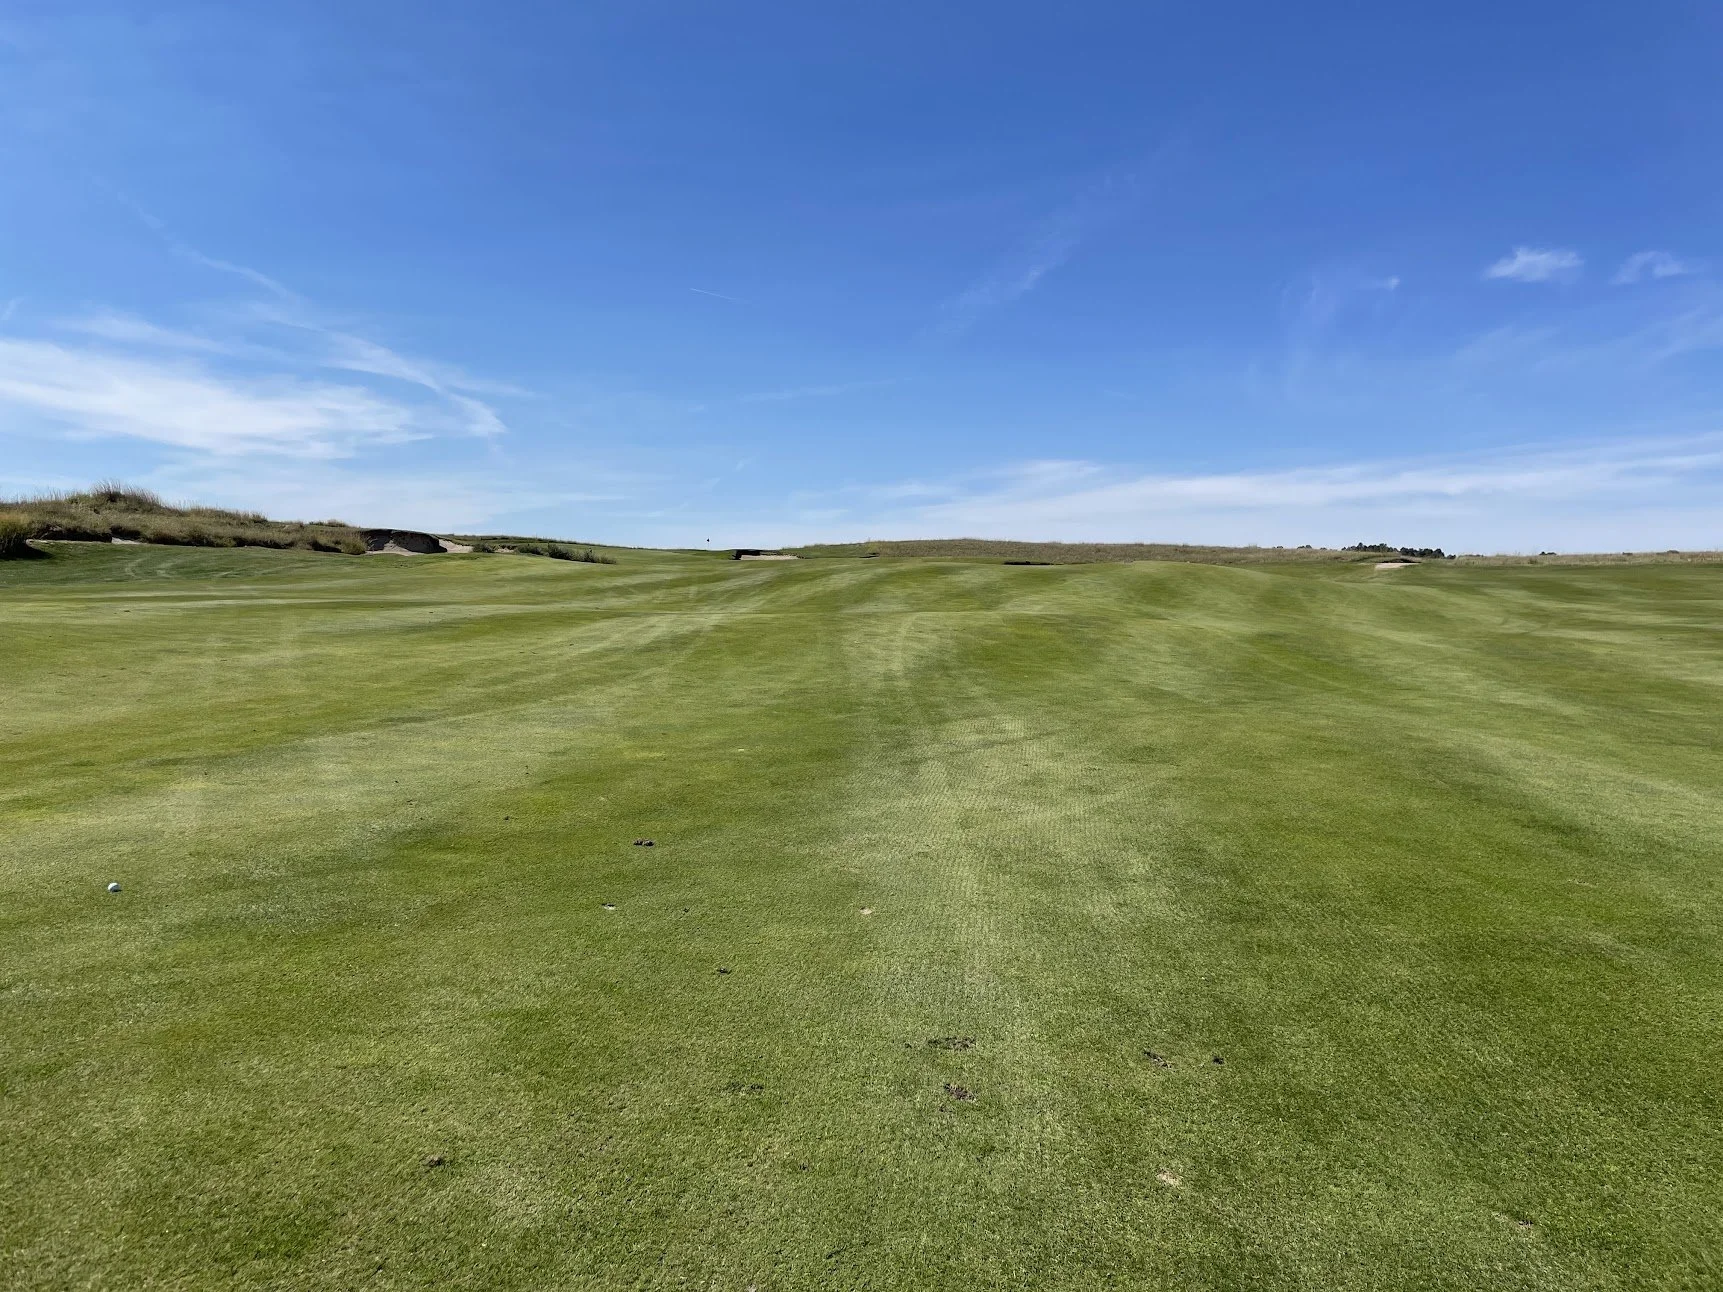
The image below is from the center of the fairway. It’s all uphill from here. Anything short will tend to roll back, so hitting enough club is important.
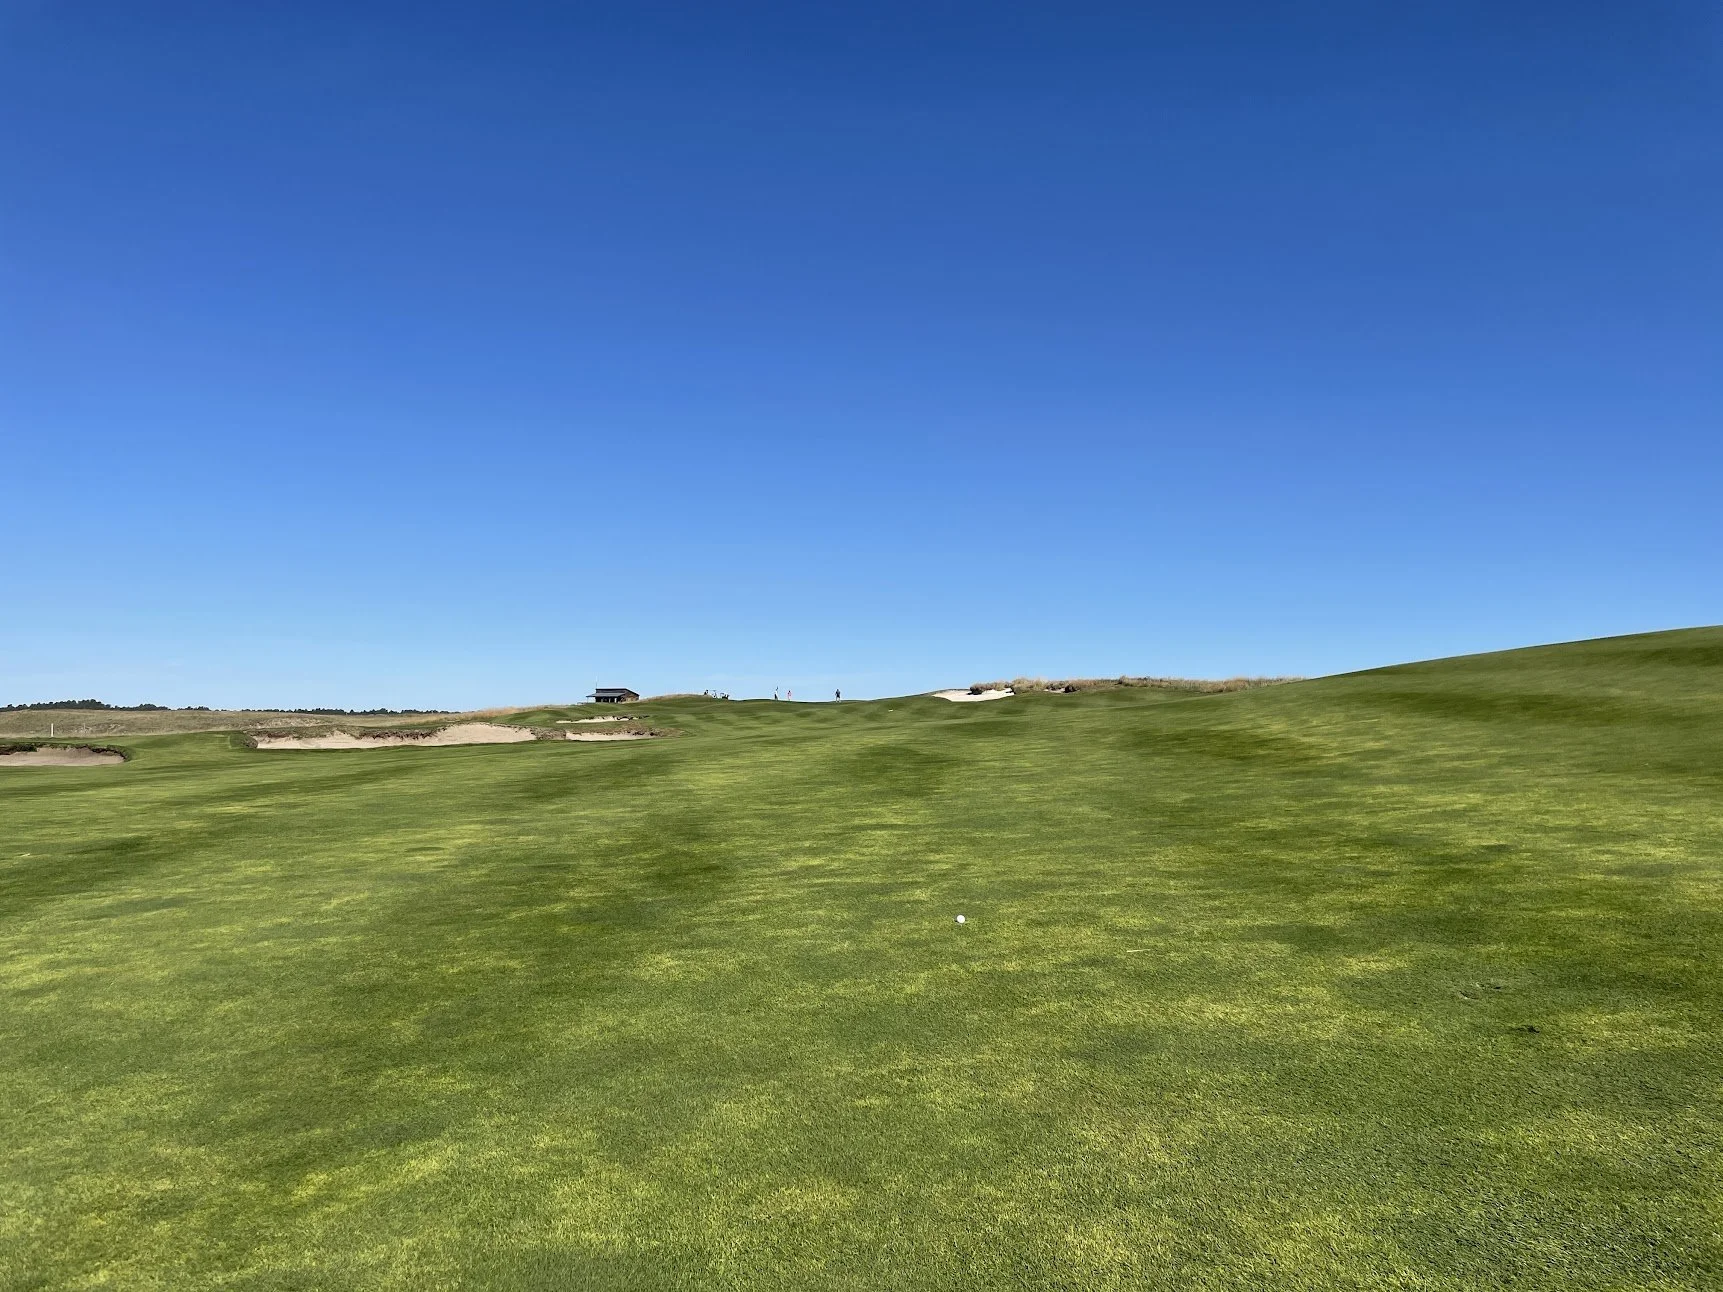
approach on 9.

green on 9.
Hole 10: ⛳️
The back nine begins with a par 5 where the line is to take it just left of the two center bunkers straight in front.
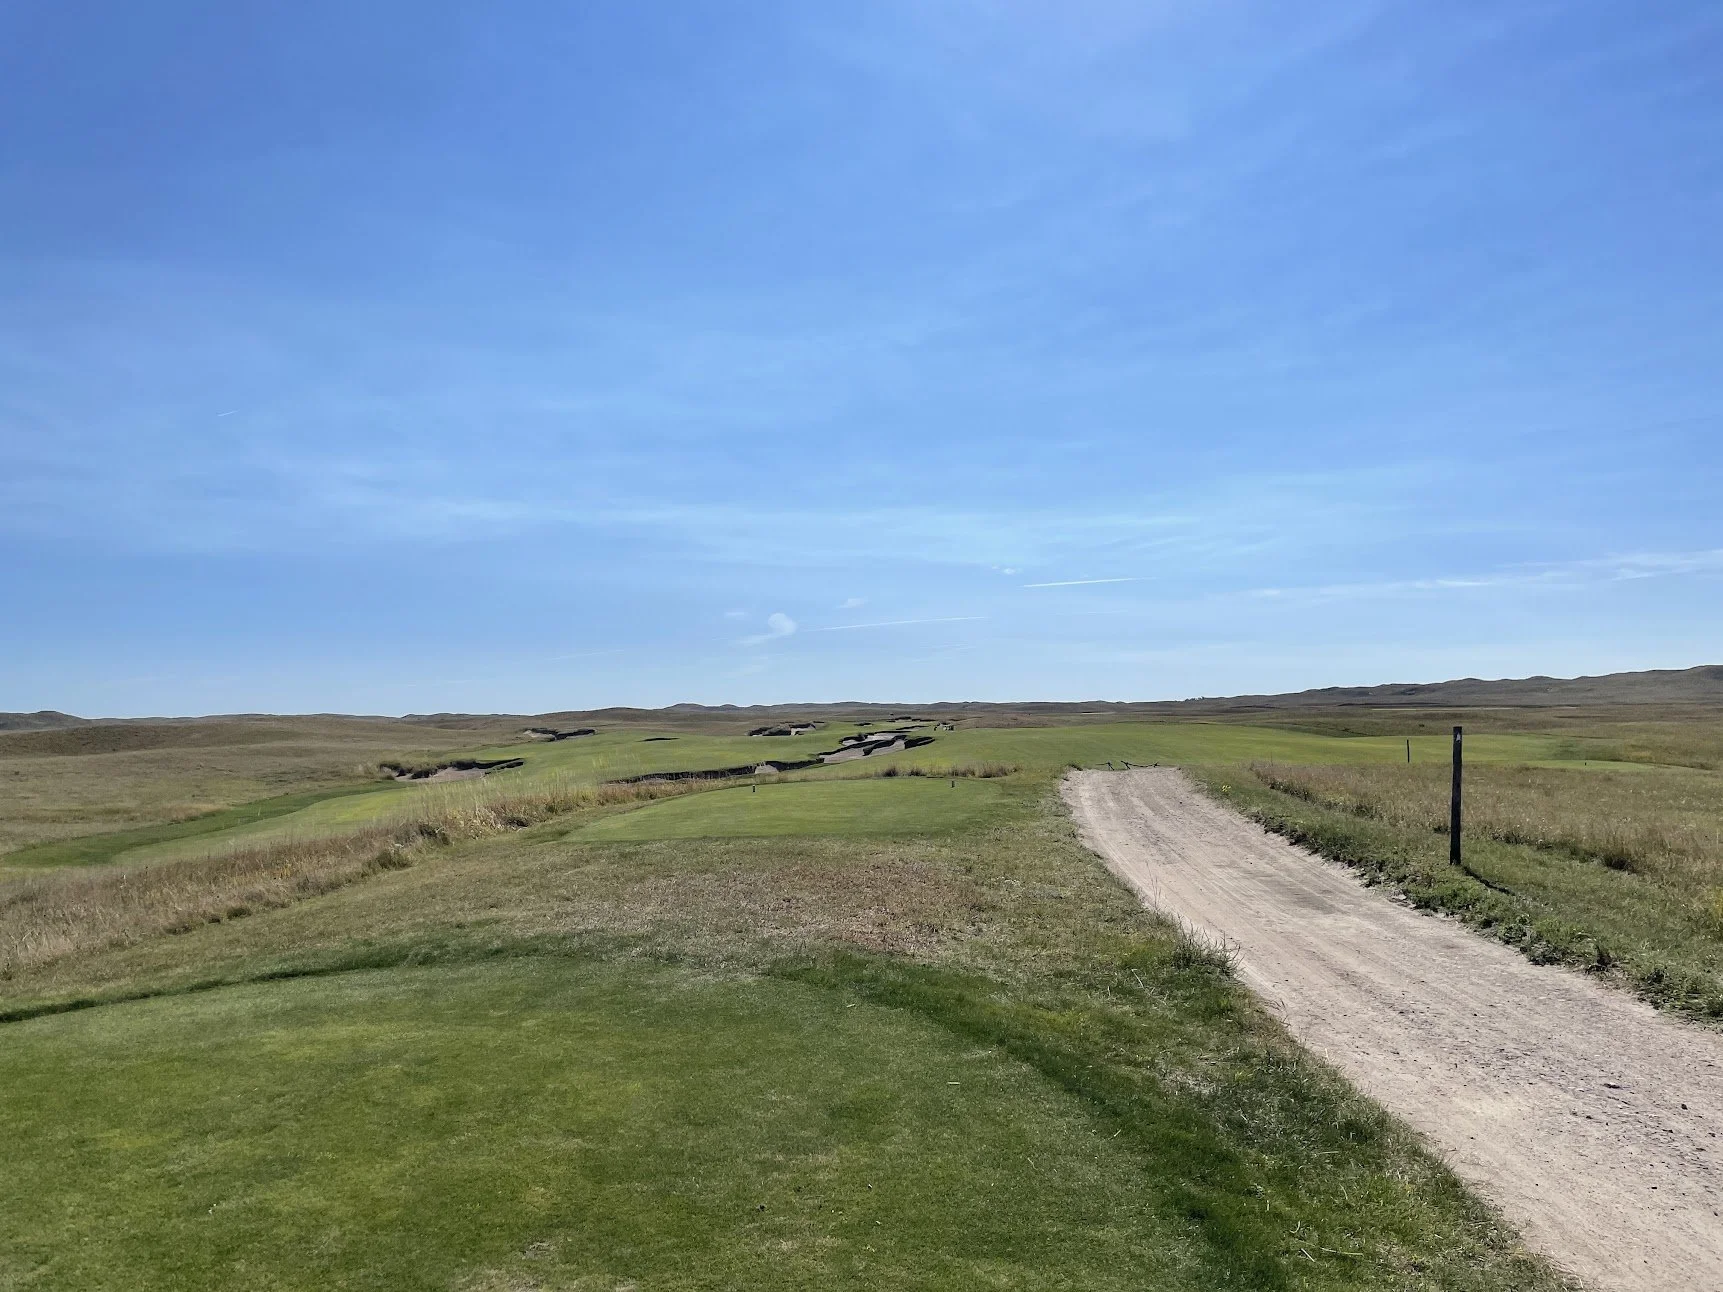
tee on 10.
approach on 10.
It’s possible to catch a little down slope on the drive and set up a shorter approach into this green. There are bunkers all over on this hole, but most don’t come into play.
approach on 10.
green on 10.
Hole 11: ⛳️
The eleventh hole provides players with a choice. Take the safe play and go right of the center bunker or take a risk and aim left of the big bunker on the left. Play it safe and it’ll leave a wedge or short iron into the green. Longer hitters can carry the crest of the hill which then turns into fairway. Do that and it’ll set up a short pitch into the green.
tee on 11.
Hole 12: ⛳️
The line off the tee on this reachable par 5 is more tricky than it first appears. Anything down the right side of the fairway can easily run out of room and end up in the long grass. There’s a small center bunker that acts as the farthest right you’ll want to go. Keeping it slightly left of that can catch a nice downslope too.

tee on 12.
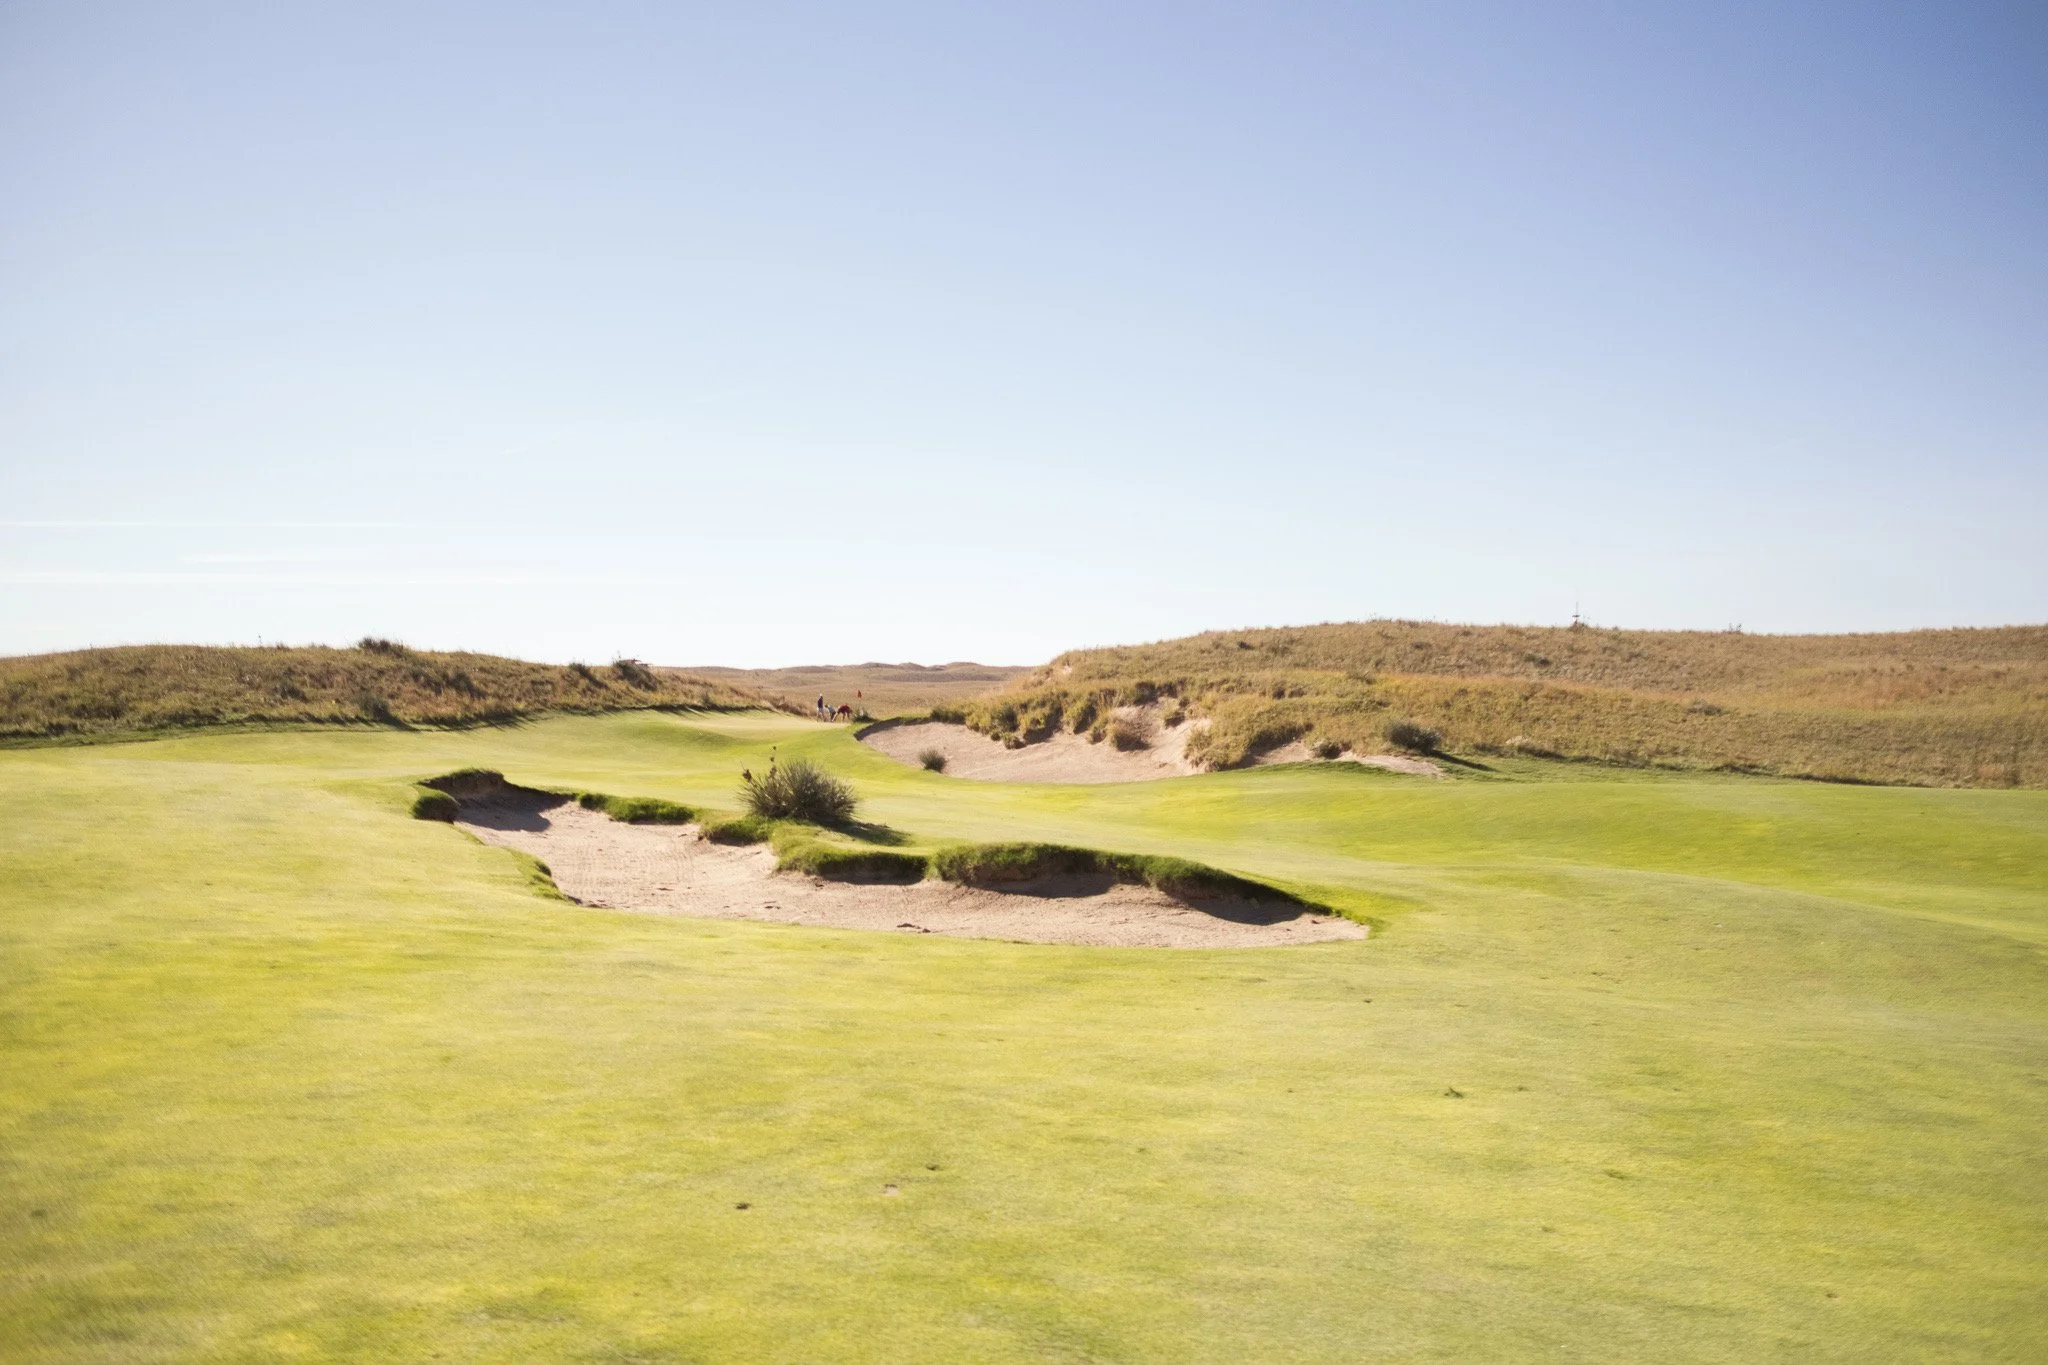
This approach is after catching the downslope off the tee. As you can see, the distance is manageable, but the green is heavily protected by dangerous bunkers.
approach on 12.
approach on 12.
green on 12.
Hole 13: ⛳️
There are a lot of bunkers to navigate off this tee box. Staying left of the short-center bunkers will set up a shorter approach, but can bring the left bunkers into play. Driving it down the right is safer, but will leave a longer approach.
tee on 13.
The view below is from just left of the center bunkers. The bunker visible on the left is the left bunker off the tee.
approach on 13.
green on 13.
Hole 14: ⛳️
The fourteenth is a fairway easy, straightforward par 3. Players will want to avoid missing right, as a large bunker will make saving par a challenge.
tee on 14.
green on 14.
Hole 15: ⛳️
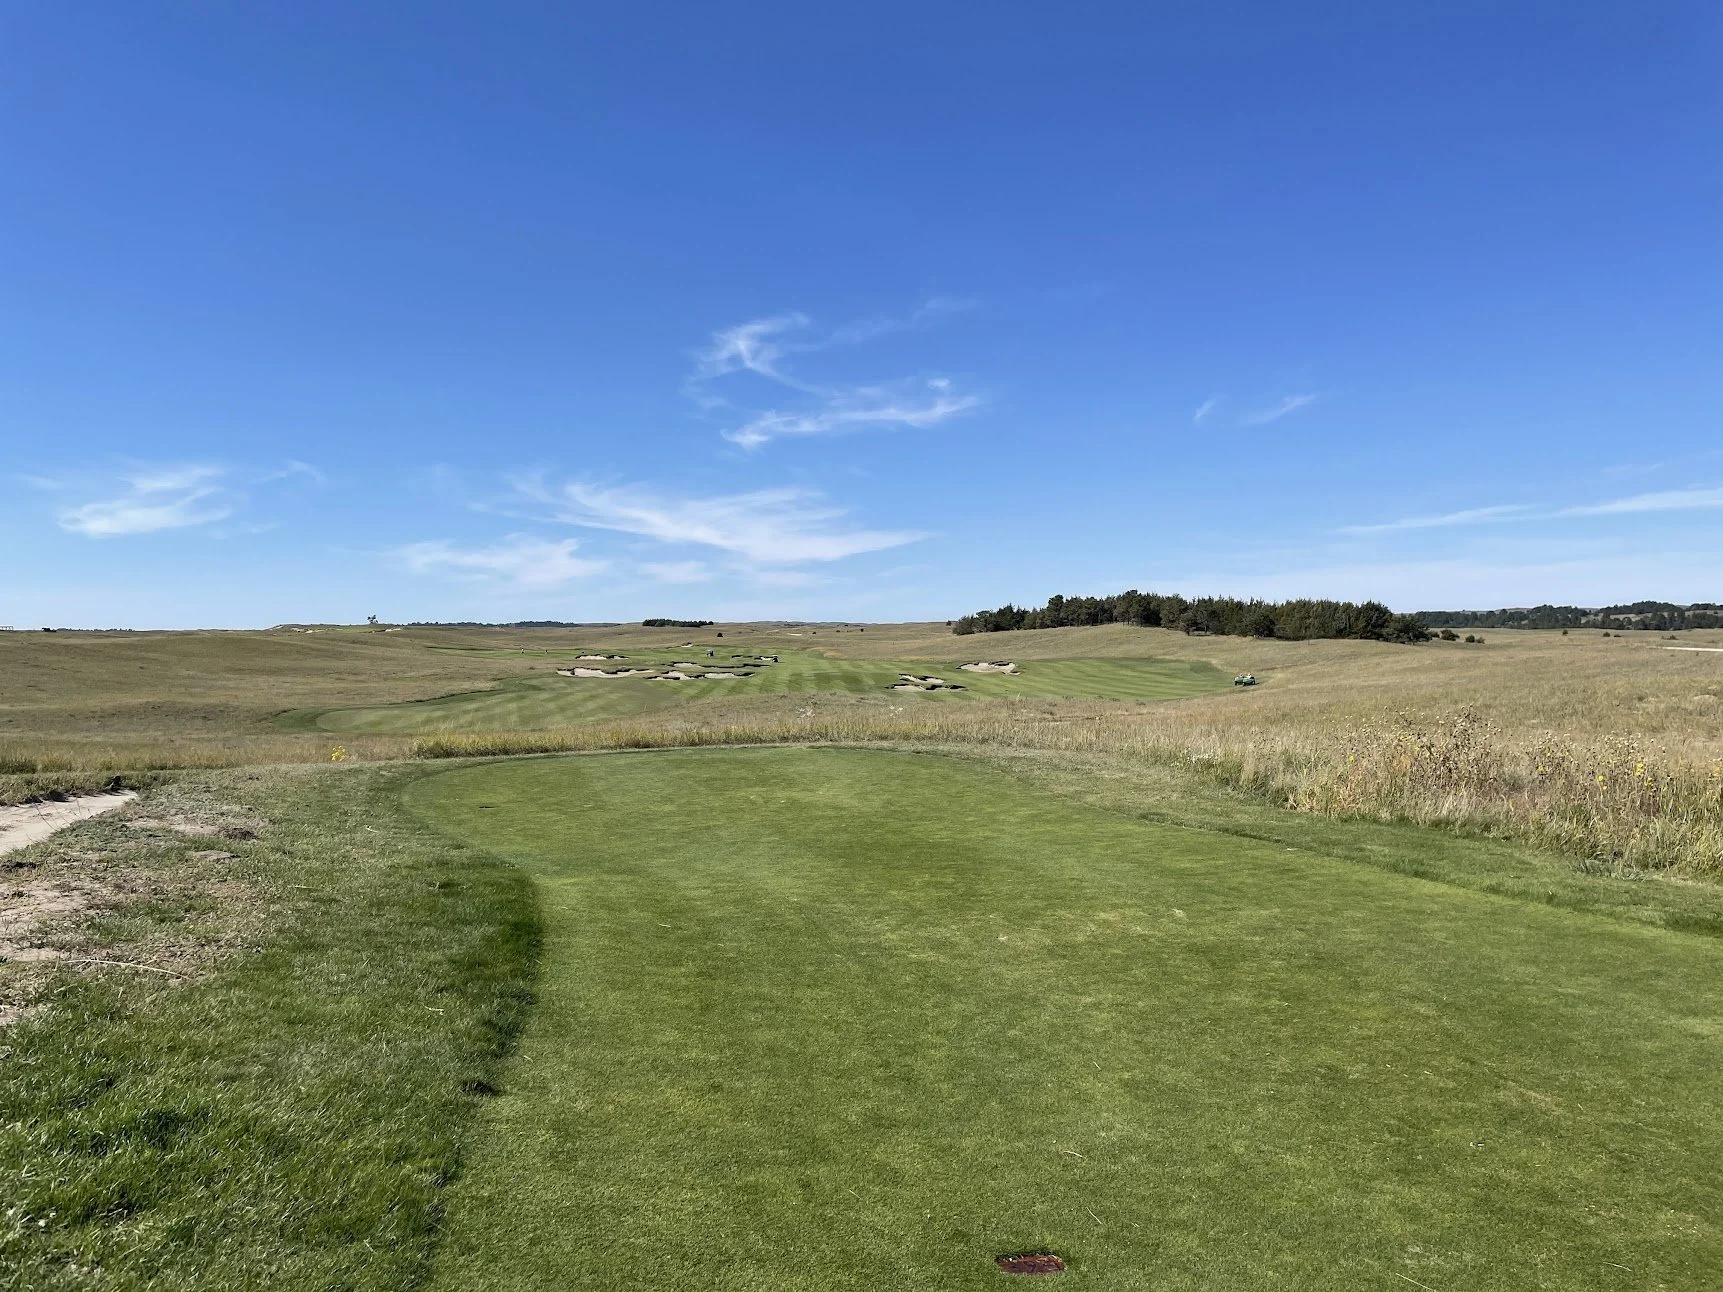
Fifteen is a beast of a par 5. The best line with the driver is over the short center bunker. Anything right will bring other bunkers and long grass into play and it doesn’t make the hole any shorter. Since the hole bends left over the hill, it’s actually shorter to hit a drive left.
tee on 15.
The second shot is bling and uphill. There’s a tree in the distance that marks the right side of the green. That’s a pretty good line to take from this location.
approach on 15.
The third shot is much flatter than the first two and provides a nice little break from the challenge of the rest of the hole.
approach on 15.
green on 15.
Hole 16: ⛳️
From the tee on this par 3, almost none of the green is visible. Players will want to walk up to the front of the tee box to see the line. If the pin is short right, there’s a front edge that can make it play longer than the number. There’s also a sneaky narrow bunker in the front right that can catch anything short.
tee on 16.
green on 16.
Hole 17: ⛳️
This is probably the easiest driving hole on the golf course. The fairway is wide, but there is a mound in the center of the landing area that will stop the roll on most drives if it’s not carried.
tee on 17.
The approach is nothing too difficult as well. It plays a bit uphill, but there’s also plenty of room around the green to miss.
approach on 17.
green on 17.
Hole 18: ⛳️
The final hole is a difficult par 4. The two bunkers down the left side of the fairway should be carryable by most, but if not, playing out to the right is the safe play. Keeping a drive more left will leave a shorter approach shot.
tee on 18.
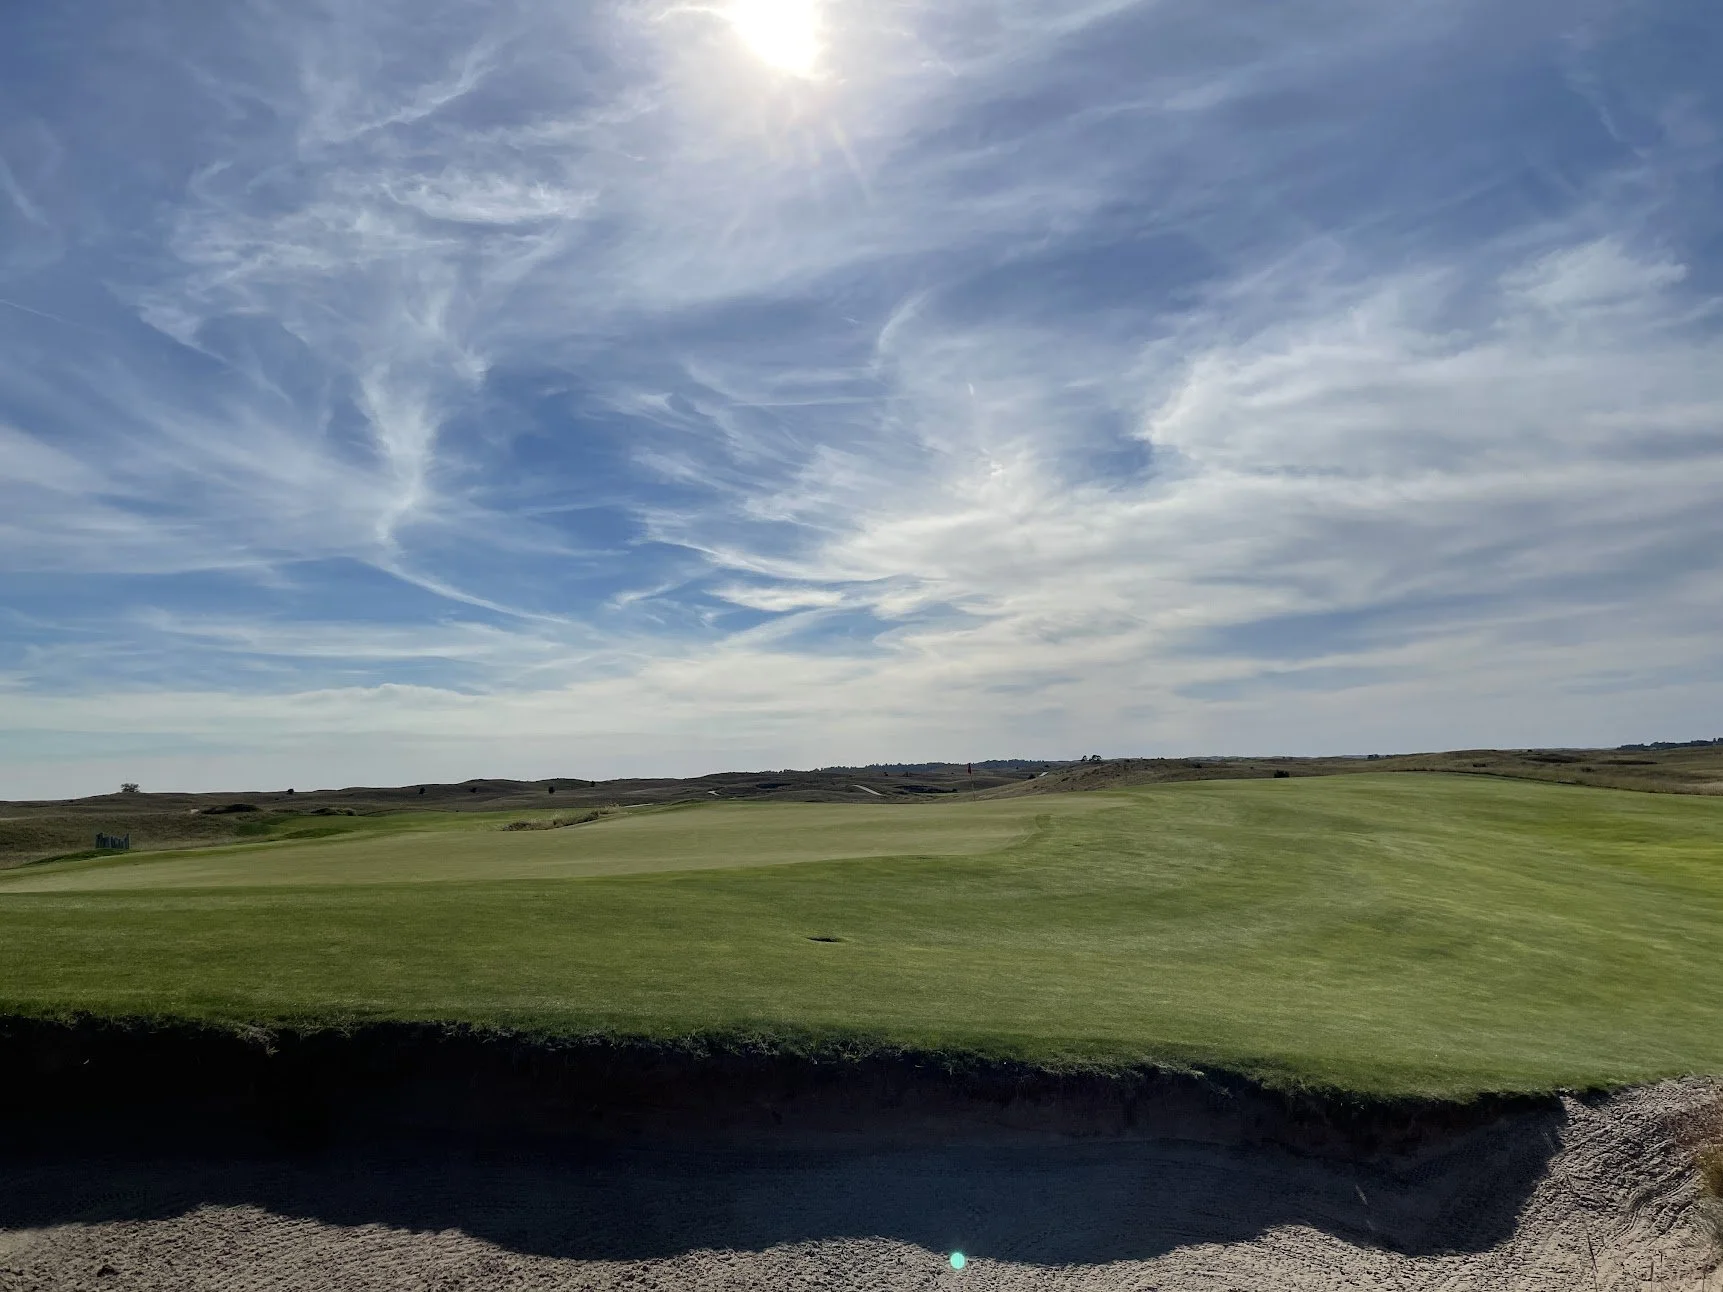
The view below is from just over the center bunkers. As you can see, the pin is visible, but if it’s on the right, there’s a bunker that make getting the ball close a challenge. There’s also a false front that can catch balls in that area.
approach on 18.

green on 18.
Like I said, this was my favorite of the two golf courses, but it’s also the more challenging one. Both compliment each other really well, providing a good mix of dunes and pines. Be sure to check out the Pines Course post if you haven’t already.