
The Prairie Club: Pines Course
“As pure as golf gets.”
Location: Valentine, Nebraska
Architect: Graham Marsh
Year Built: 2010
In north central Nebraska, there lives a golf resort called The Prairie Club. It’s home to two 18-hole golf courses, the Pines Course and the Dunes Course. It also has a “Horse Course,” which is a par 3 course designed to play a game of “horse” (think basketball). In this post, I wanted to give some hole-by-hole descriptions of the Pines Course.
Hole 1: ⛳️
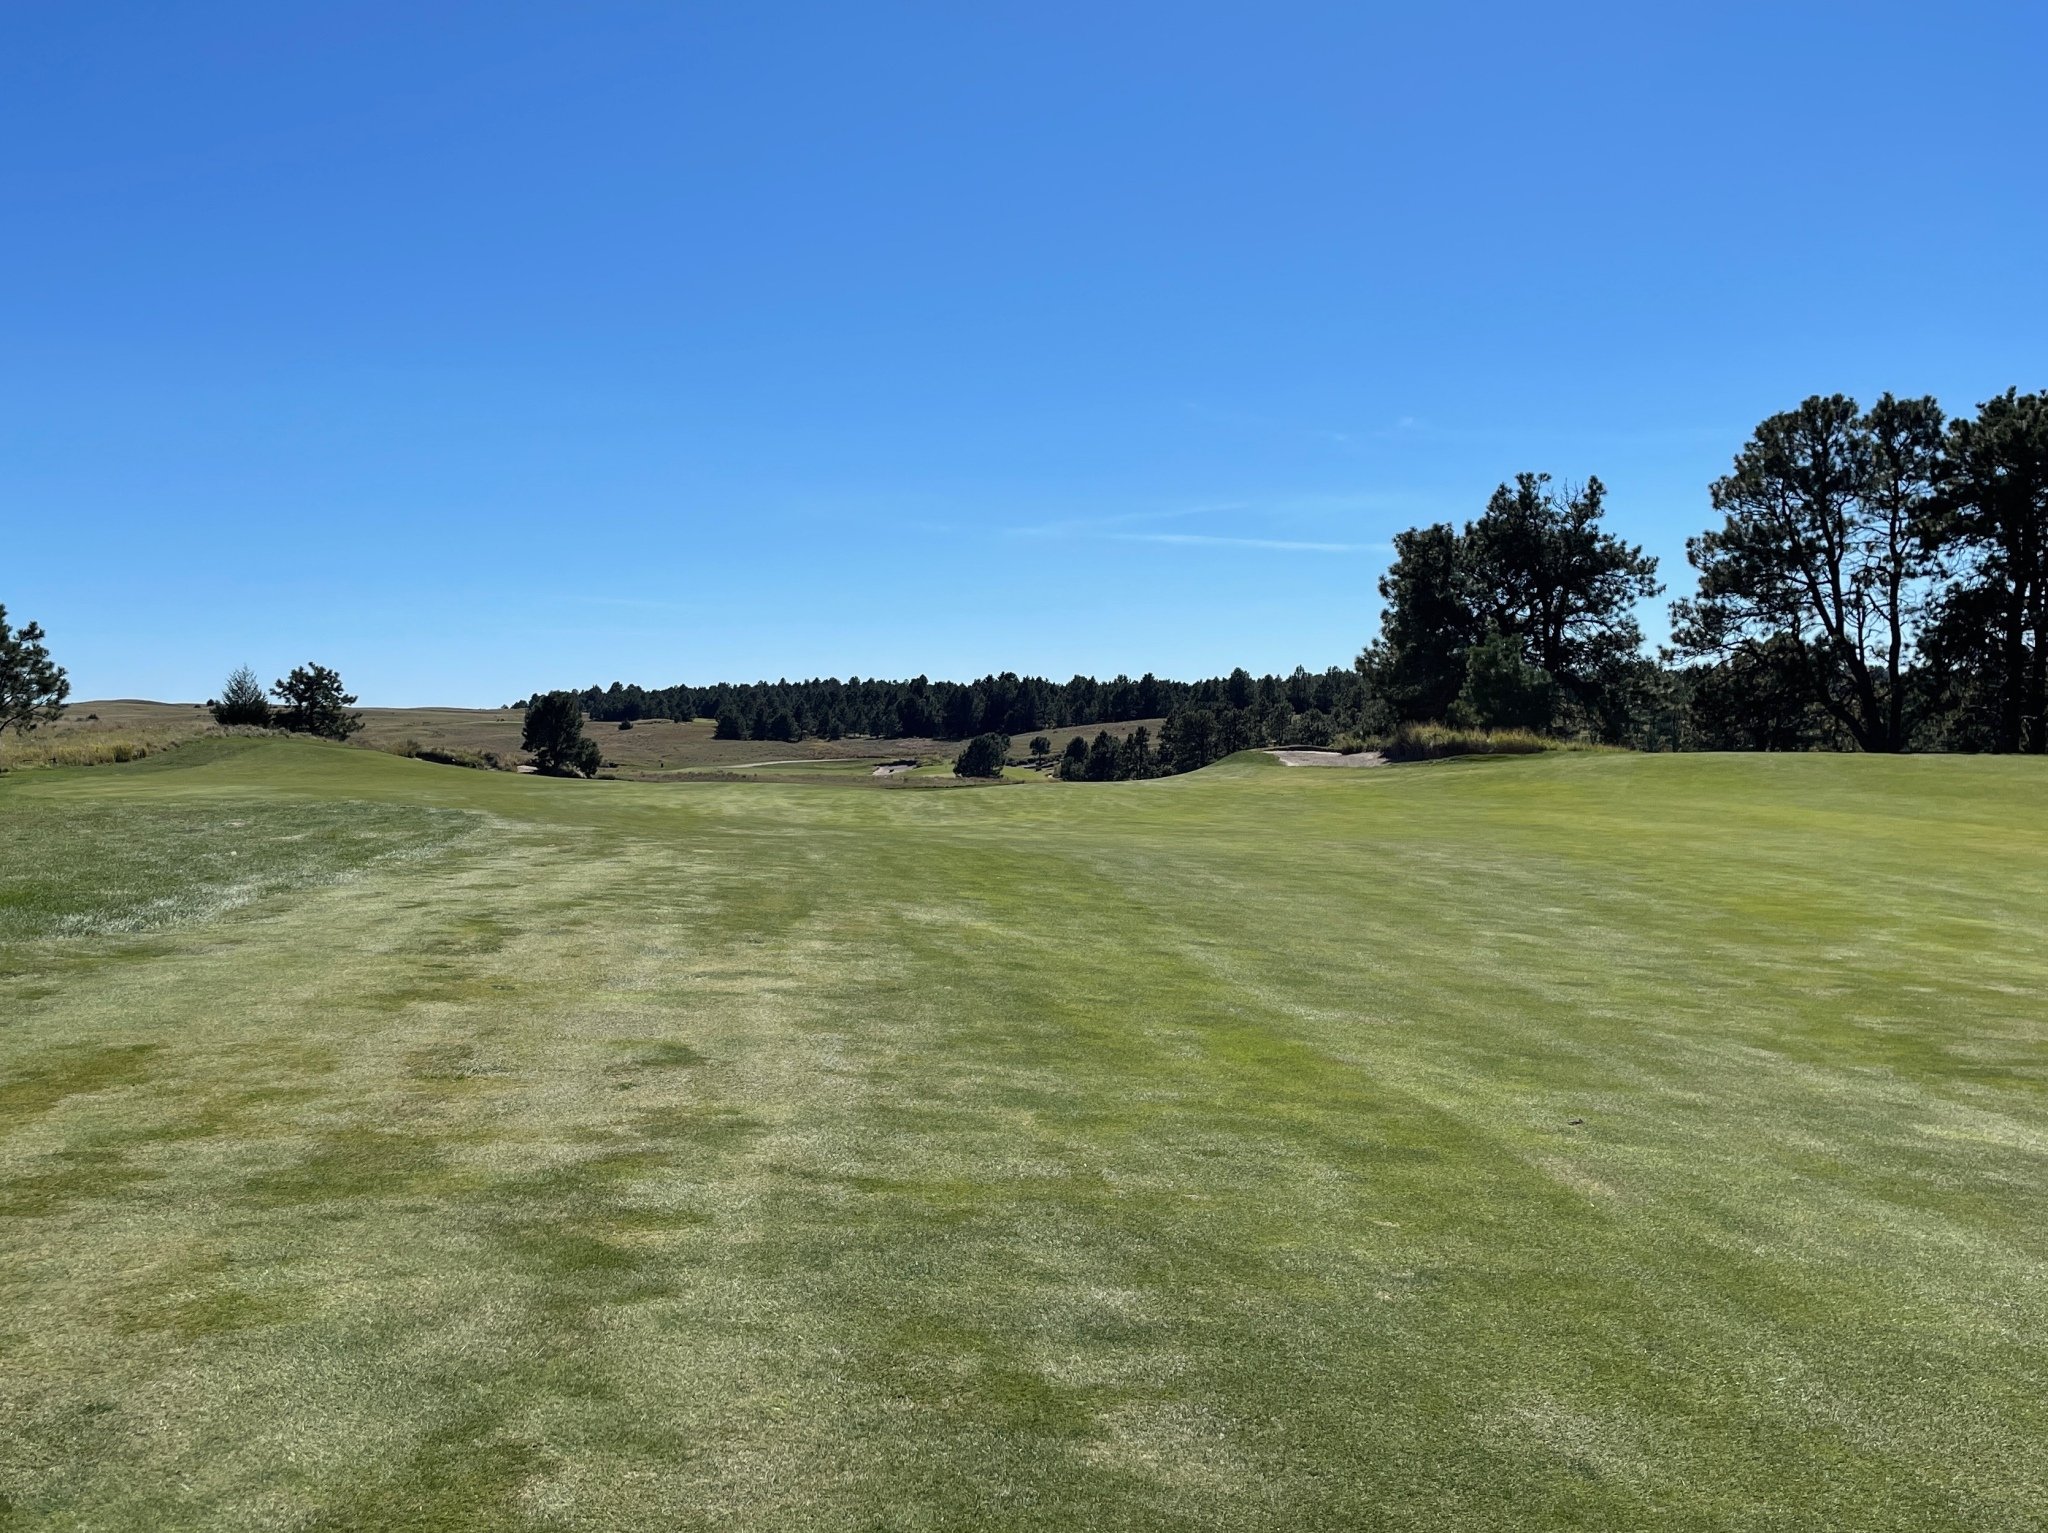
The first is a par 4 that bends right. A bunker straight out is reachable through the fairway, so the ideal tee shot is right of that. The first time I played it, I pulled my tee shot left, but still had a manageable blind iron shot in.

tee on 1.
The bunker on the left of the image below is the one same bunker discussed above that was straight through the fairway. You’ll notice from this angle, there are also bunkers on the right that were not visible from the tee.
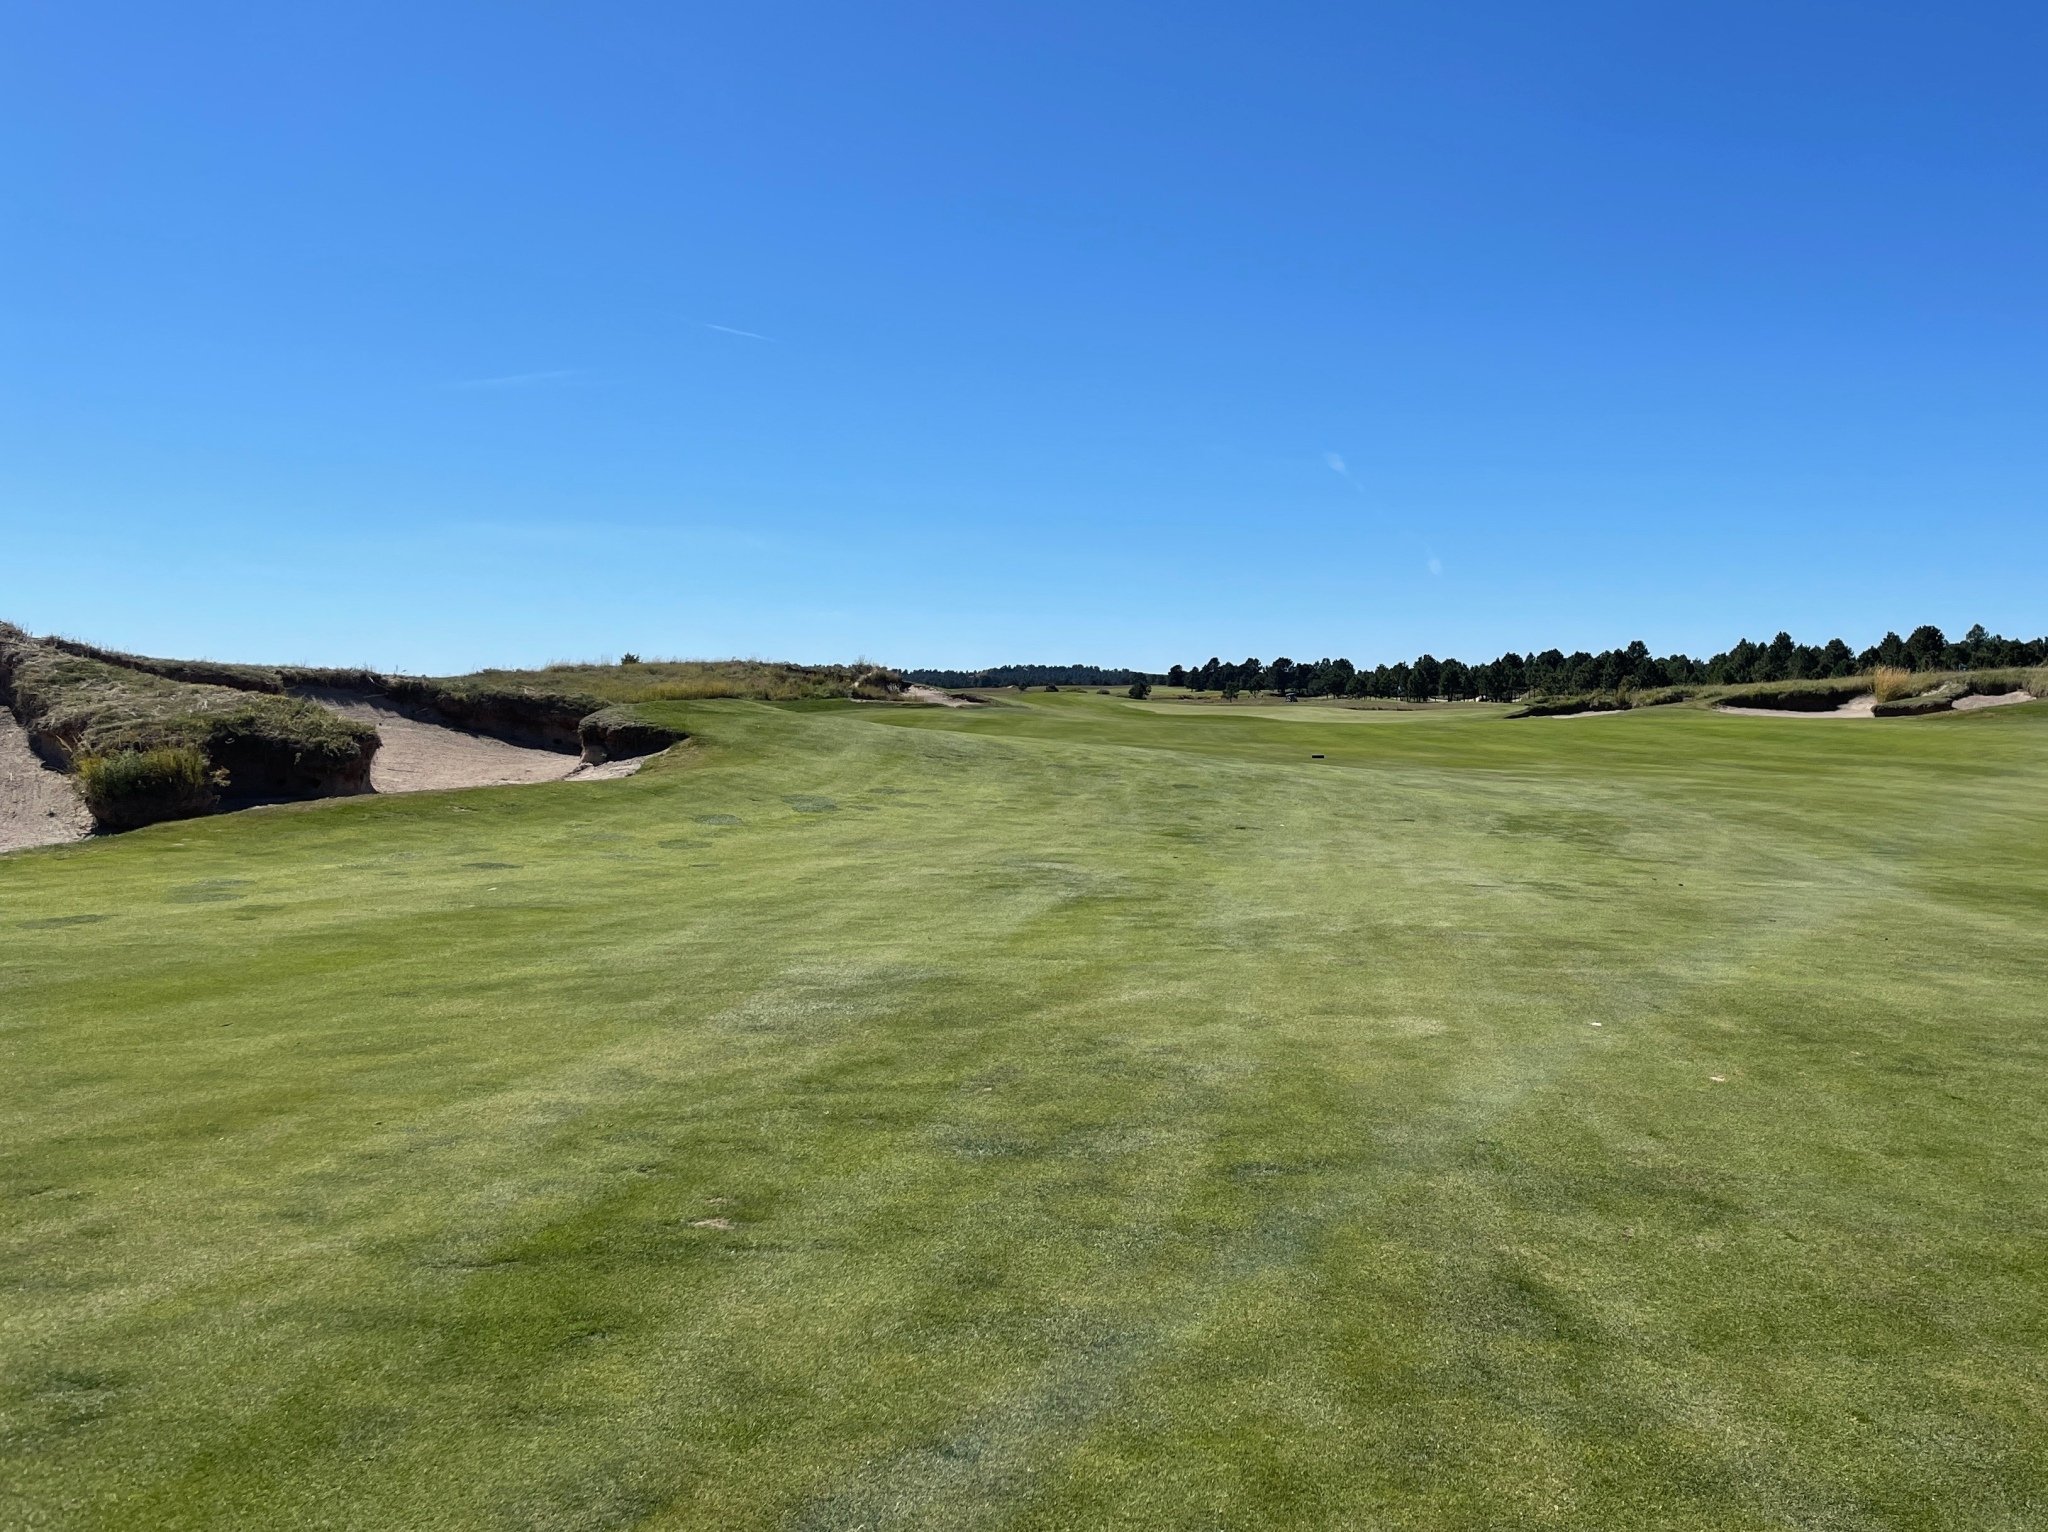
approach on 1.
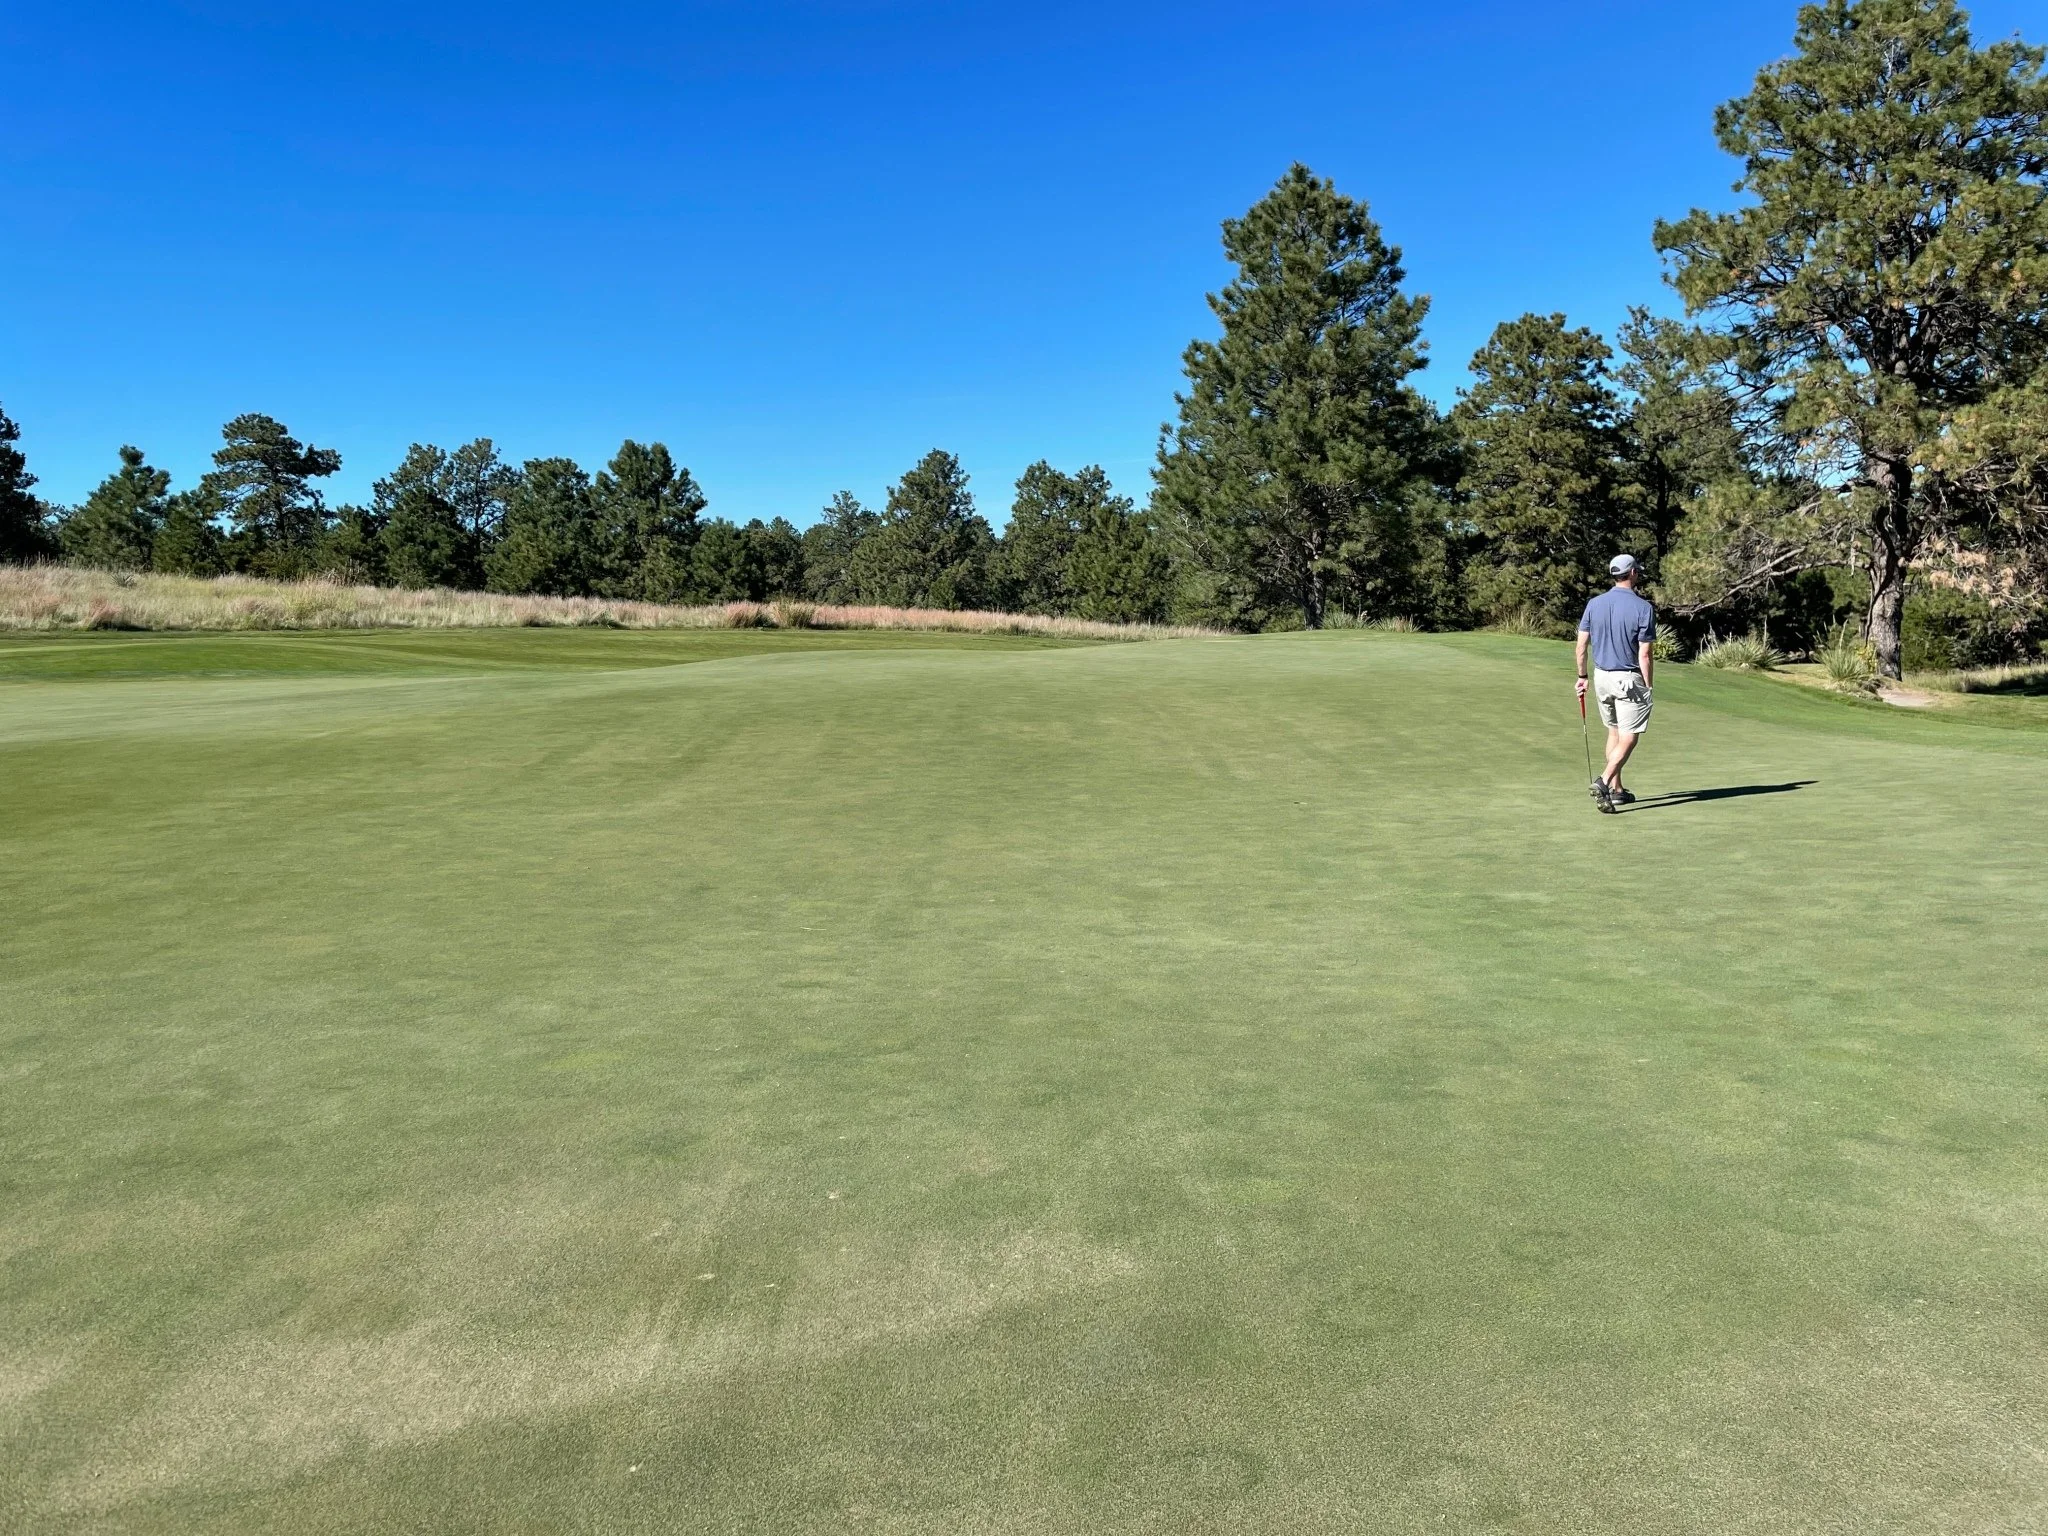
The first green is relatively flat, but only for the Prairie Club.

green on 1.
Hole 2: ⛳️
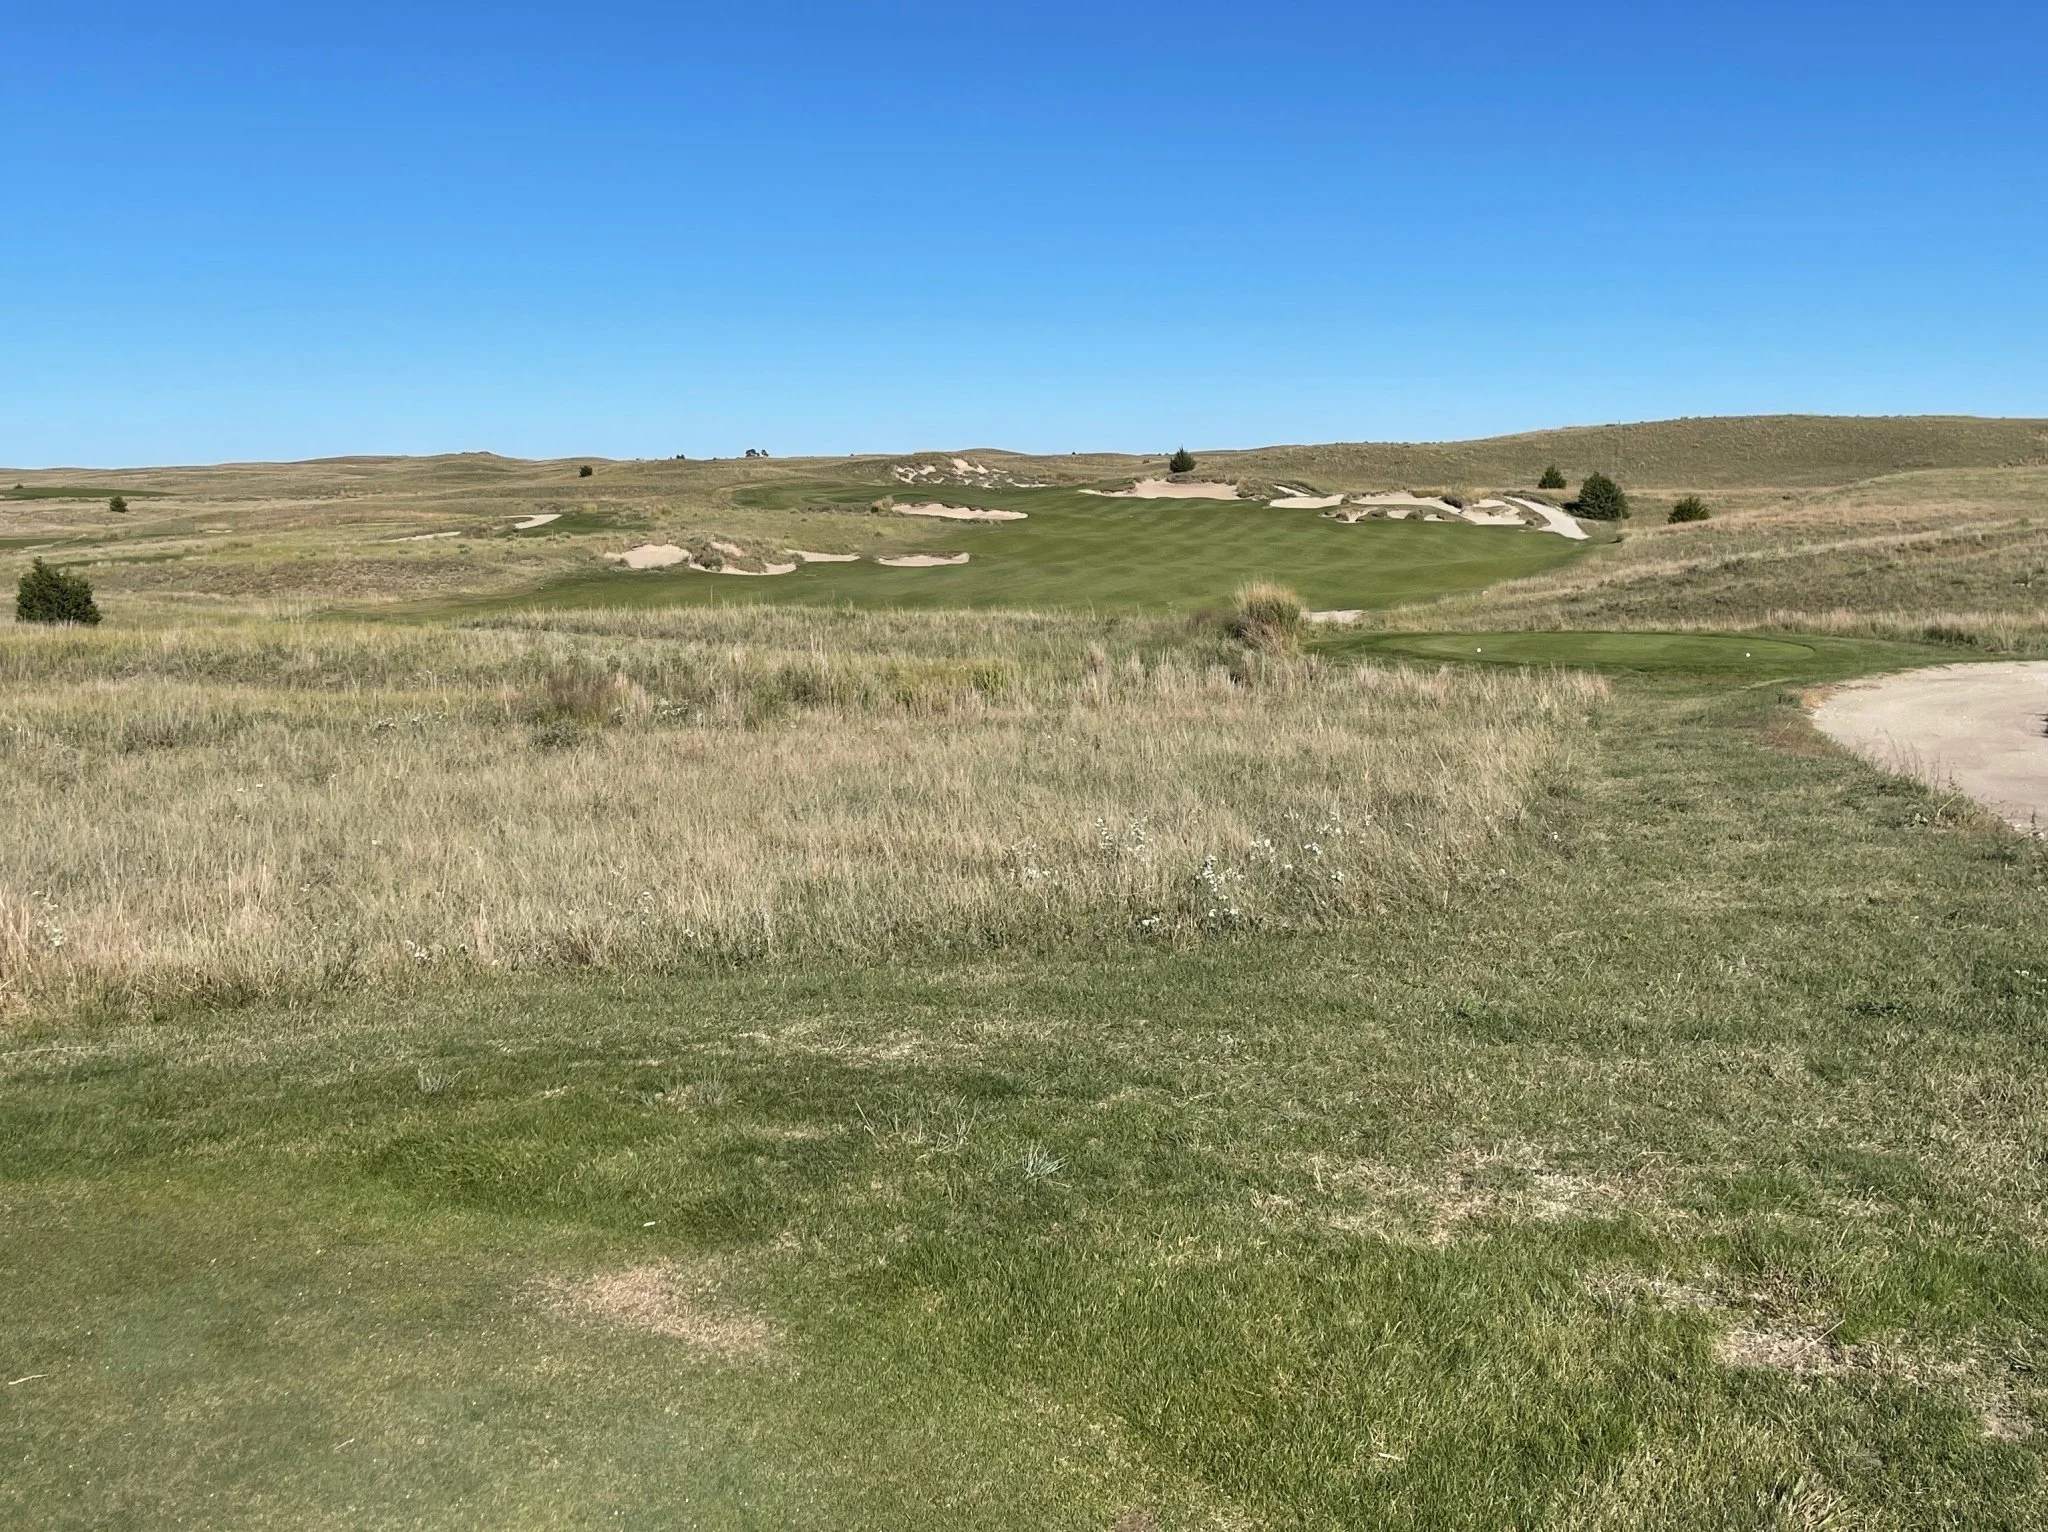
The second is a par 5 that’s reachable in two with a good drive. The line off the tee is further right than I expected, as the fairway opens up that direction. The bunkers straight out is about as far left as you want to go. I took it over the middle bunkers once and went through the fairway, though that did set up a very short approach in with a green that’s down the left as well.
tee on 2.
The image below is from just over the top of the hill in the middle of the fairway. Bunkers protect just about every side of the green, so it can make going for the green a bit scary.
approach on 2.
Choosing to layup will leave players with a short approach that plays uphill and looks like the image below.

approach on 2.
The greens on these courses have got some wicked undulation, so often times laying up and trying to stick it close is easier than trying a long lag putt.

green on 2.
Hole 3: ⛳️
The third is the first par 3 on the golf course. It features bunkers on just about all sides and a small collection area in the front right. This hole always played a bit longer than the yardage when I played it.

tee on 3.
The greens on the Pines definitely have some good sized mounds, but they’re also a bit slower than the Dunes. They’d just been top-dressed for our first round, but by the second and third time playing it, the speed picked up a bit.

green on 3.
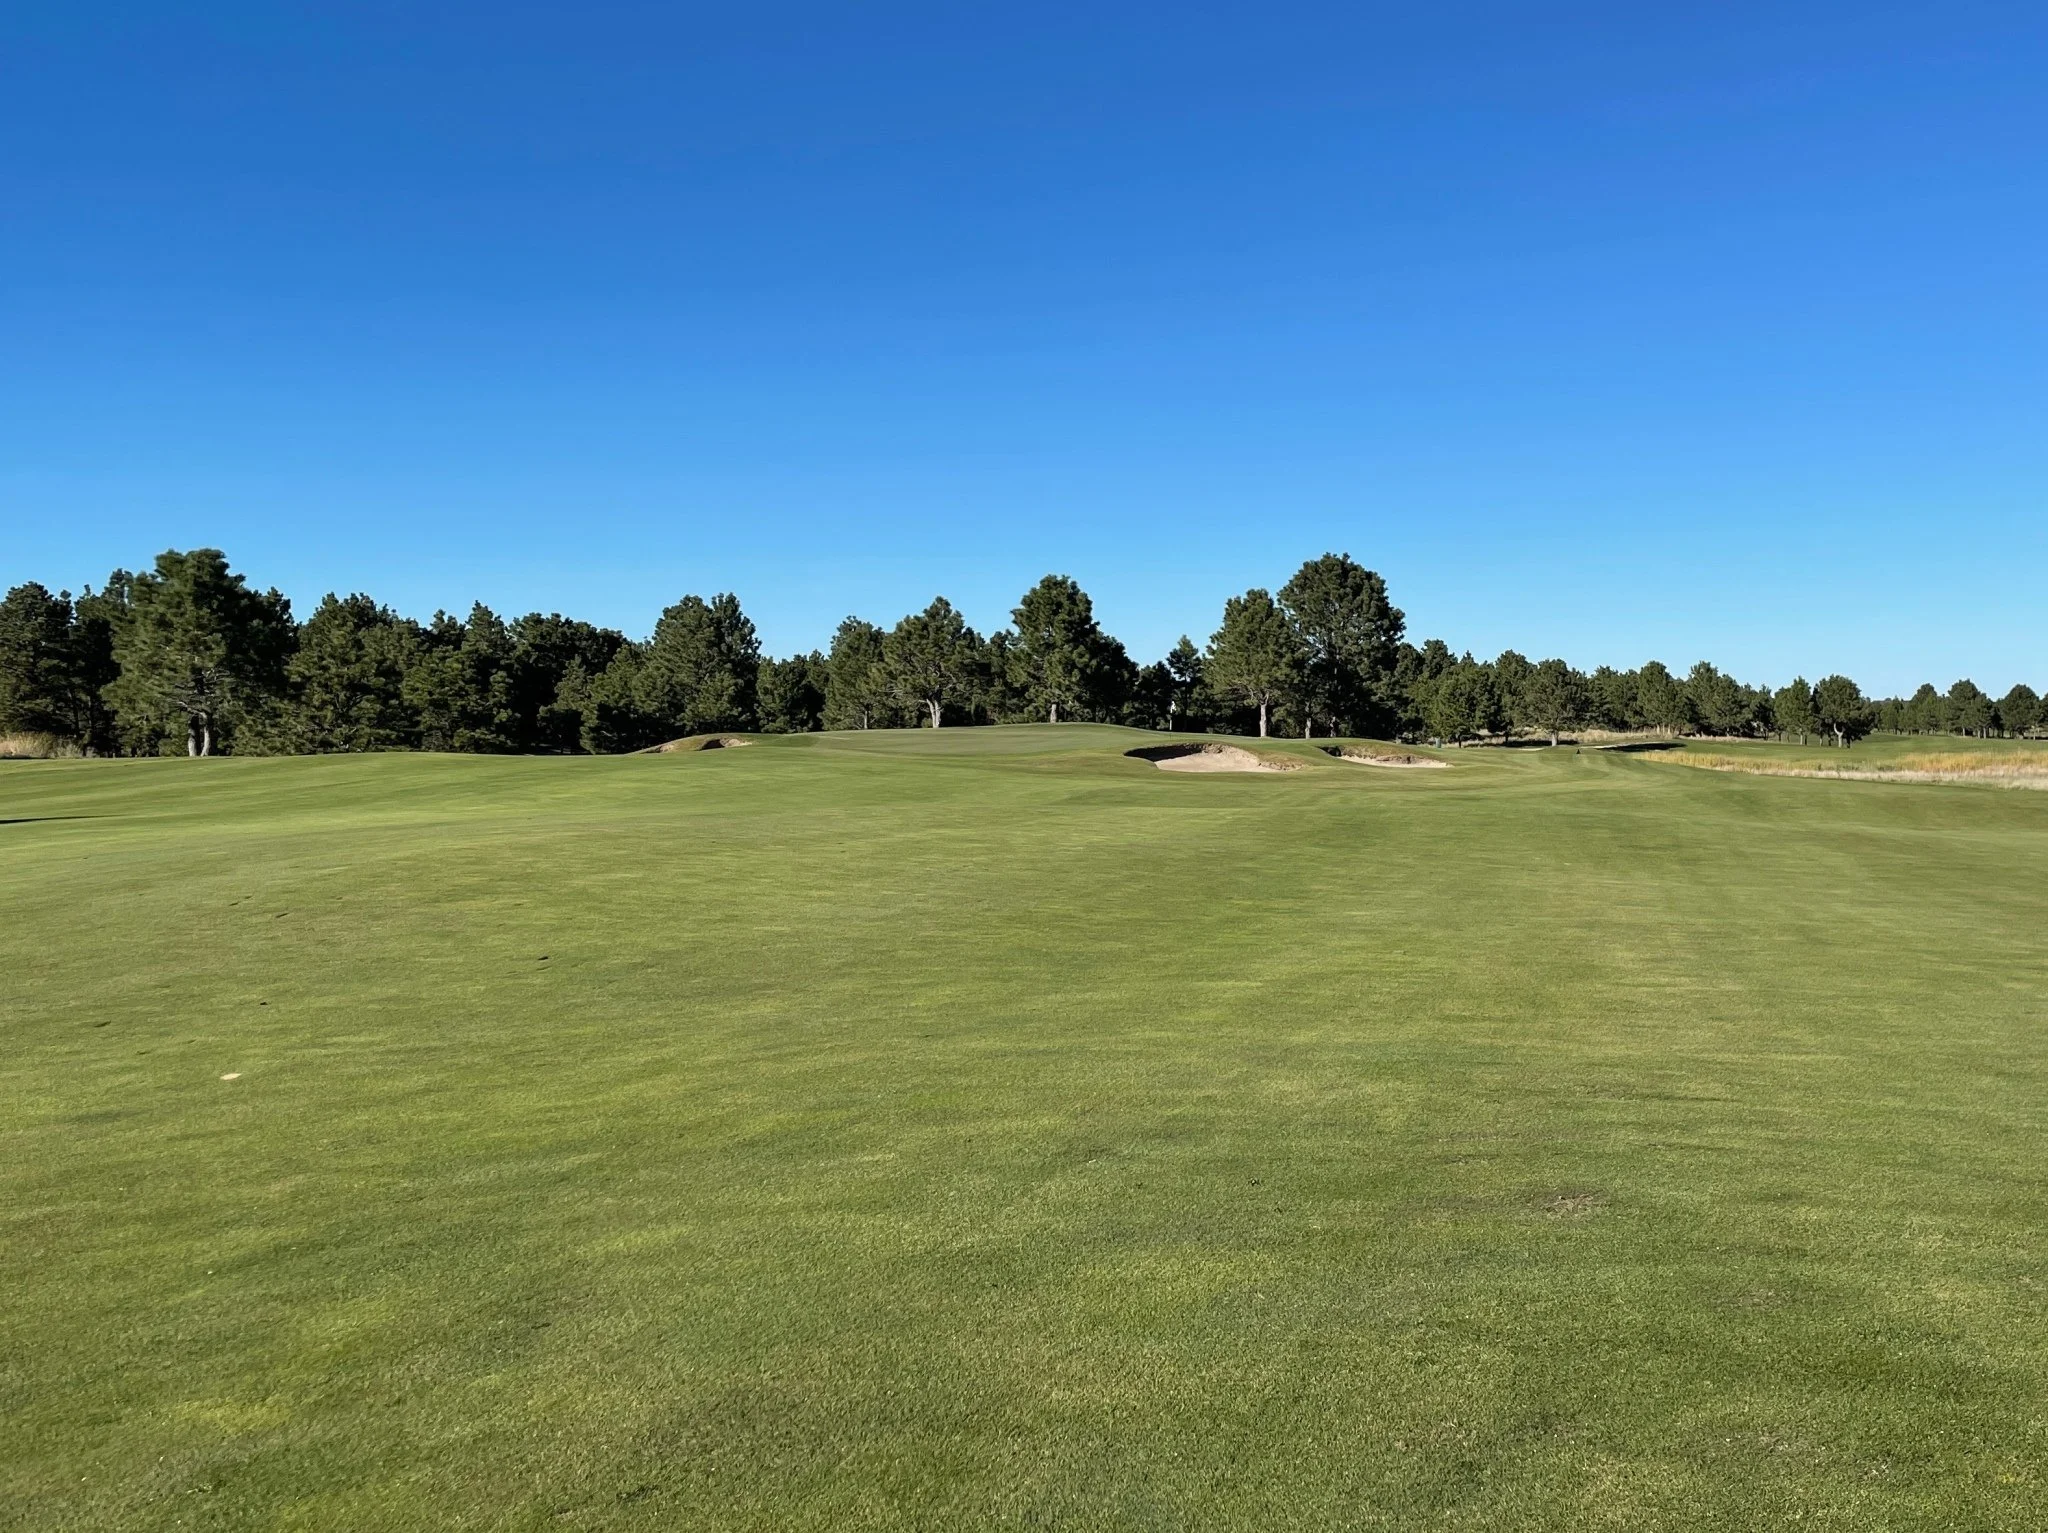
Hole 4: ⛳️
The fourth is a straightaway par 4. The line off the tee is pretty much right down the right side of the cart path.

tee on 4.
The approach is fairly straightforward as well. Nothing too scary.
approach on 4.

green on 4.
Hole 5: ⛳️
The first time playing the fifth can be fairly confusing, as the line is hard to judge. Two trees through the fairway are good reference points. The one on the right is a pretty good line to hit a driver. The left tree brings a bunker into play. Longer players can even go a little right of the right tree and be fine.

tee on 5.
The image below is from the center of the fairway with a ball that was taken at the right tree. You can see there’s a bunker, so that’s why players don’t want to go too far right unless they can really bomb their drive.

approach on 5.
There’s a little shelf in the back left where the pin is in the image below, which can be hard to reach.

green on 5.
Hole 6: ⛳️
The sixth is a par 3 with bunkers on the left and right, but they rarely come into play. Anything long will find itself in the long grass down a hill.

tee on 6.
This green has a huge valley in the middle that cuts from right to left. Make sure your tee shot is on the correct side of that dip.

green on 6.
Hole 7: ⛳️
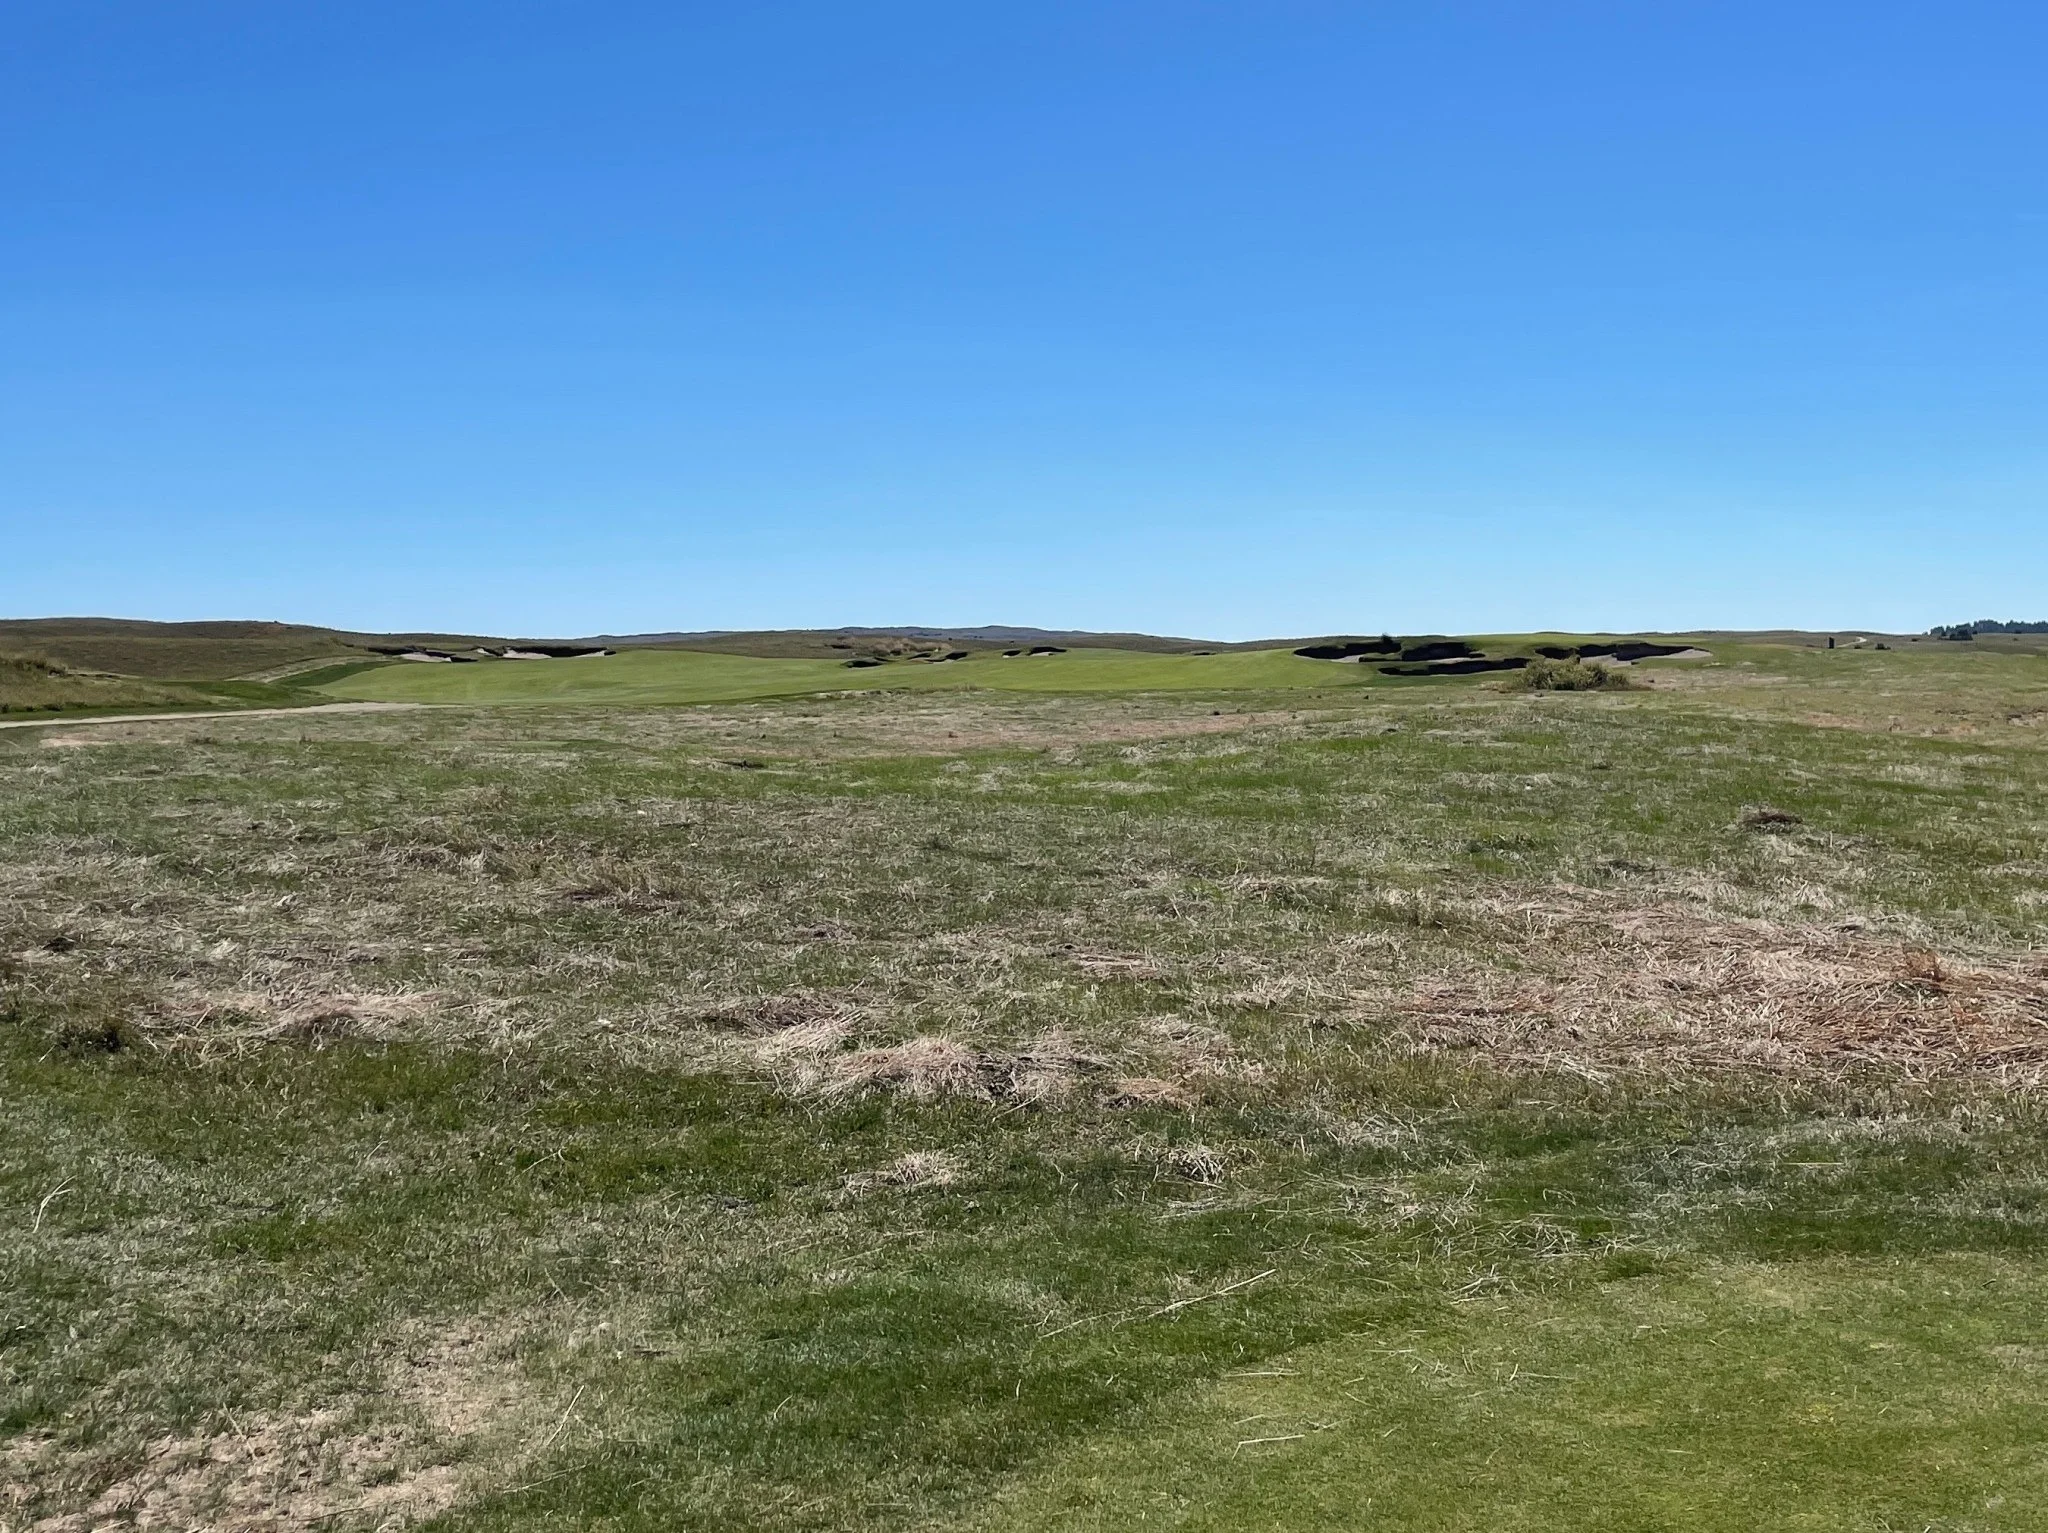
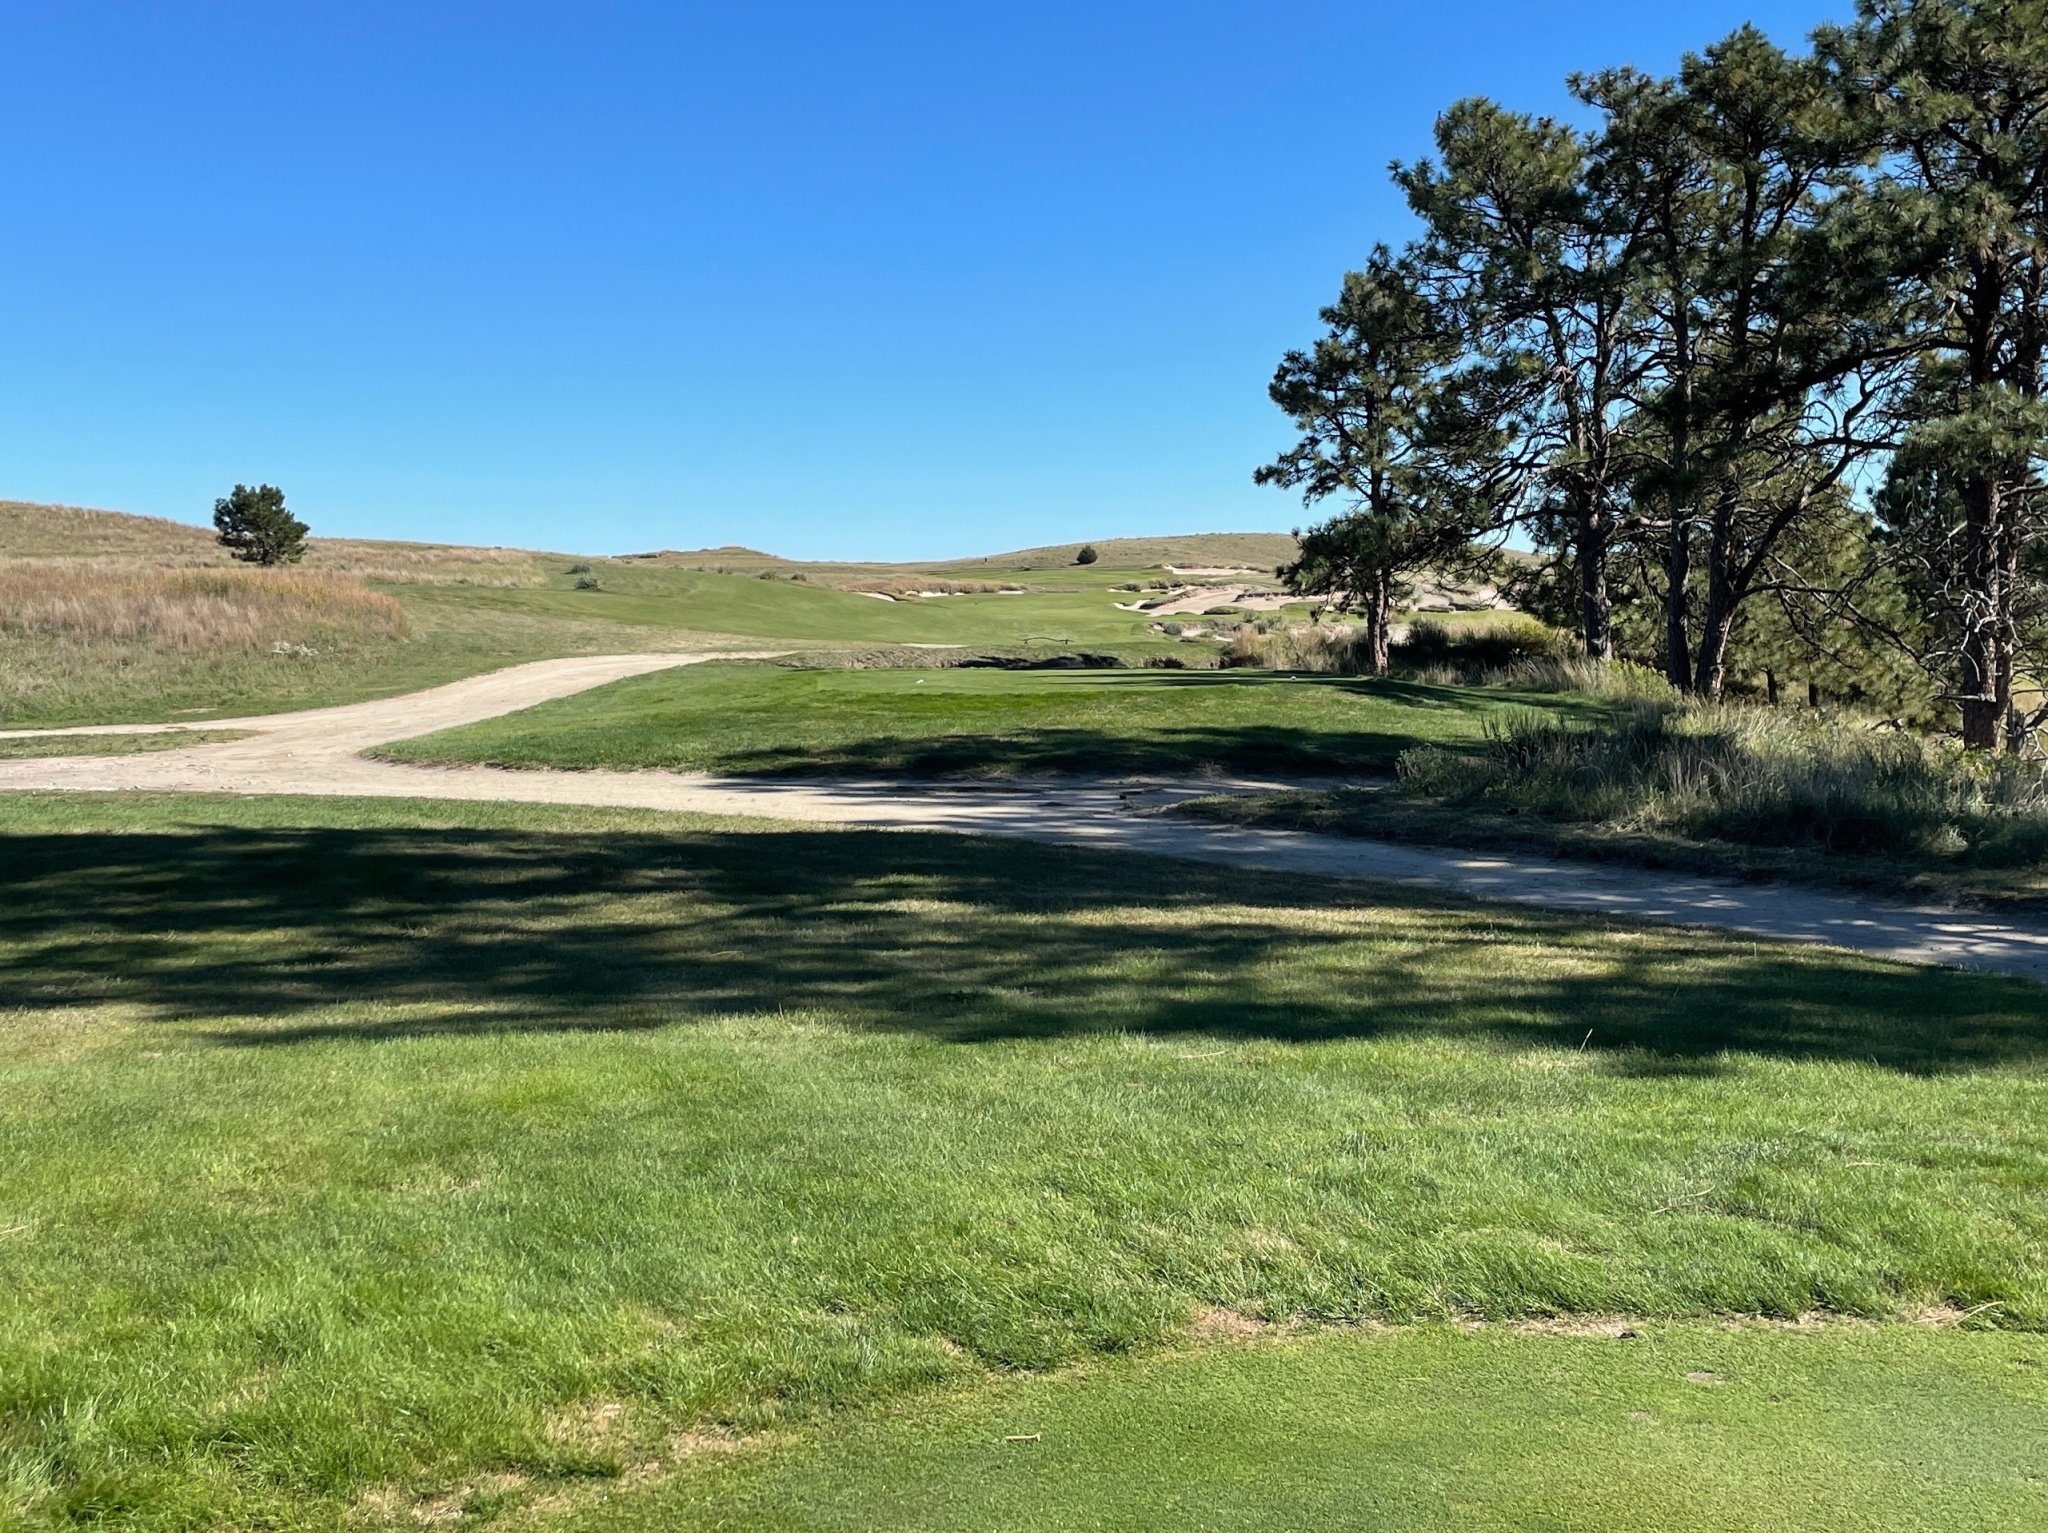
The seventh is a really fun par 5. The GPS in the carts make it appear like the fairway gets super narrow in the landing area, but there’s actually more room than it appears. Players will want to keep their shots right of the left clump of trees. Then, there are two taller trees down the right through the fairway. The right tree is as far right as anyone will want to go.

tee on 7.
The second shot plays downhill and to the right. The image below is from the left side of the fairway. Players will want to drive or walk up to see where the green is located to pick a line. In this image, the green is in line with the bunker on the right.
approach on 7.
Players that choose to layup will be faced with a little wedge that plays downhill.

approach on 7.
green on 7.
Hole 8: ⛳️
The line on the eighth tee is straight ahead. Keeping it down the left side of the fairway will give a better view of the green on the second shot. The bunker on the right is reachable by the longest of hitters only. There’s also a ton of room right as this fairway connects with the ninth fairway going the opposite direction. So, don’t fear missing right, but if you do, you’ll have a blind second from the fairway.
tee on 8.
The image below is just short of the bunker that’s down the right off the tee. As you can see, the green is starting to be blocked out, but some is visible.

approach on 8.
Two big mounds seen below sit right in the middle of this green.

green on 8.
Hole 9: ⛳️
This short par 4 is driveable for longer hitters and with a helping wind. Taking it straight at the green is the safest play, but again, this fairway connects with eight, so there’s plenty of room right.

tee on 9.
The image below is from the “no carts” sign, but most drives can get closer than this with a good swing. There’s two shelfs on the right and left that make some tricky pin positions.

approach on 9.
The ninth green features a huge false front that’s easy to get tricked by, even if you know it’s there. Make sure to get your ball over it with plenty of room.

green on 9.
Hole 10: ⛳️
The back nine starts with a straightaway par 3. Though it’s difficult to reach, there’s a canyon on the backside that you’ll want to check out once you’re done with the hole.

tee on 10.

green on 10.
Hole 11: ⛳️
The tee shot on eleven is one of the more unique ones on the property, as it’s fairly tight with trees. It’s probably more visually intimidating than it should be. The line on this one is straight down the middle and the tallest tree in the distance.
tee on 11.
Even a good drive will leave players a long way from the green. As you can see, the fairway starts to bend right on the second shot. Driving up to see where the green is located is a good idea, so you can plan your landing area.

approach on 11.
The third shot is fairly simple, but you’ll want to make sure you’re on the right part of the green as long putts can be tricky.

approach on 11.

green on 11.
Hole 12: ⛳️
This par 4, 12th bends a bit left. Four little trees in the distance are good reference points. A tee shot at the second from the right is a good line.

tee on 12.
The approach shot is pretty straightforward, but can be a little longer depending on your line and the wind.

approach on 12.
A mound cuts this green into a front and back, so players will want to make sure they’re on the correct side.

green on 12.
Hole 13: ⛳️
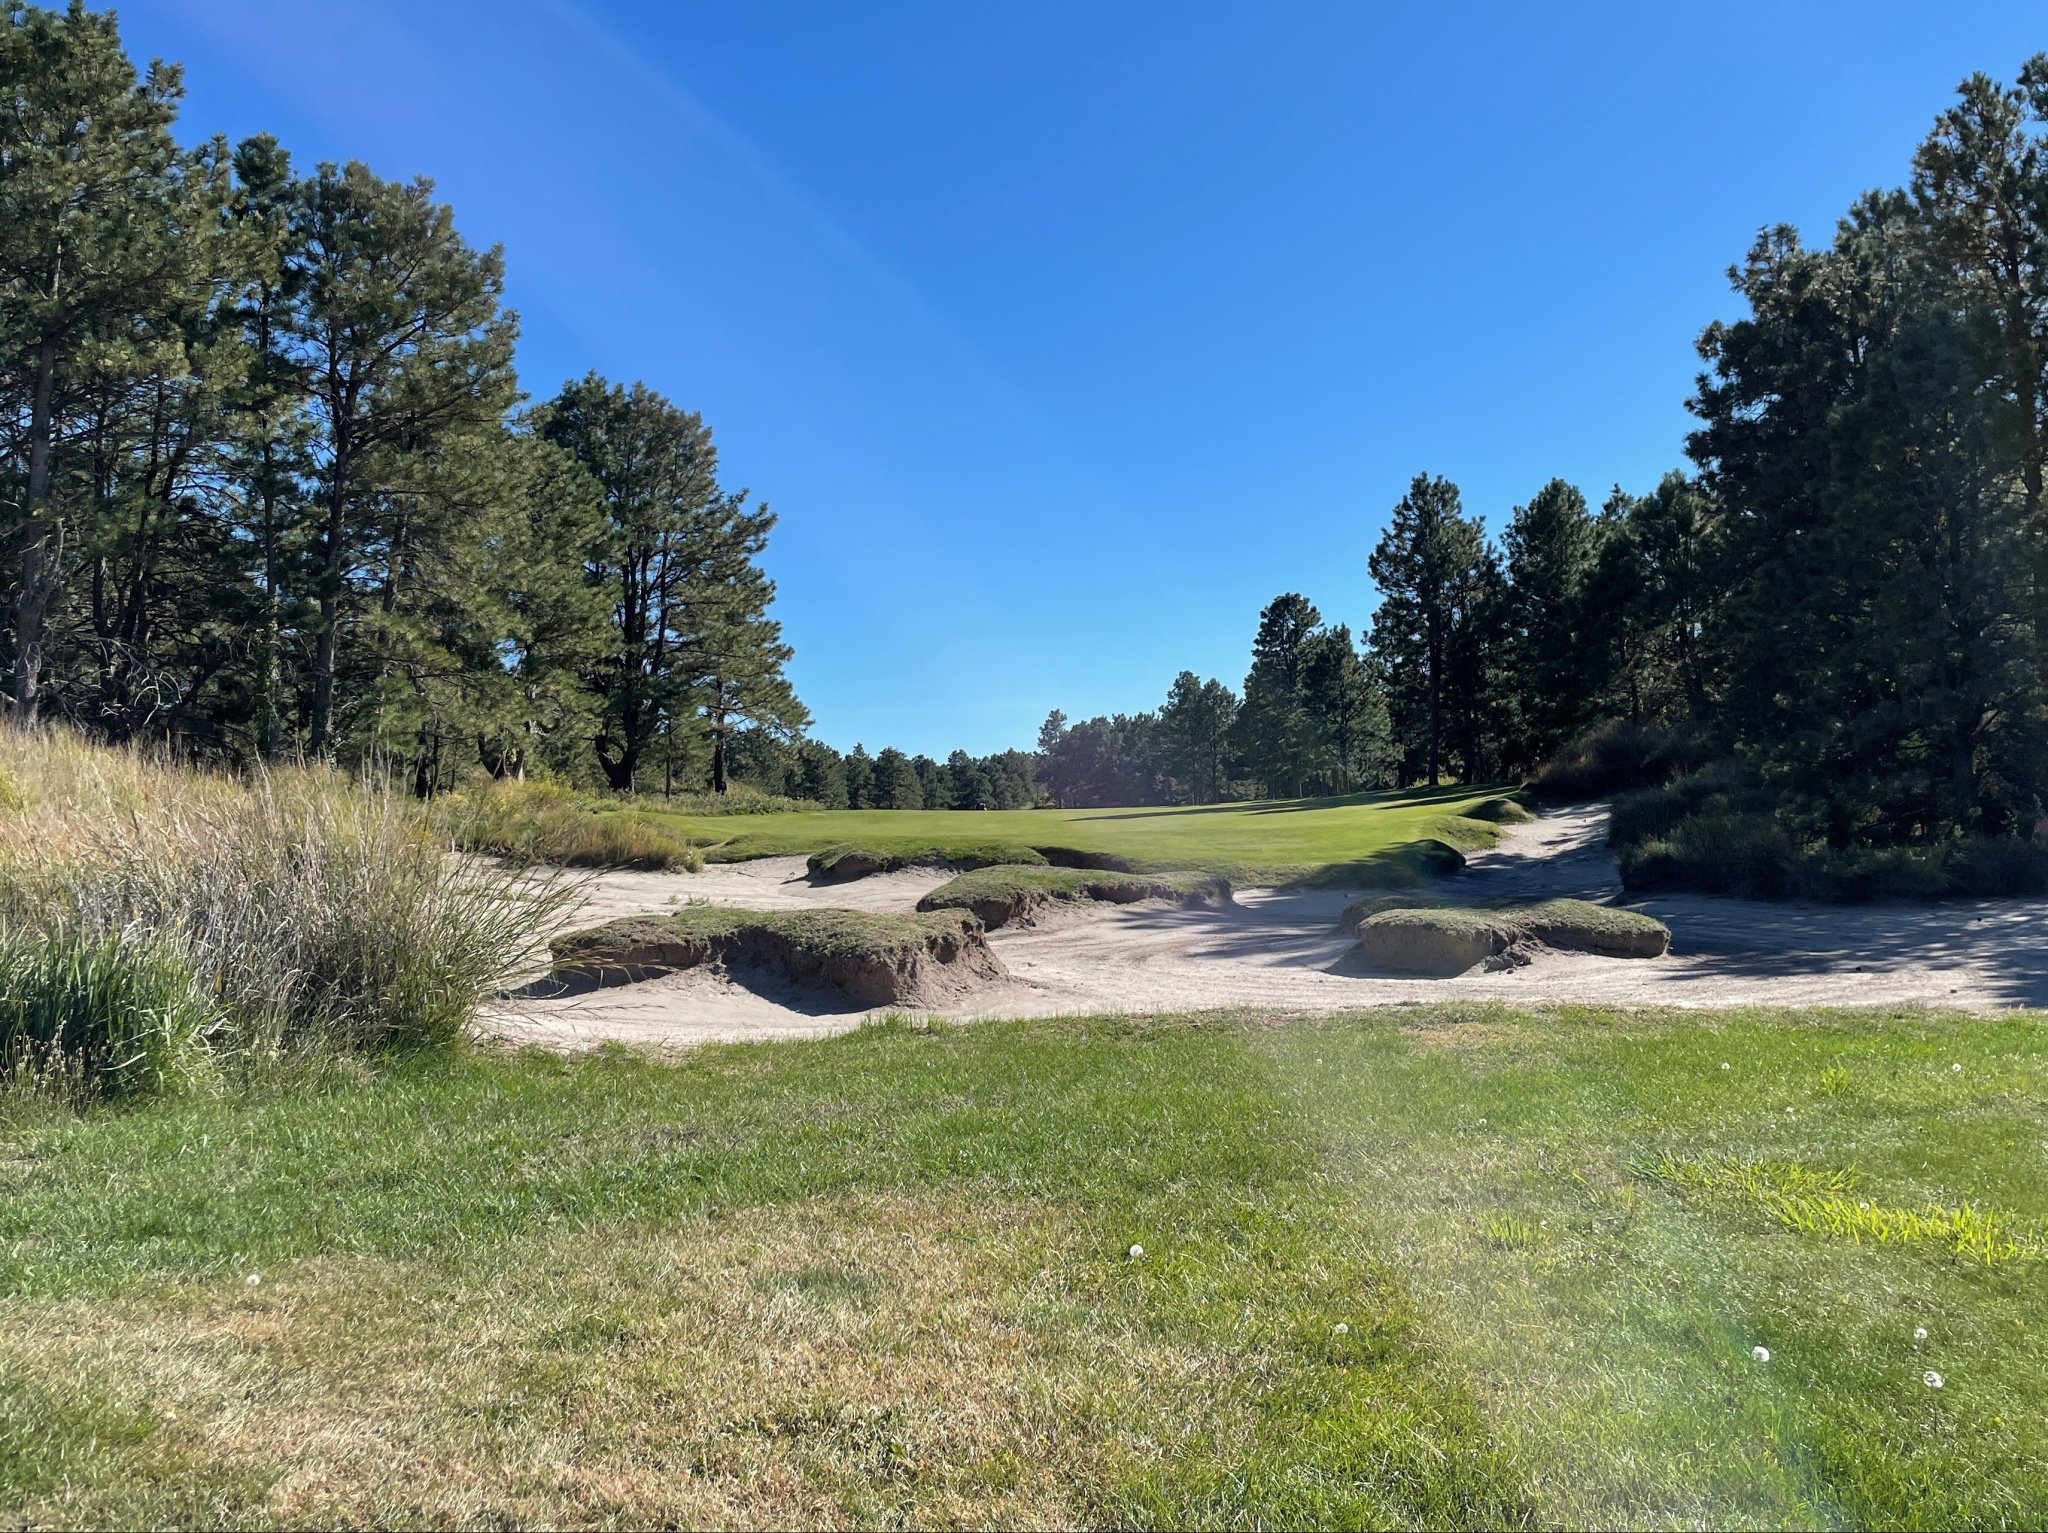
I felt like the thirteenth was one of the more fun and challenging tee shots on the golf course. A good drive can carry the left bunker, but that takes a big shot and risks hitting it in the sand or long grass. The better line is at the bunker straight through the fairway. Anything right of that, though, will leave an uphill blind shot into a narrow green.
tee on 13.
The view below is from the right-center of the fairway. As you can see, it’s pretty blind from here to the green. Players will have to go up to see the green from here, but the line is pretty much over the left edge of the right bunker.

approach on 13.

green on 13.
Hole 14: ⛳️
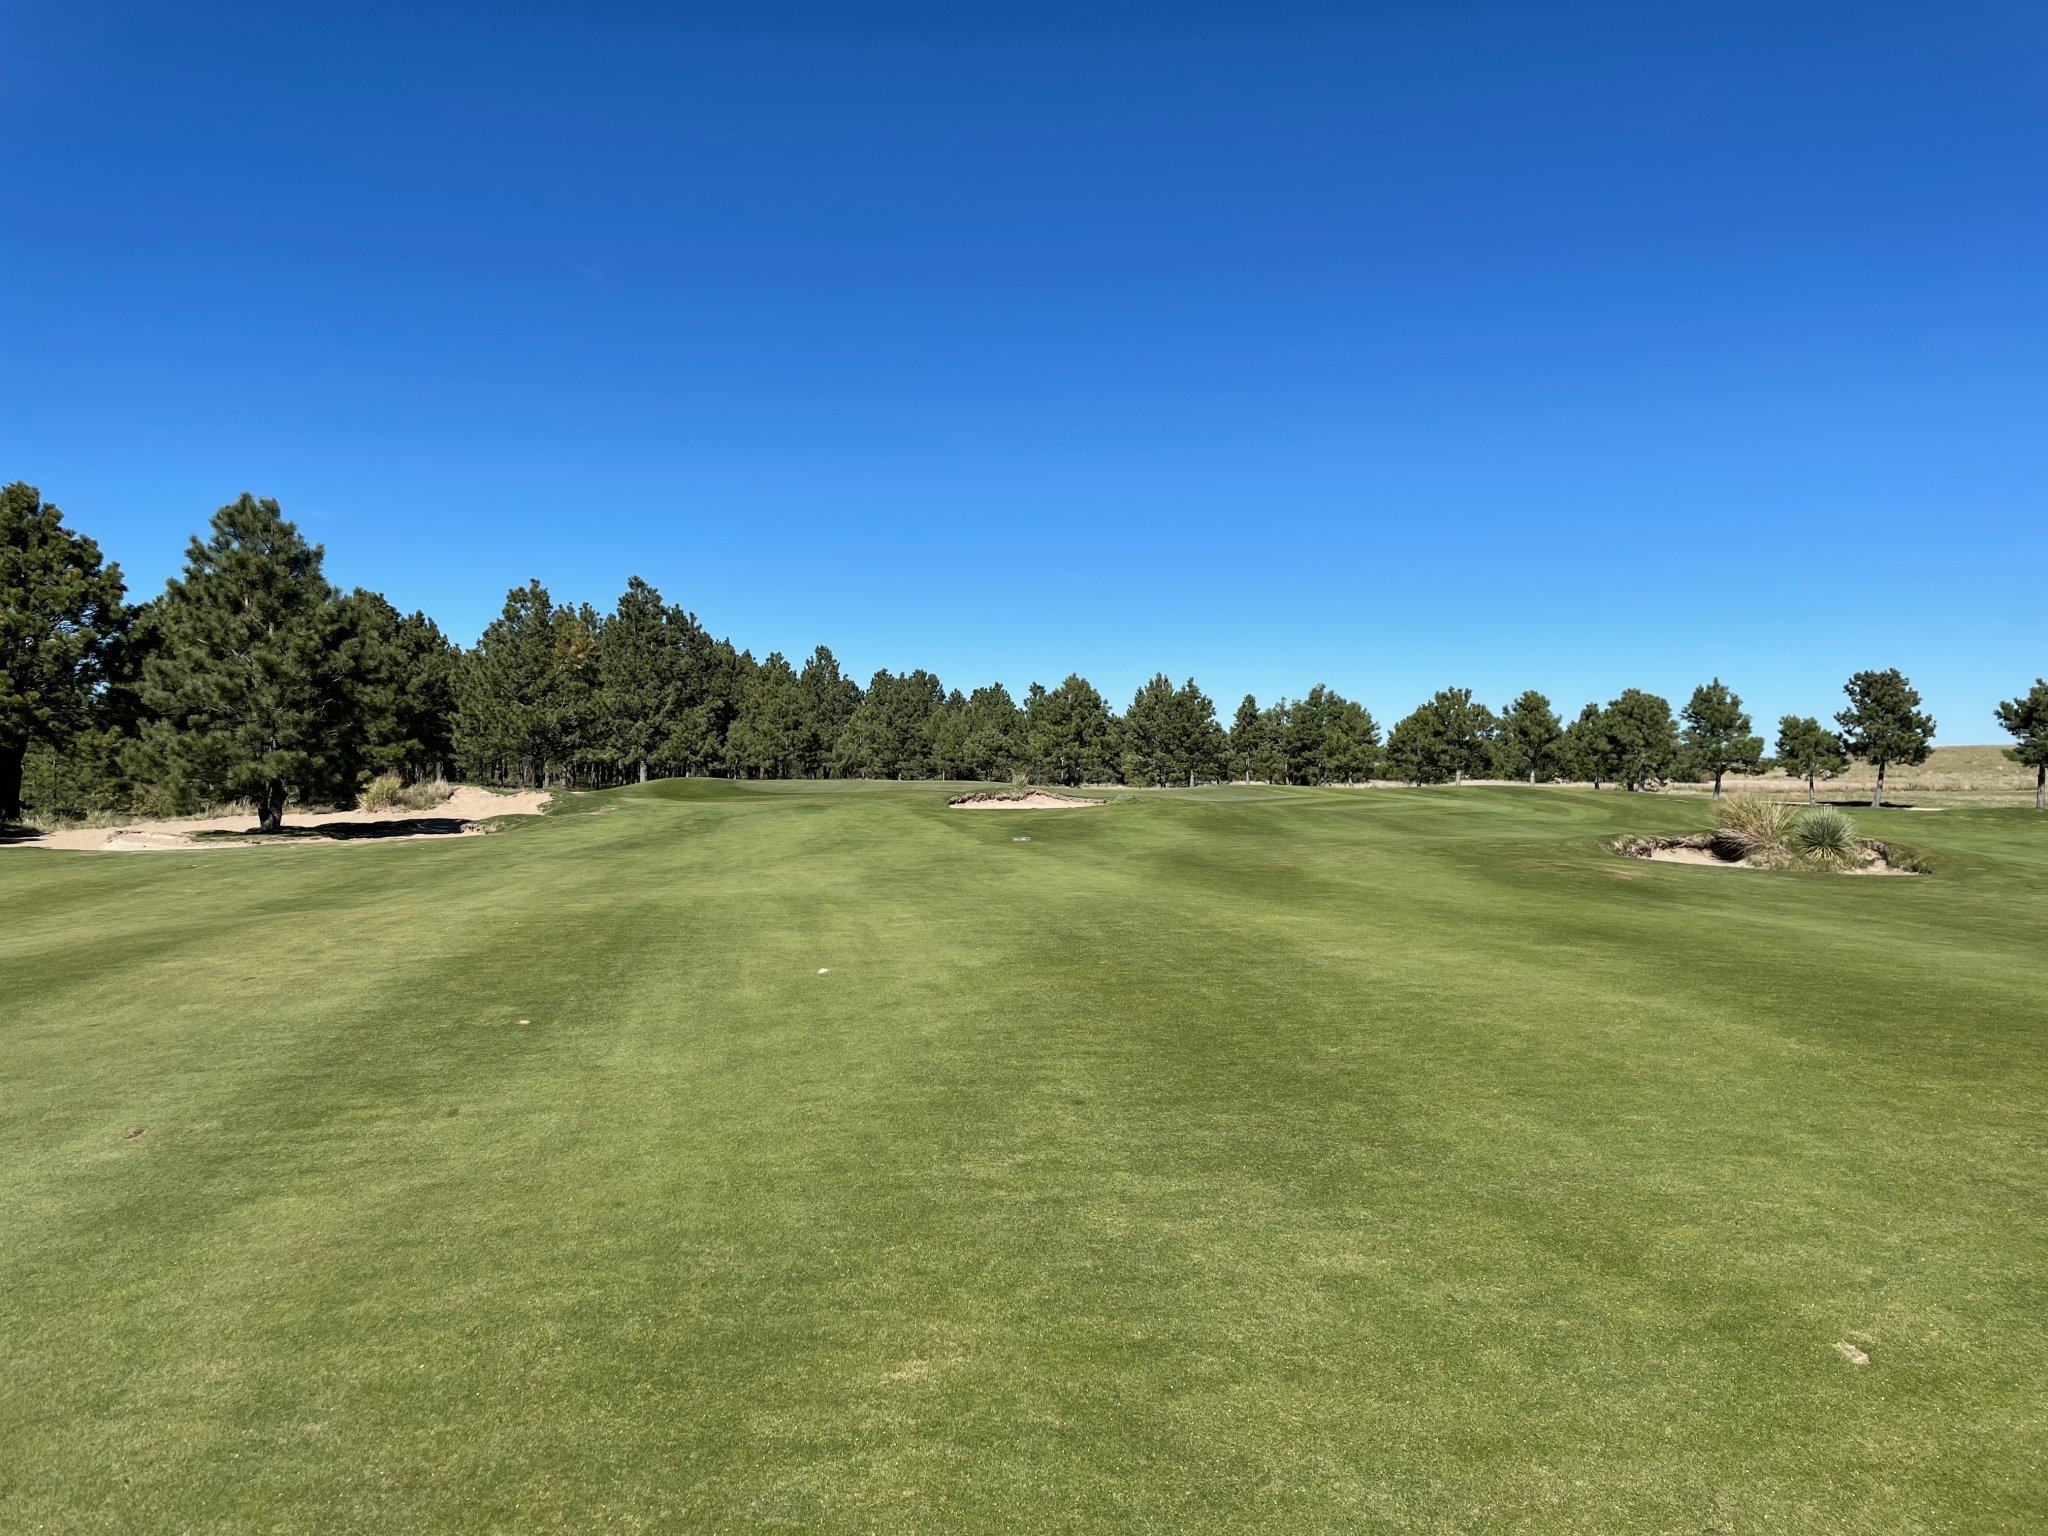
The fourteenth is a fairly short hole. The bunker on the left can be carried, but will leave an approach over a greenside bunker. The best line with a driver is straight at the green. Depending on the wind and length of player, the green can be driveable.

tee on 14.
The view below is from the middle of the fairway, which is only about 80 yards out from the green.

approach on 14.

green on 14.
Hole 15: ⛳️
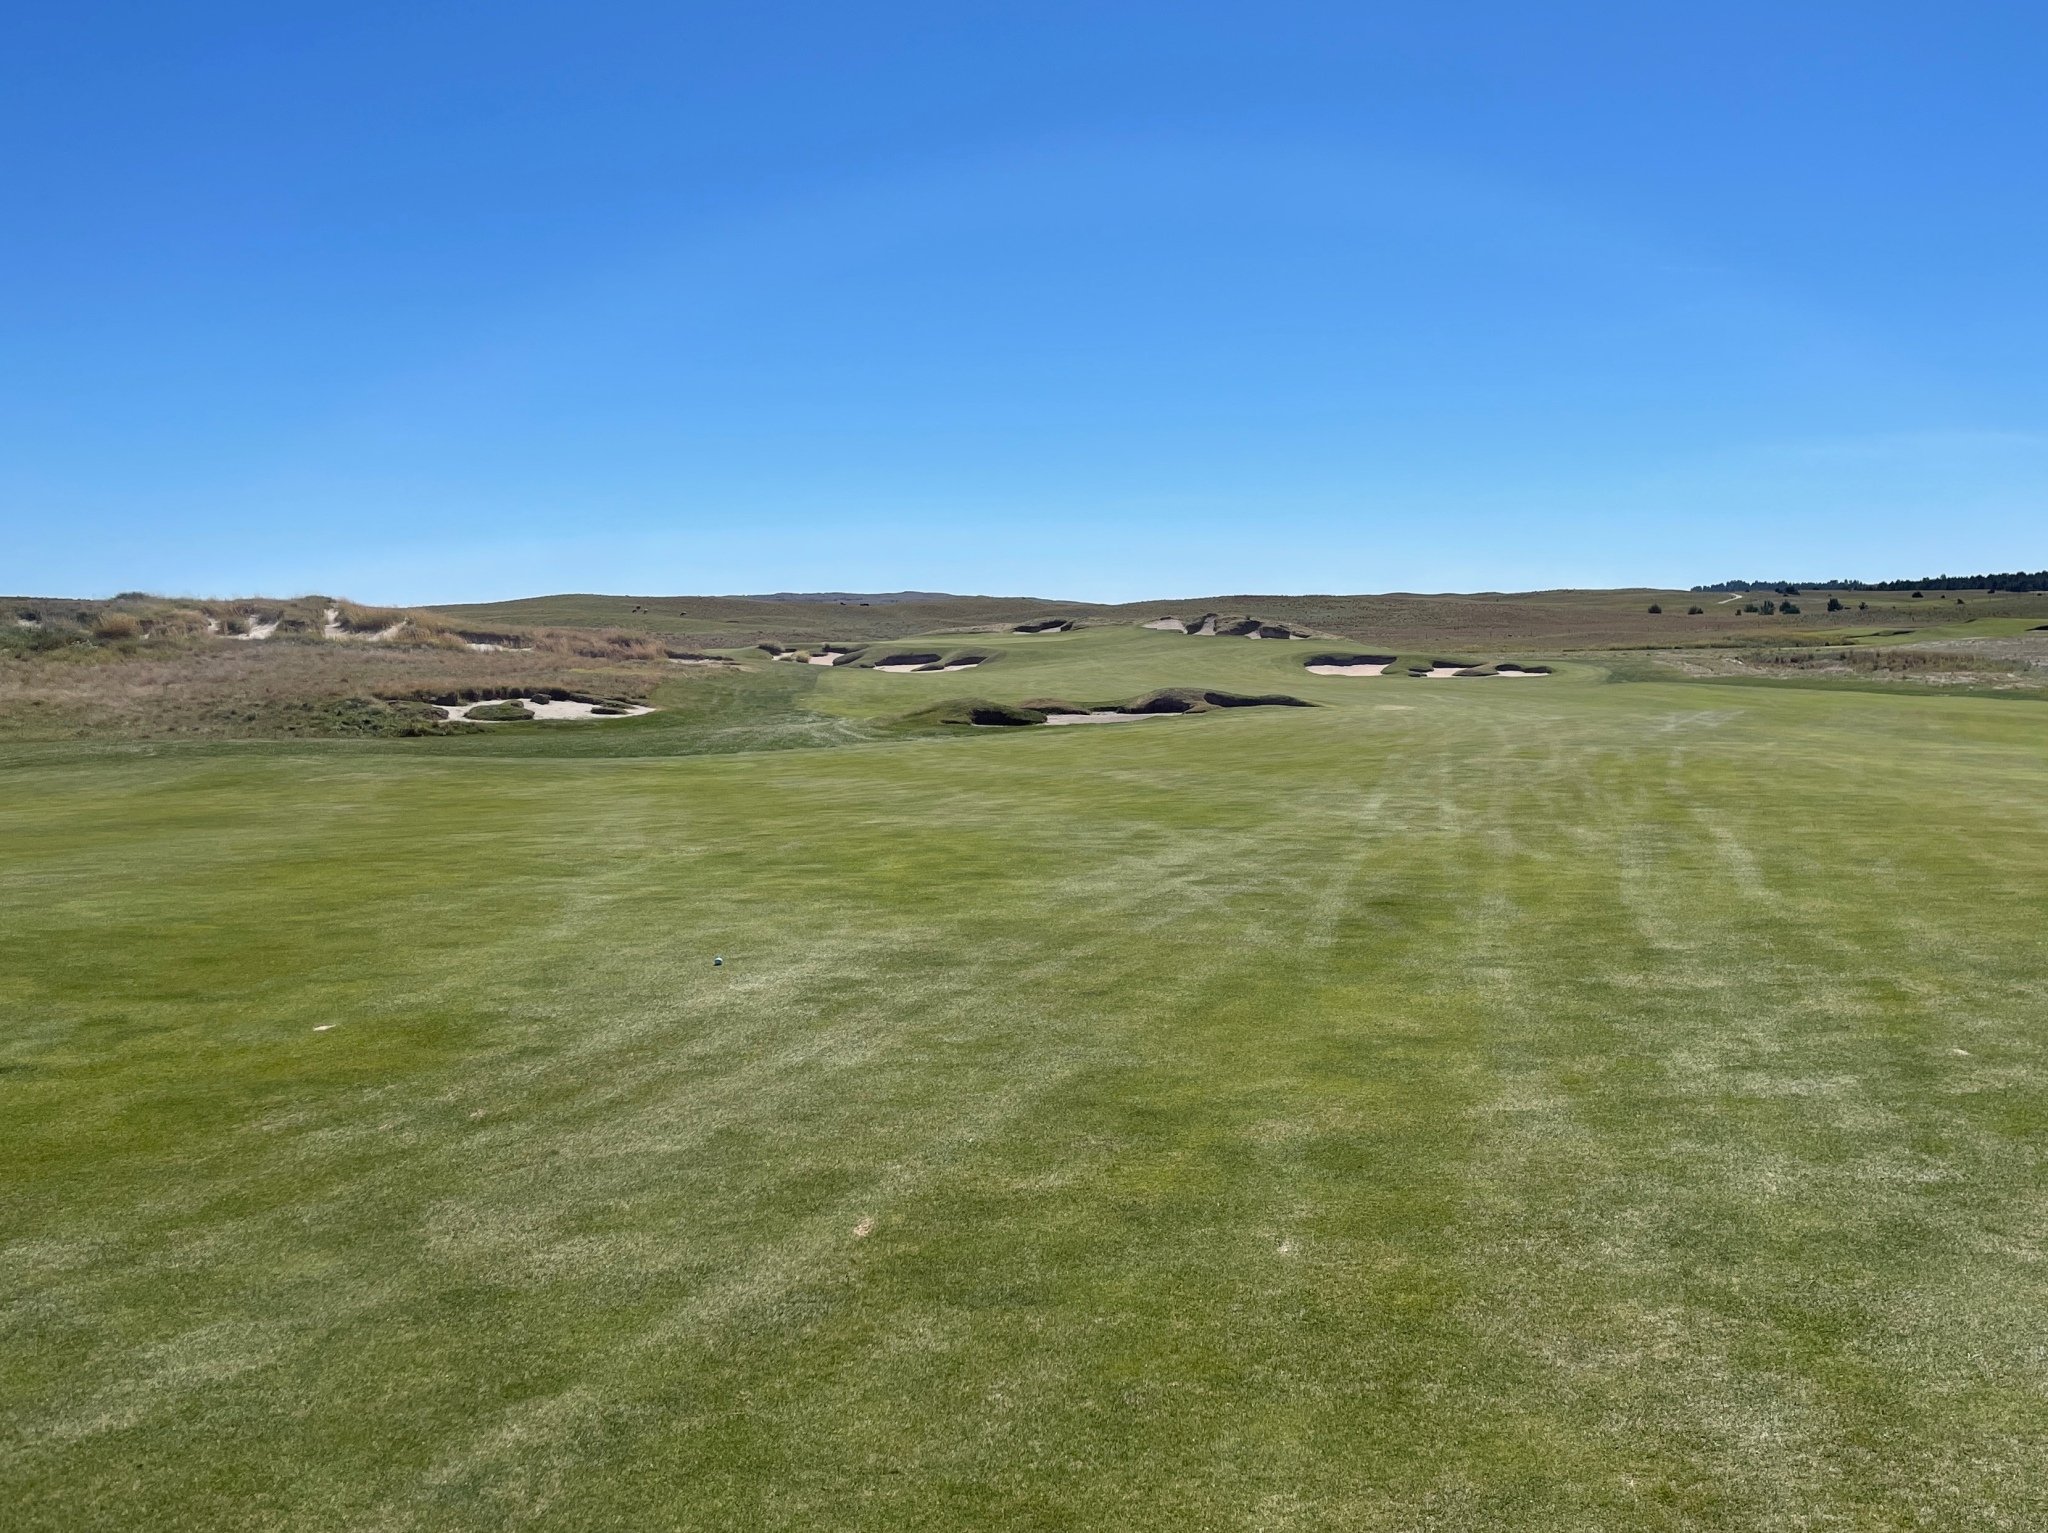
The tee shot on this par 5 plays up a pretty big hill. Players will want to take it down the center or right side of the fairway. Anything left will leave a long way into the green. Most players won’t be able to get to the top of the hill, unless there’s a wind helping.

tee on 15.
The second shot is blind and long, regardless of which side of the fairway. The image below is from the right-center of the fairway. Going up to take a look at the line will be helpful, but in the image below, the line is over the middle of the second bunker.

approach on 15.
After laying-up, players will be faced with a pretty straightforward approach into the green. Since the last shot played uphill, it tends to leave a longer iron in to the green on the third.
approach on 15.

green on 15.
Hole 16: ⛳️
The tee shot on sixteen can go left more than is comfortable at first. The hole bends left, so taking it over the right side of the trees on the left will set up a nice approach from the center of the fairway. The fairway bunker straight out is reachable.

tee on 16.
The image below is from right right-center of the fairway with the wind blowing straight into us off the tee. It leaves a long second shot, where anything right of the green will tend to funnel into a small collection area or roll into the long grass and trees. There’s also a collection area long of the green too, but since the approach is a bit longer, it’s rare to get back there.

approach on 16.

green on 16.
Hole 17: ⛳️
The final par 3 will require a mid-long iron depending on the tee and wind. The ditch in front of the tee makes it a bit more intimidating, but it’s not a difficult hole. There is a bunker on the right side of the green that caught several golf balls.

tee on 17.

green on 17.
Hole 18: ⛳️
The Pines Course finishes with a par 5. From the tee, it looks fairly simple. A bunker on the right side of the fairway is reachable for longer hitters. There’s a tree on the left side of the fairway that’s another good reference point. There’s some room left of that tree, which will leave a shorter approach into the green, but also risks hitting it in the long grass. A safer play is to go just right of the tree and hope for a yardage that gives you a green light.

tee on 18.
The image below is from the right center of the fairway. You can see the green just left of the tree. There’s probably about 250 yards into the green on this one. The layup is right of the tree to be safe.

approach on 18.
Players that choose to layup will face a shot that looks like the one below.

approach on 18.

green on 18.
Overall, the Pines Course is phenomenal. It’s got a great blend of dunes and pines as well as creative and challenging hole designs. If you haven’t already, check out the Dunes Course post too.